DIY Polymer Clay Labels for Jars – Farmhouse Pantry Tags
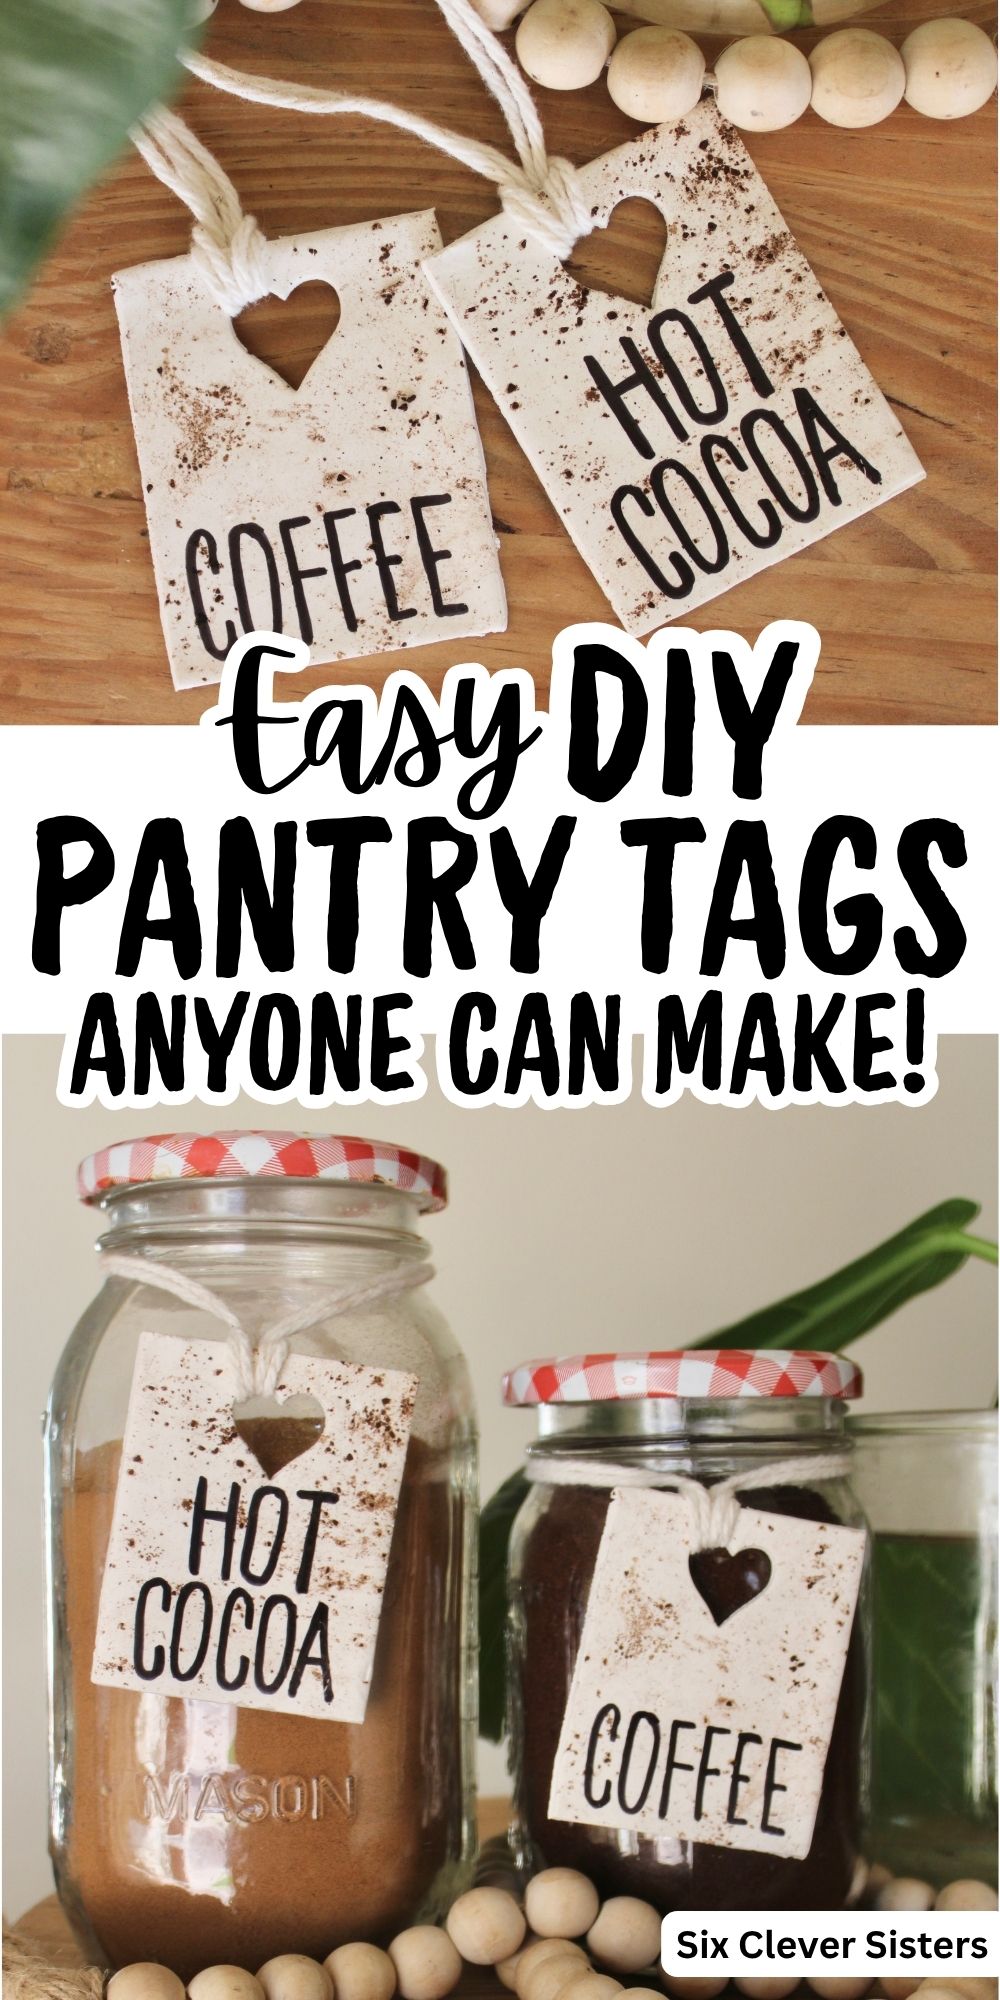
I love a good pantry organization project, especially when it also gives me an excuse to make something! These DIY polymer clay pantry tags are an easy way to turn ordinary glass jars into pretty pantry storage.
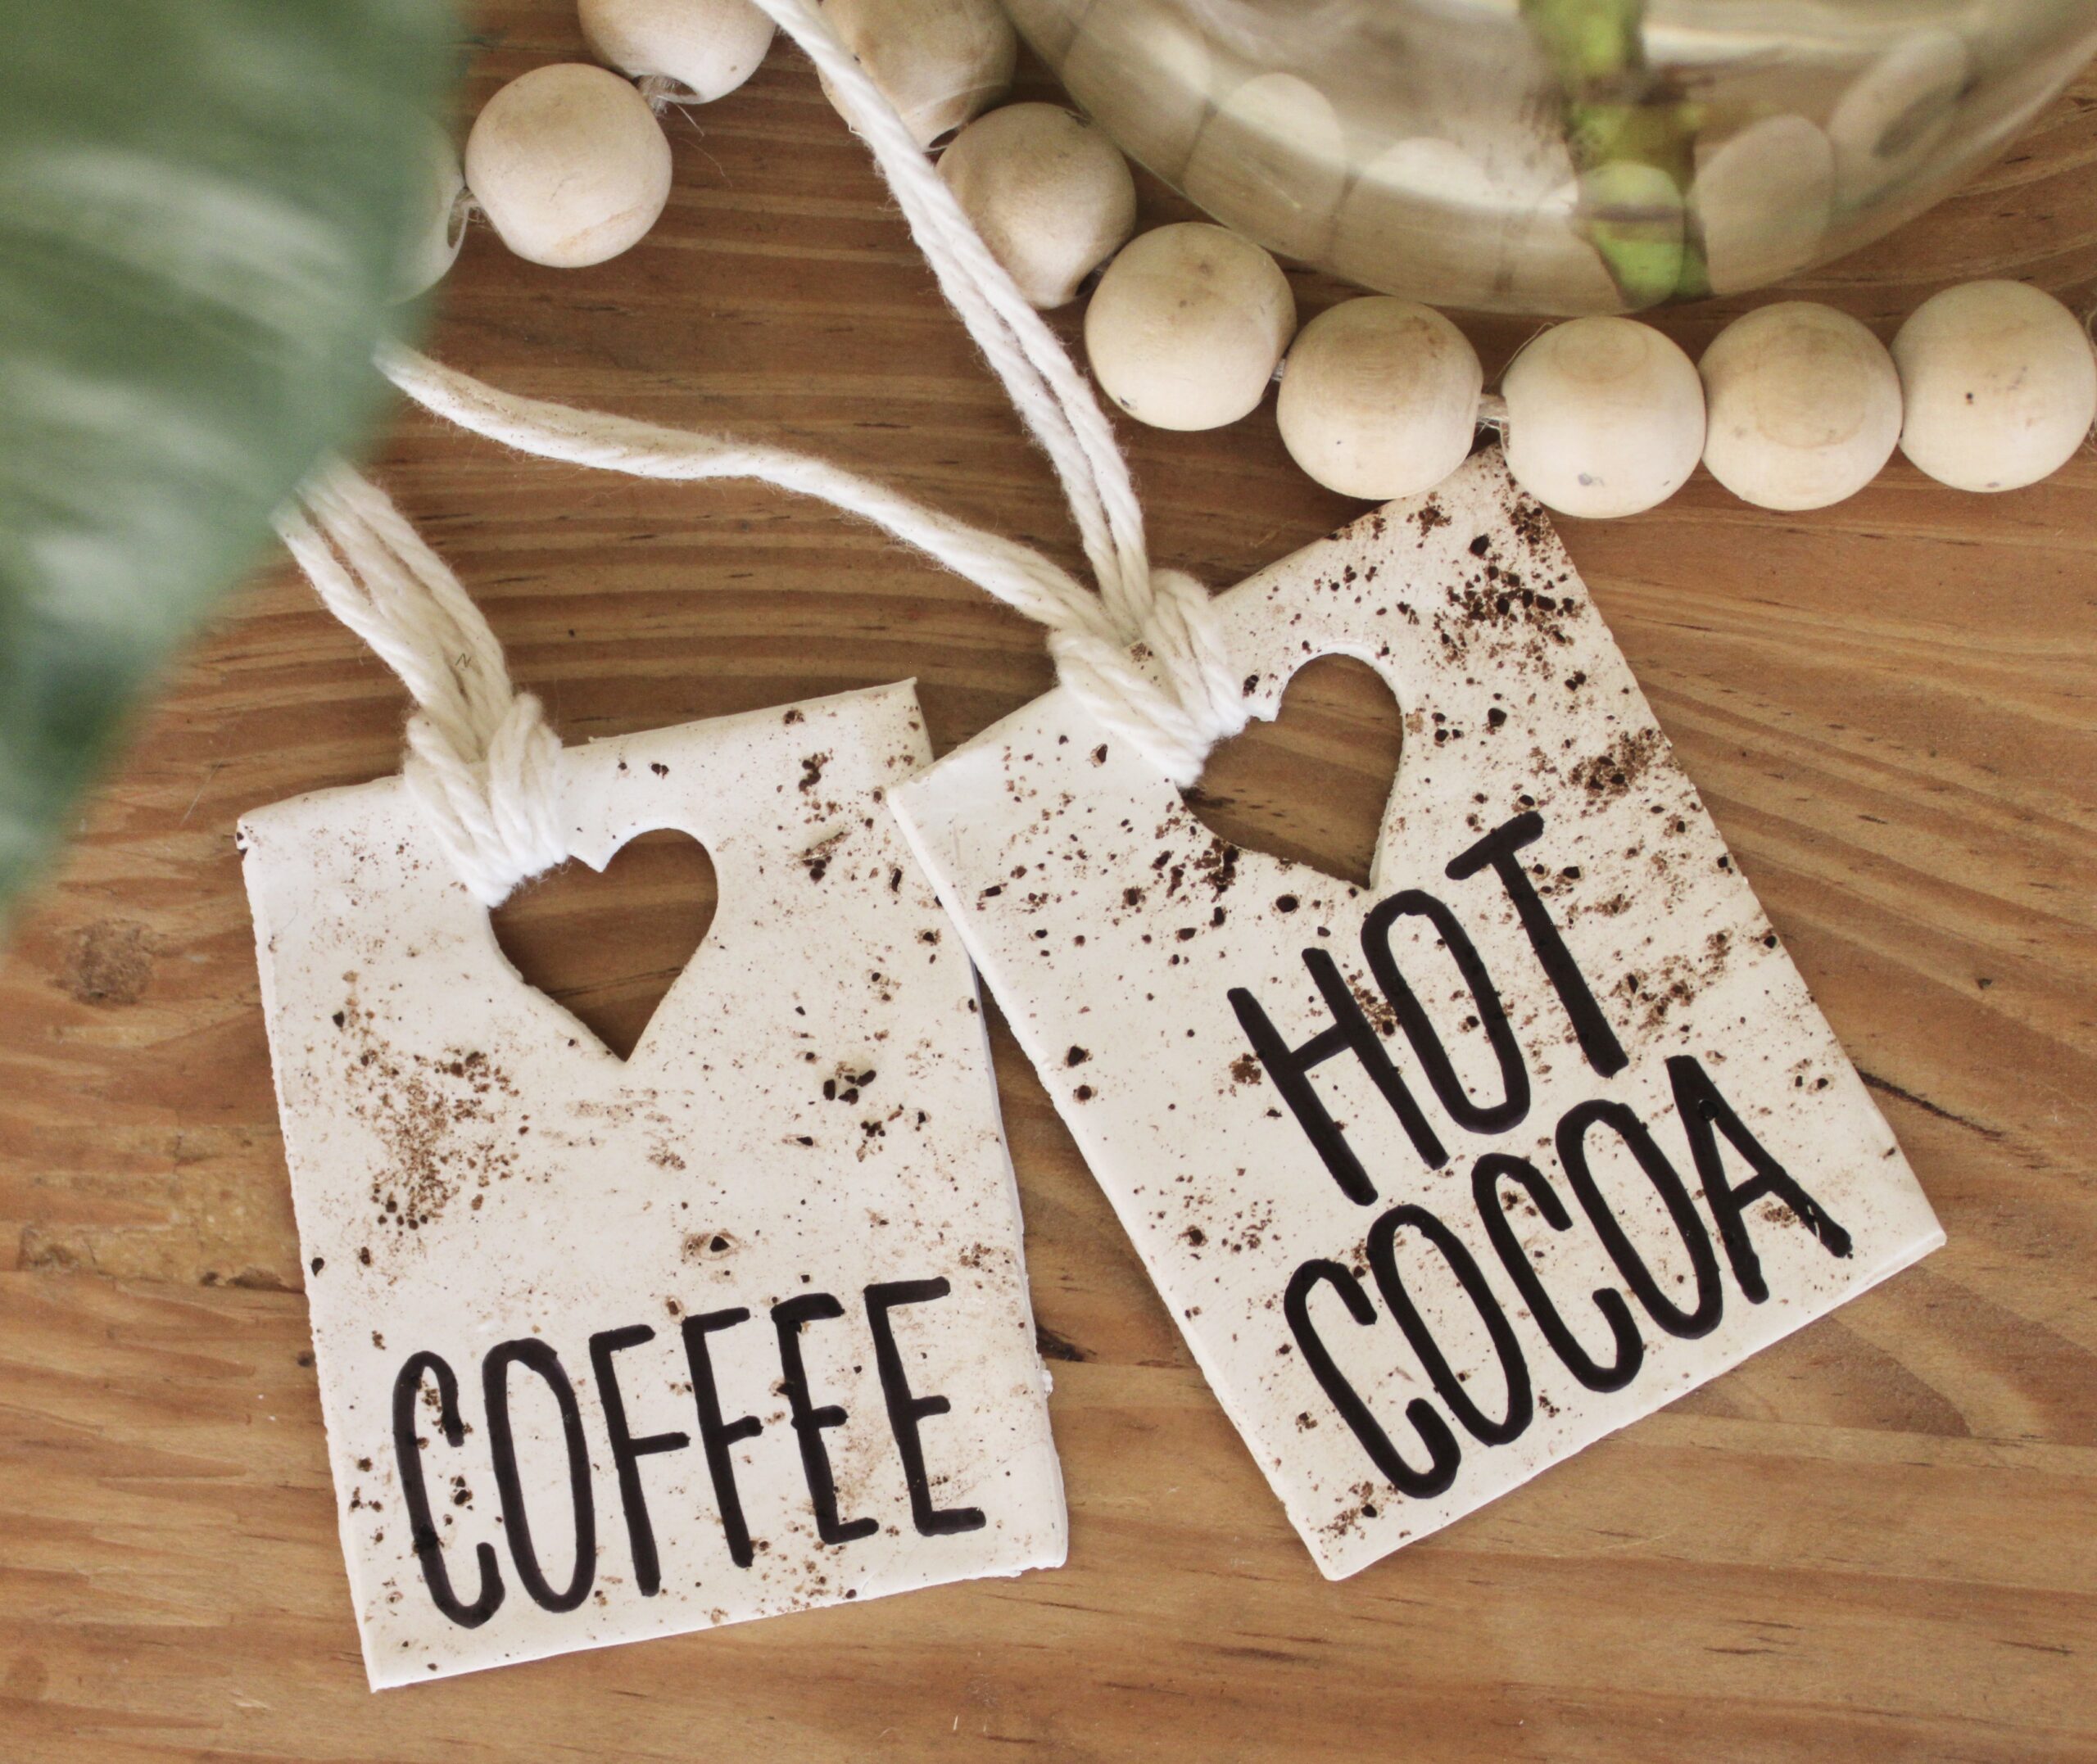
I made these using white Sculpey clay and added real coffee grounds to give the clay a slightly speckled, natural look. I love how the little flecks keep the tags from looking too plain or perfect.
And you don’t need letter stamps or special clay tools to make them! I used a pencil and Sharpie to create the simple lettering, and I’m providing a printable rectangle template that you can use as a pattern for cutting out the tags.
Once they’re baked, labeled, and tied onto glass jars with yarn or string, they make the cutest addition to a pantry, kitchen counter, or coffee bar.
They’re also a fun project to make as a gift!
Supplies for DIY Polymer Clay Pantry Tags
Full disclosure: This post contains affiliate links, which means we may earn a small commission at no additional cost to you if you purchase through one of our links.
You’ll need:
- White Sculpey III clay
- Rolling pin
- Wax paper or parchment paper
- Coffee grounds
- Printable Rectangle Tag Template
- Craft knife
- Small heart-shaped cutter
- Pencil
- Black Sharpie
- Yarn, twine, or string
- Baking sheet
- Glass jars
- Metal lids
Most of these are basic craft supplies, so you may already have quite a few of them at home. Sculpey clay is also easy to find at a craft store or online.
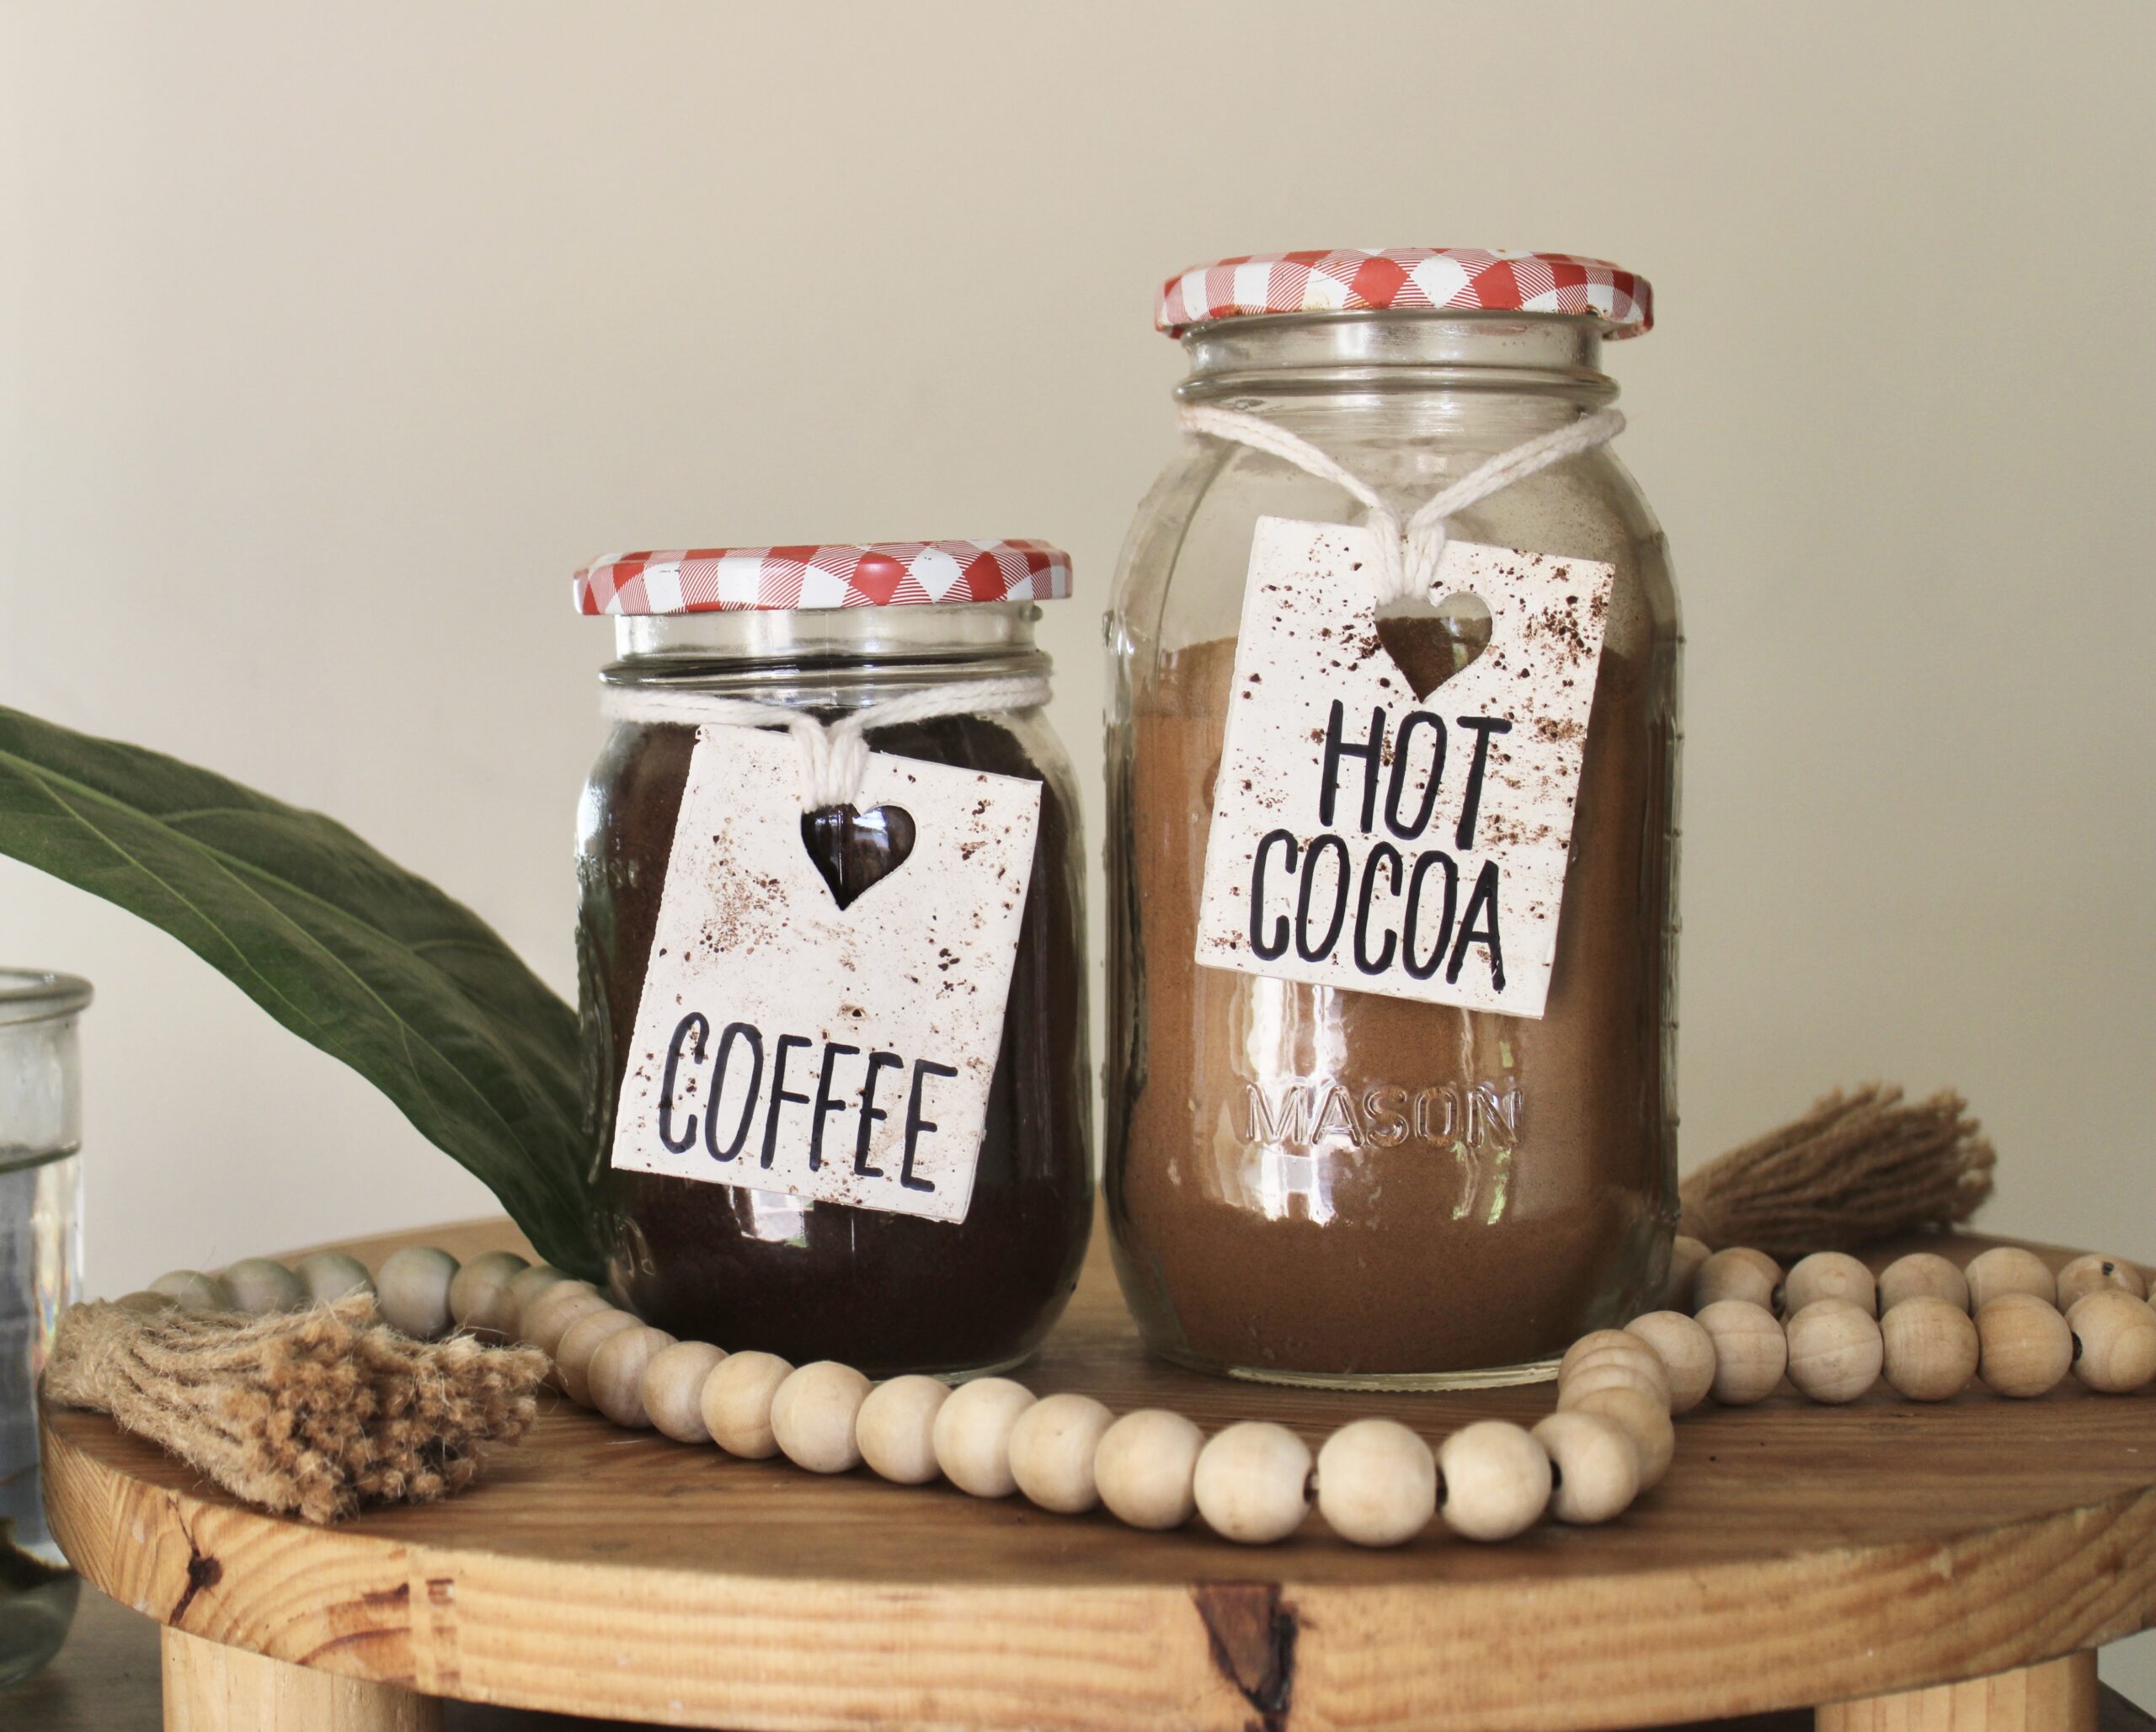
I especially love these DIY tags on glass jars with simple metal lids. The combination of glass, metal, yarn, and speckled white clay gives them a warm, handmade look.
Polymer Clay vs. Air-Dry Clay
You’ll find lots of similar projects made with air-dry clay, but I chose polymer clay for my pantry tags.
Air dry clay doesn’t require baking, which makes it great for certain projects, but polymer clay is incredibly easy to work with because it stays soft until you bake it. You can take your time rolling, cutting, and shaping everything before making your design permanent.
Once baked, these tags are very lightweight and hardy. That’s a good thing when you’re tying them around glass jars because they don’t add much weight to the jar.
For this project, I used white Sculpey clay.
How to Make Polymer Clay Pantry Tags
Step 1: Soften the Sculpey Clay
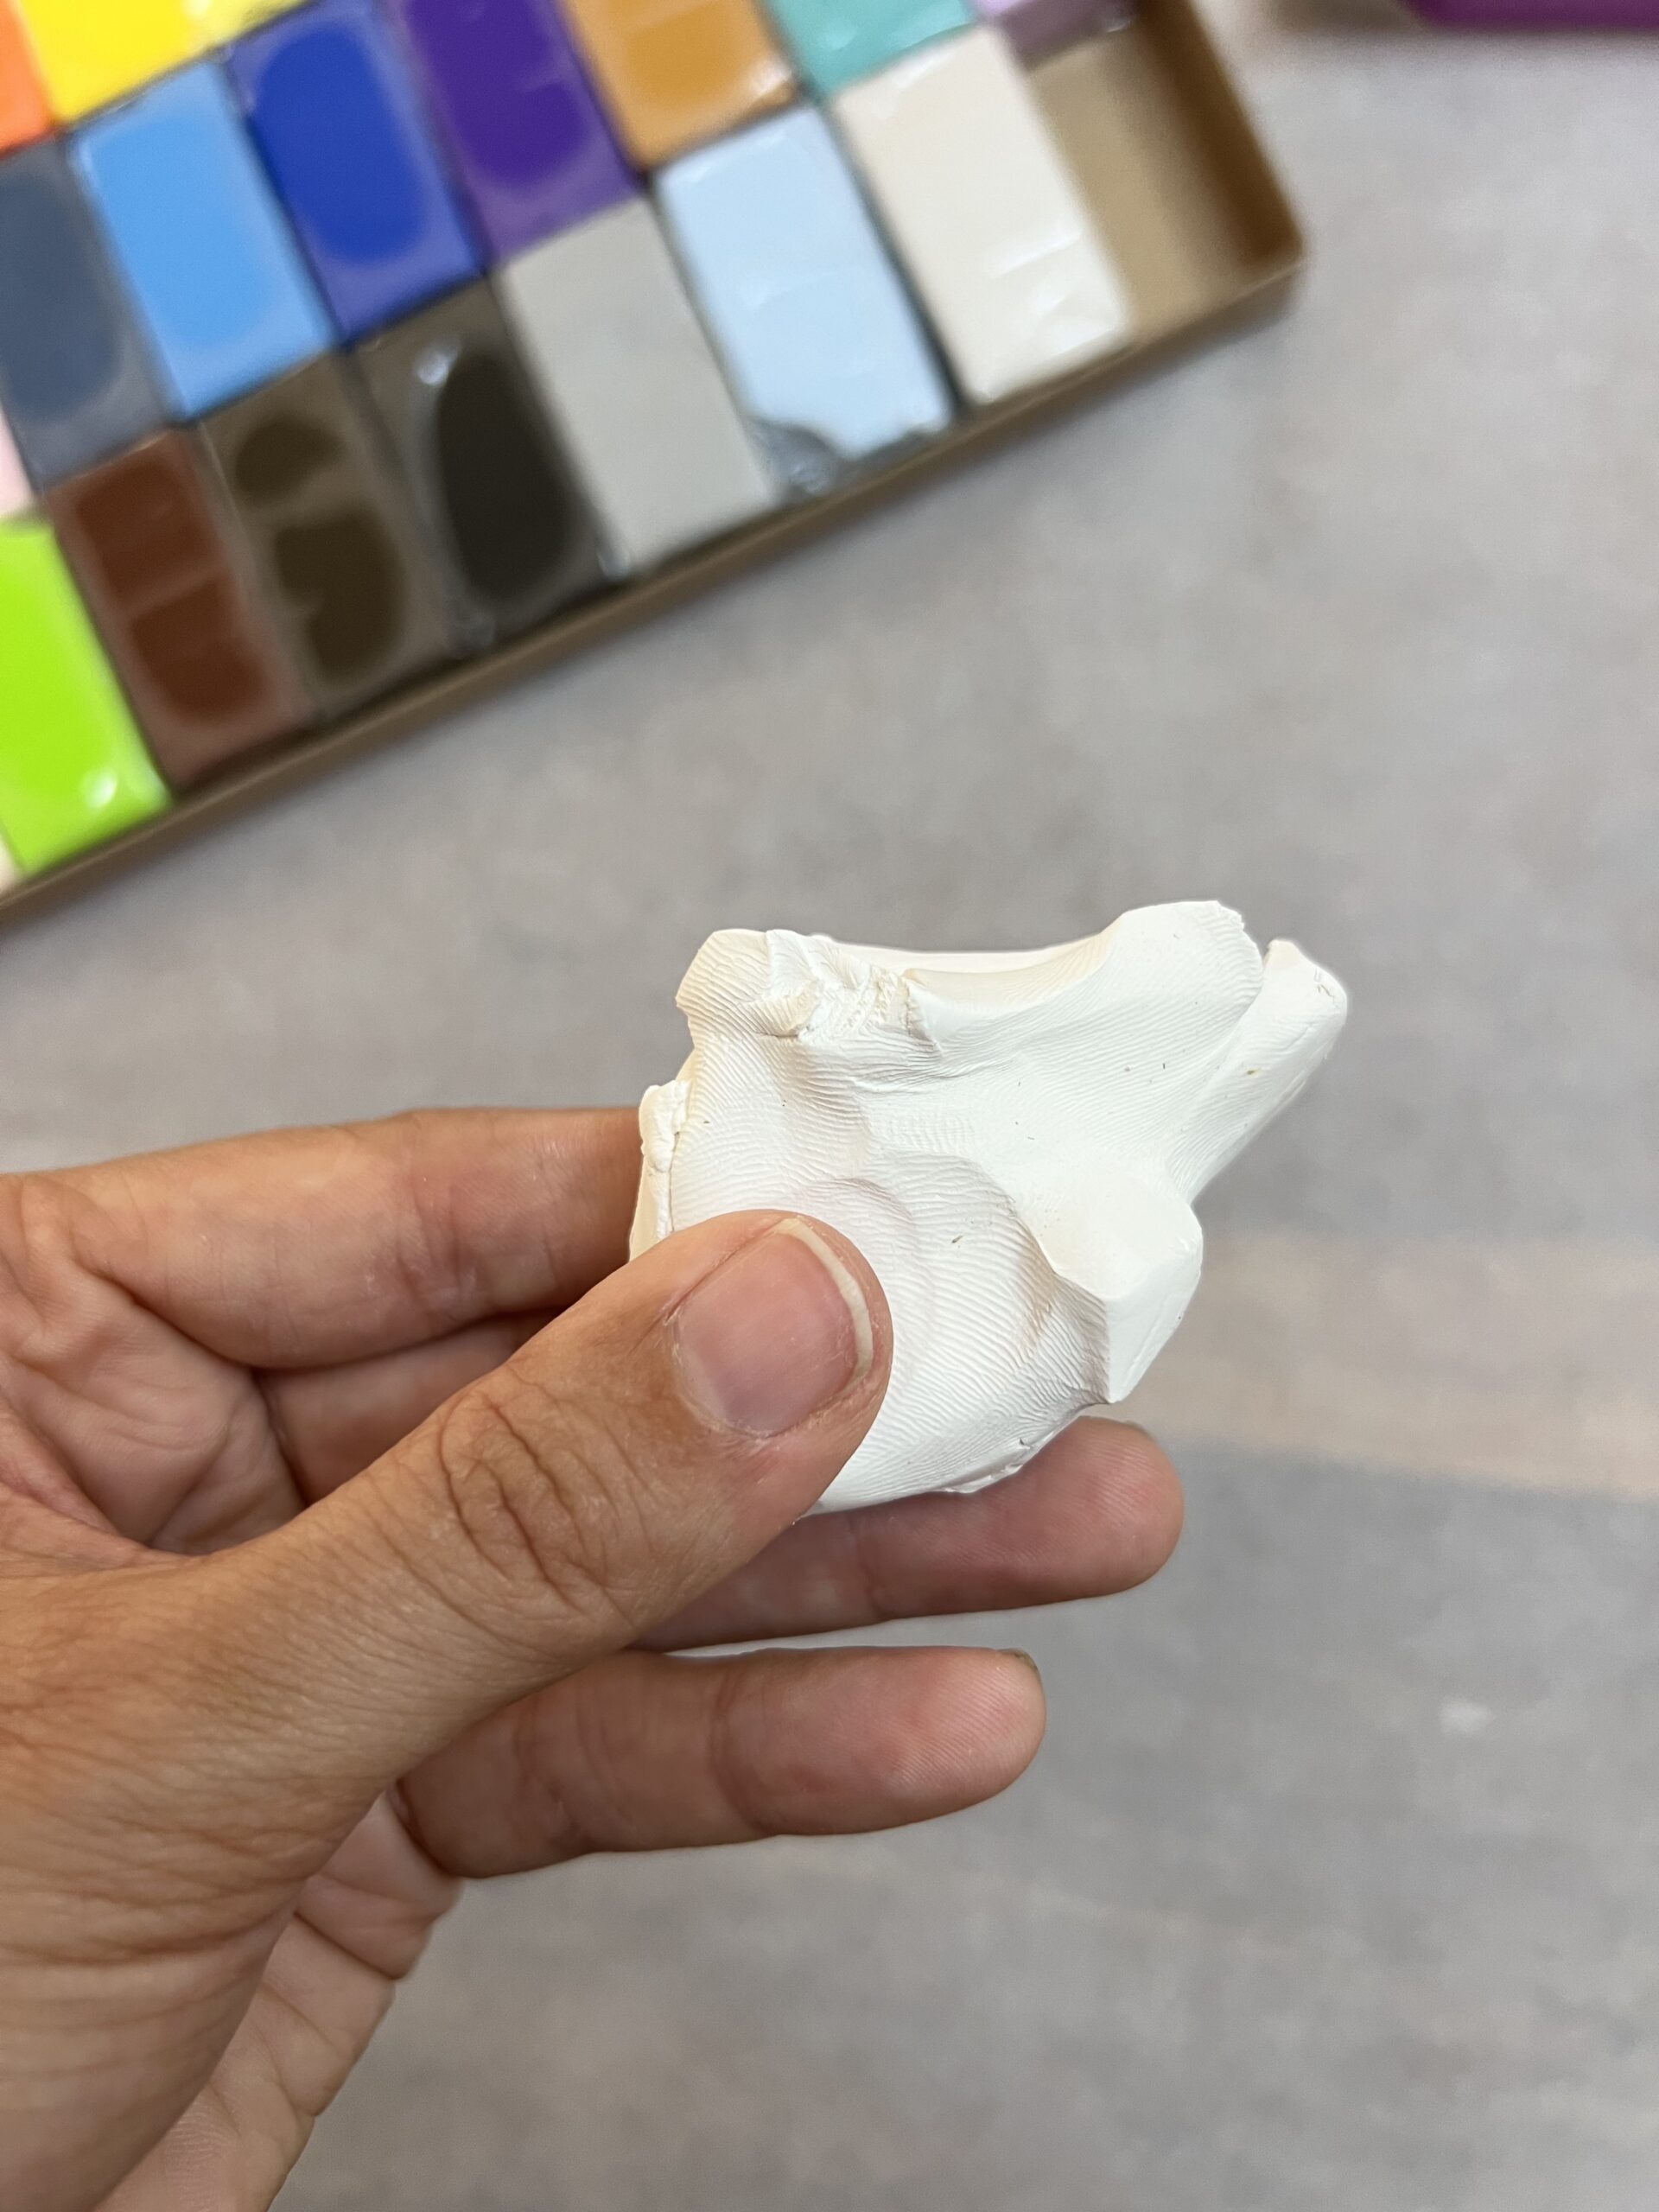
Start by taking a piece of white Sculpey clay and kneading it between your hands.
At first, the clay may feel a little firm. Just keep working it until it becomes soft and pliable.
Once it’s easy to work with, place it onto a flat surface covered with wax paper or parchment paper.
Step 2: Roll the Clay
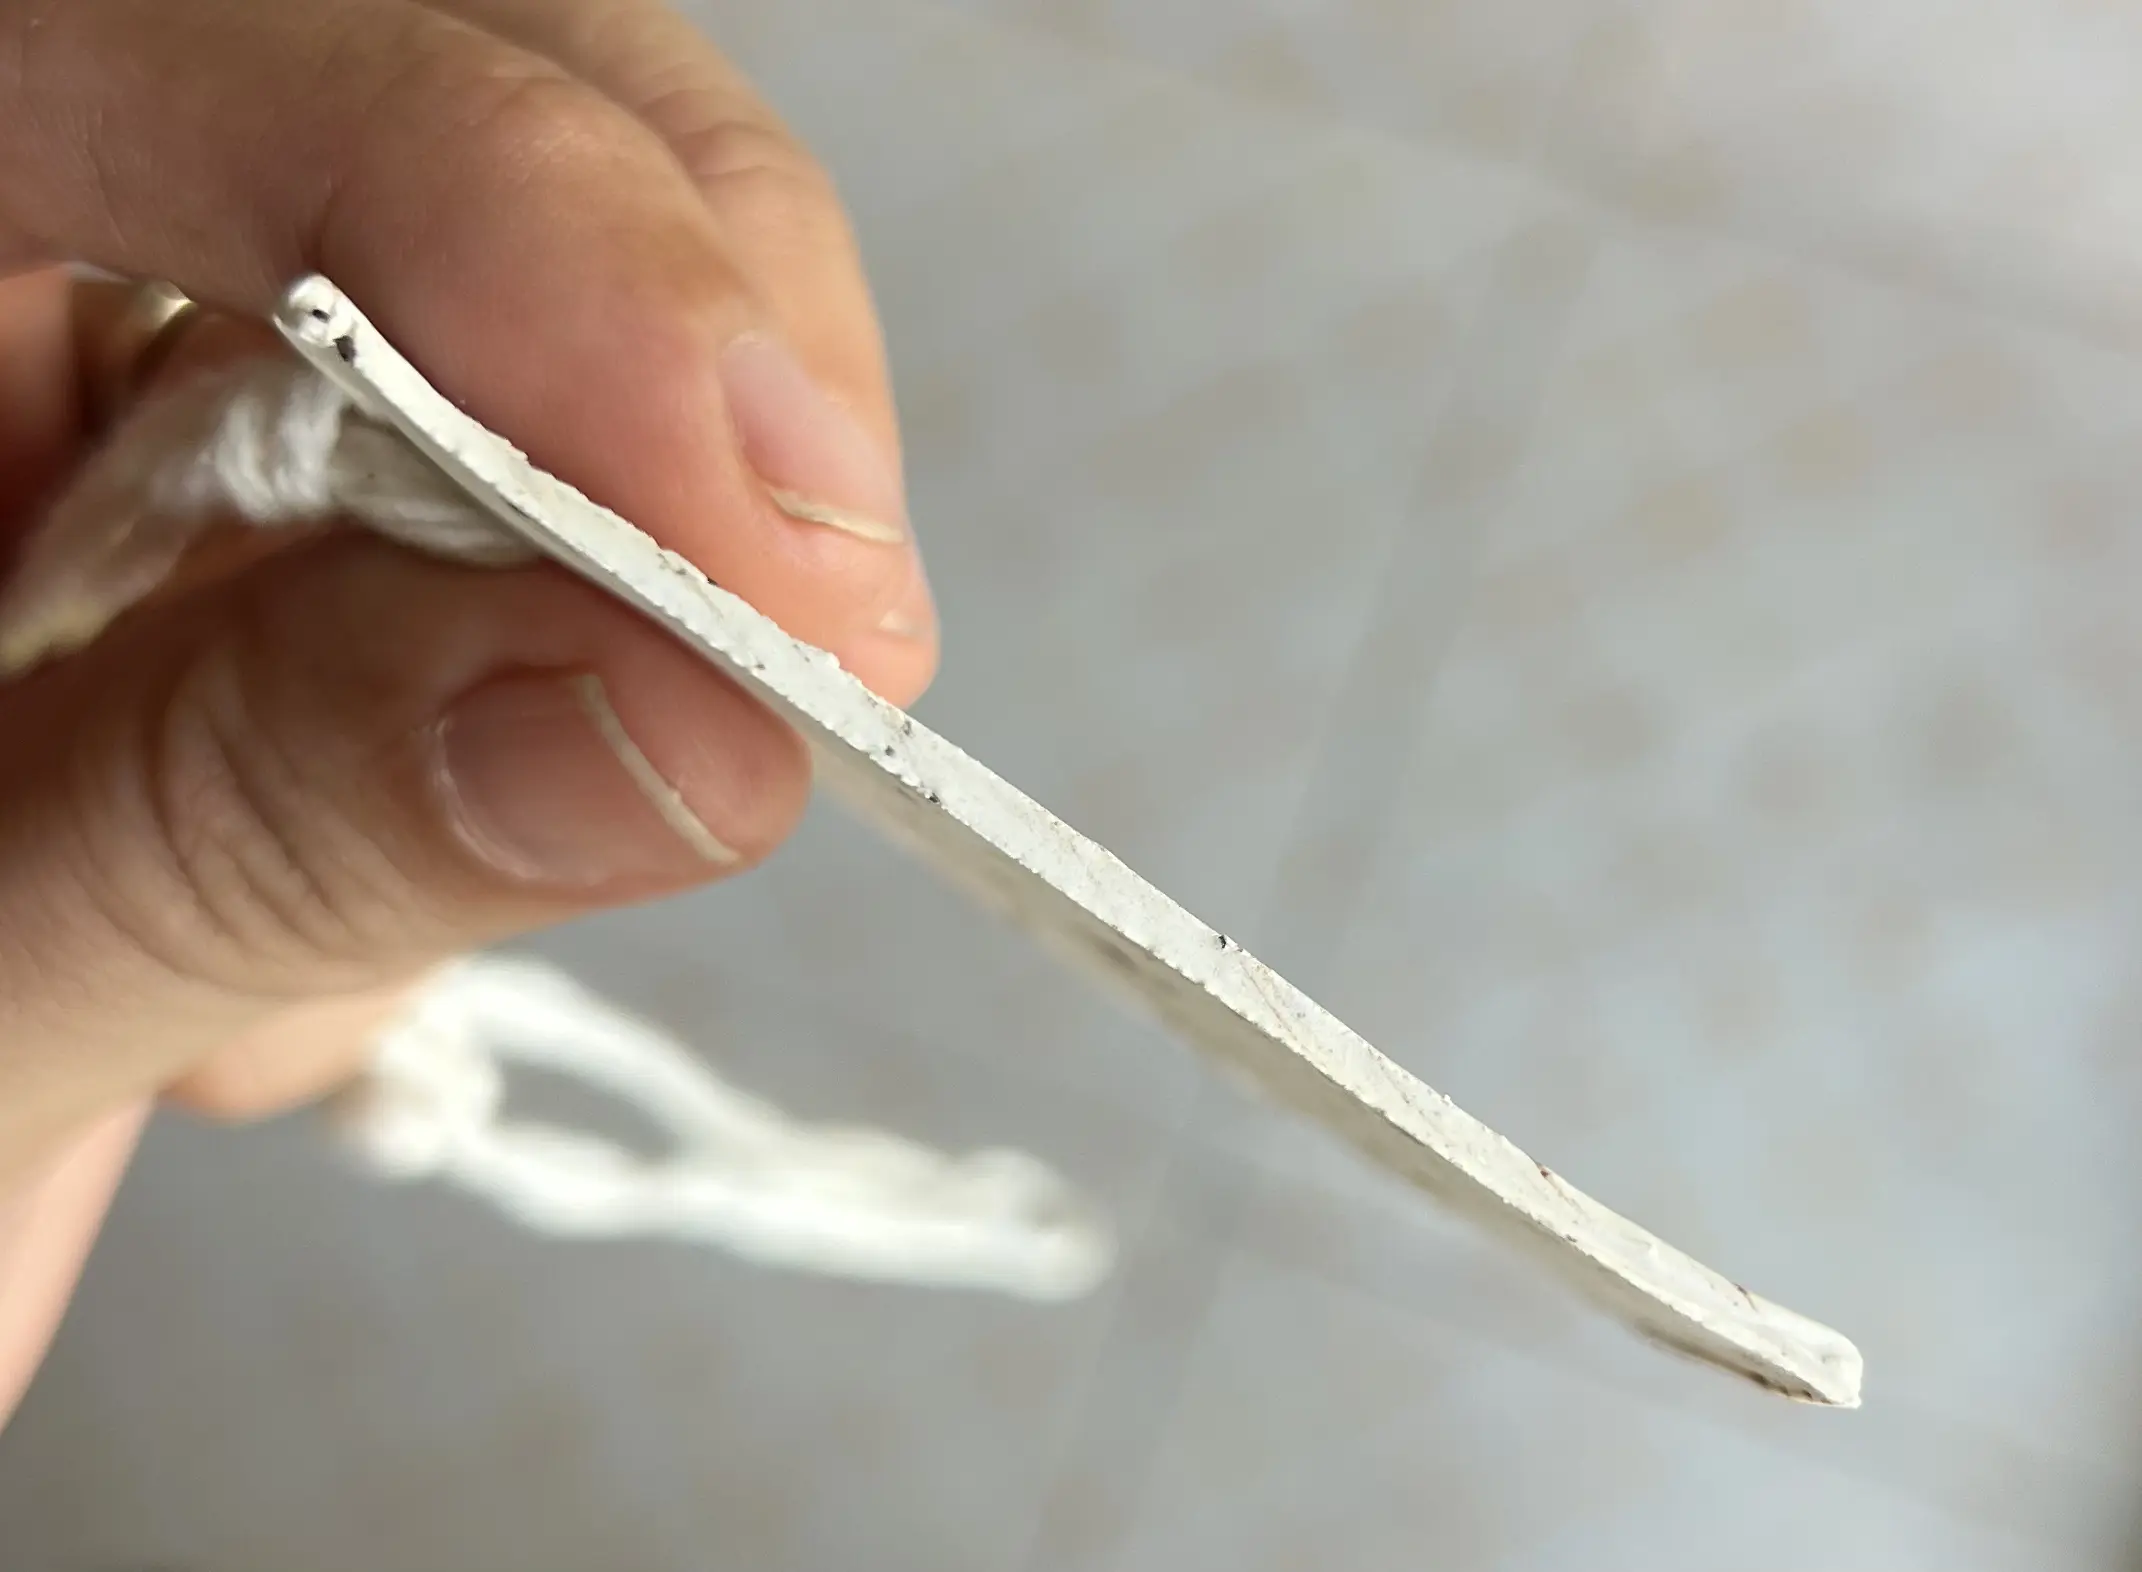
Use a rolling pin to gently roll the clay until it’s approximately 1/4 inch thick.
Try to keep the thickness as even as possible. You don’t have to get it absolutely perfect—the slightly handmade appearance is part of what makes these tags so cute!
If you’re using kitchen tools for your clay project, be sure to clean everything thoroughly afterward to remove any clay residue. Even better, keep inexpensive tools specifically for crafting.
Step 3: Add Coffee Grounds
This is my favorite part!
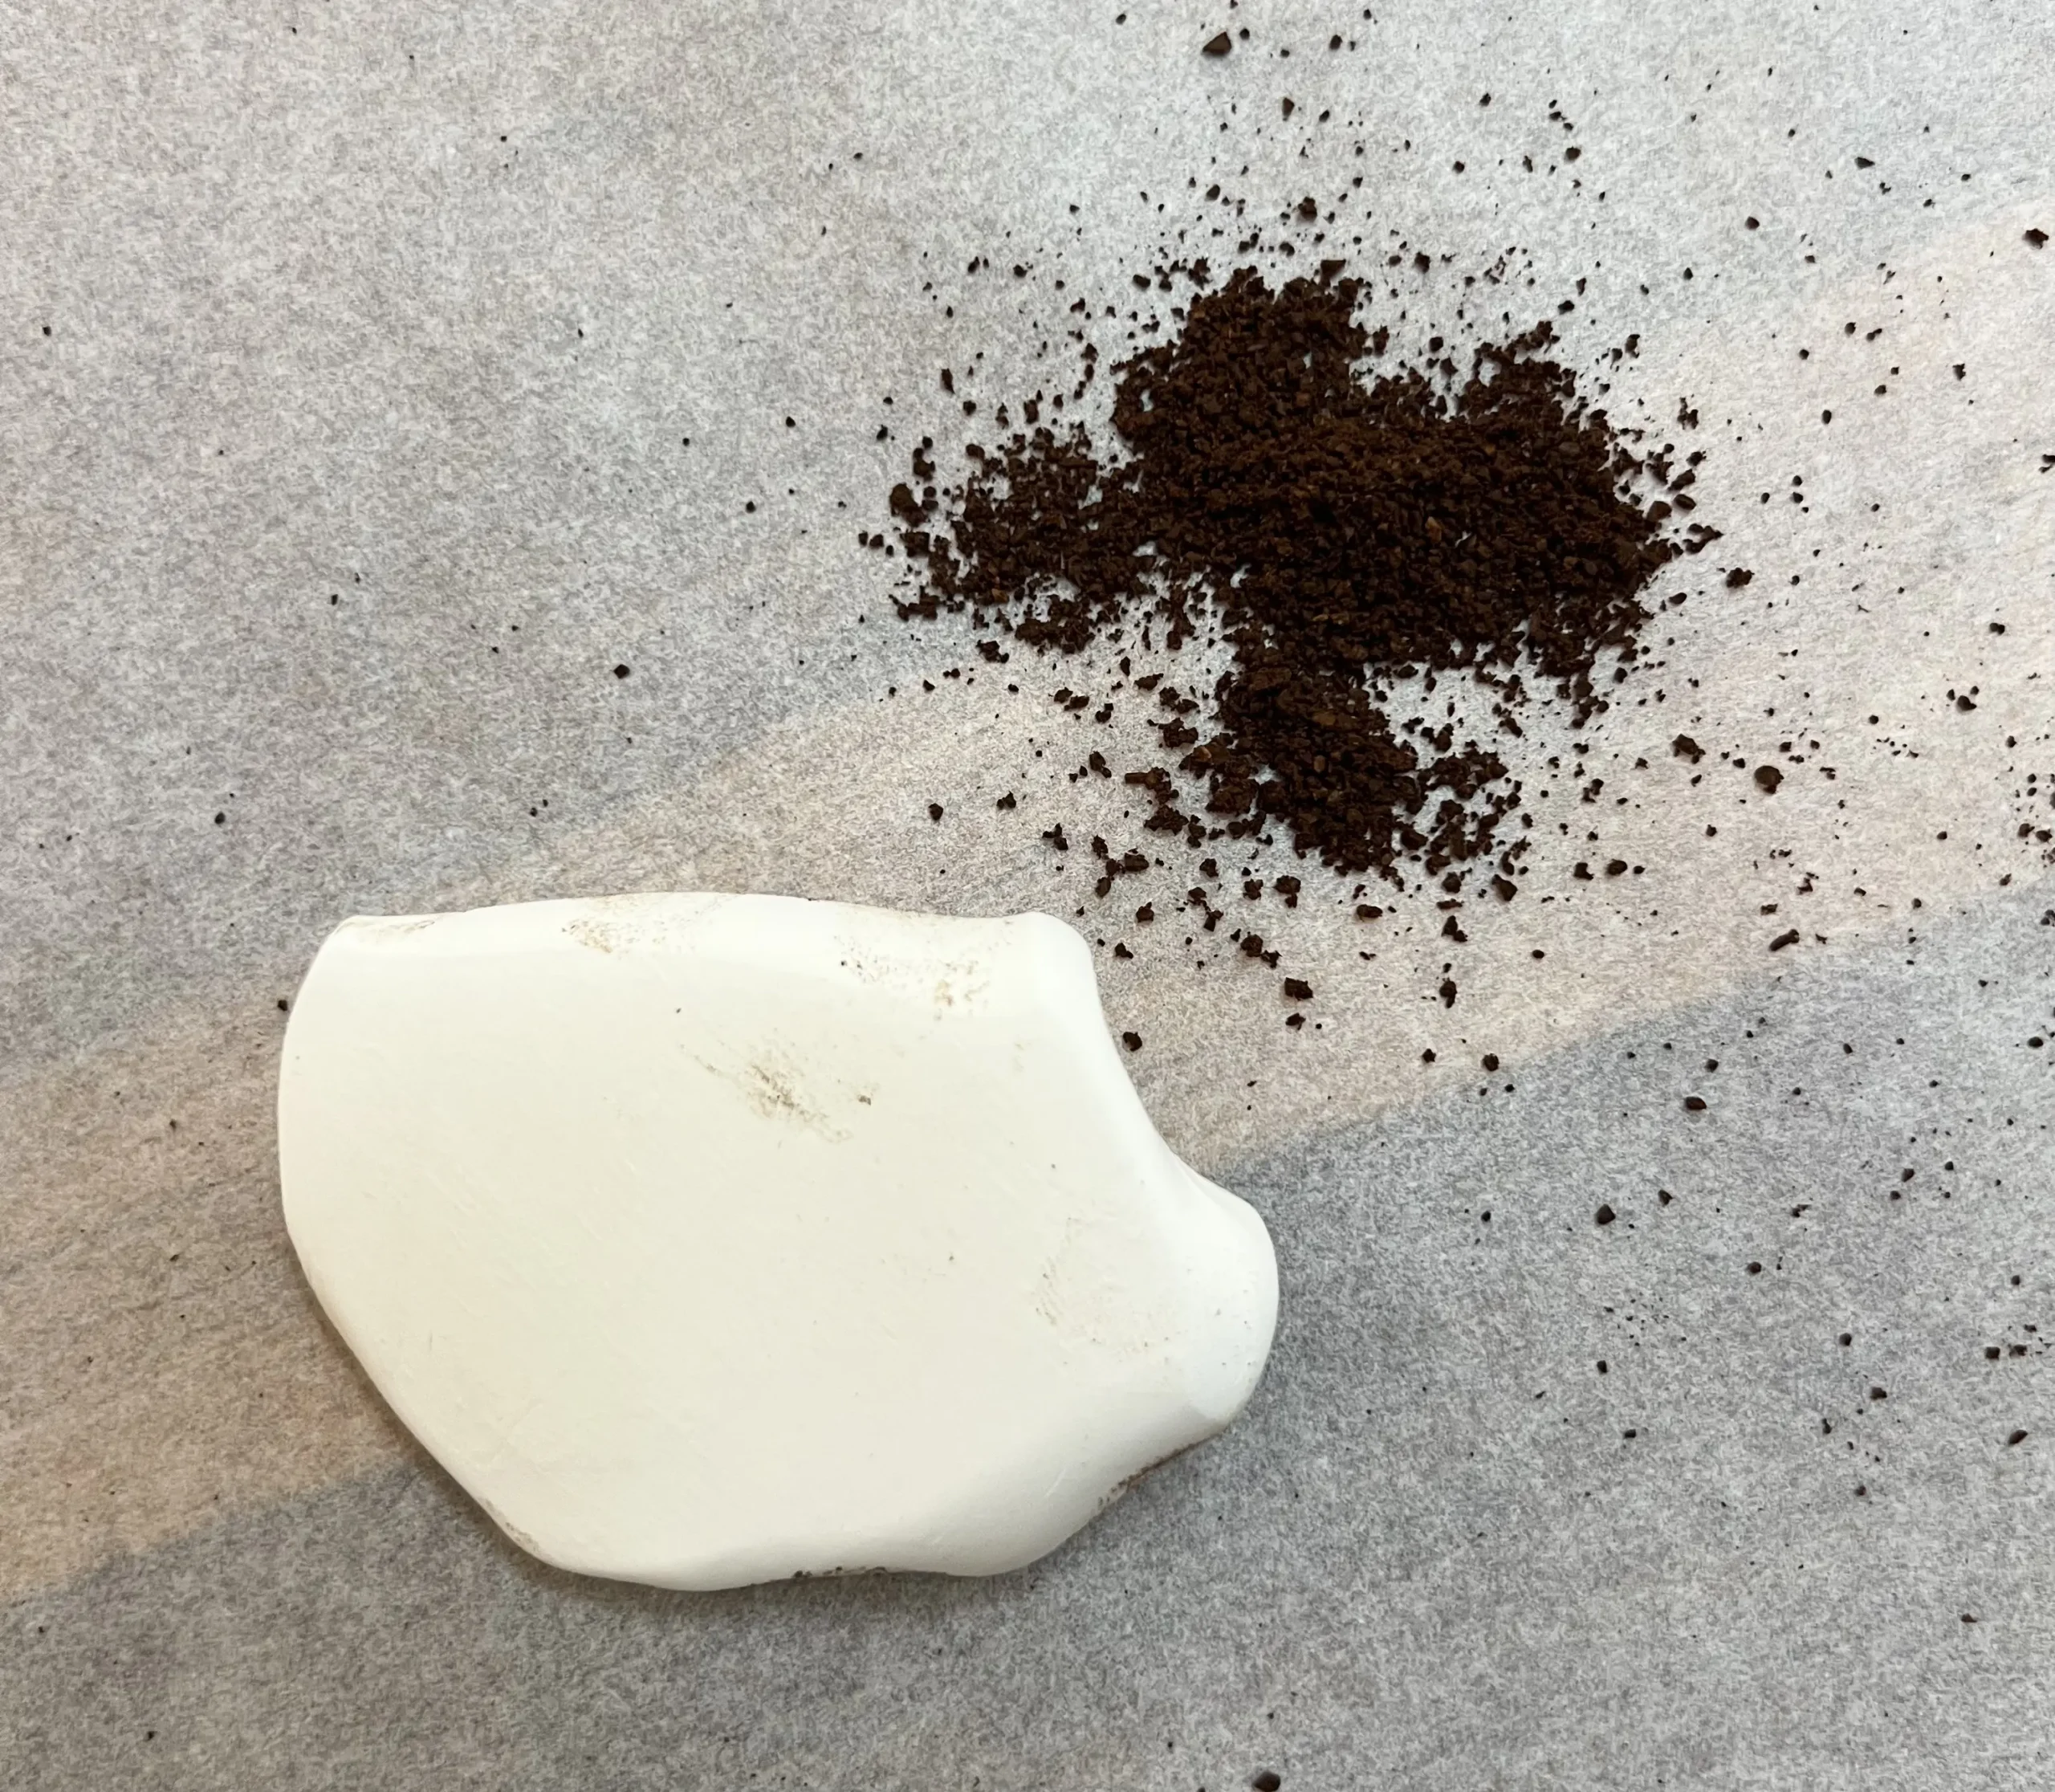
Once the white clay is rolled out, sprinkle a small amount of coffee grounds over the surface.
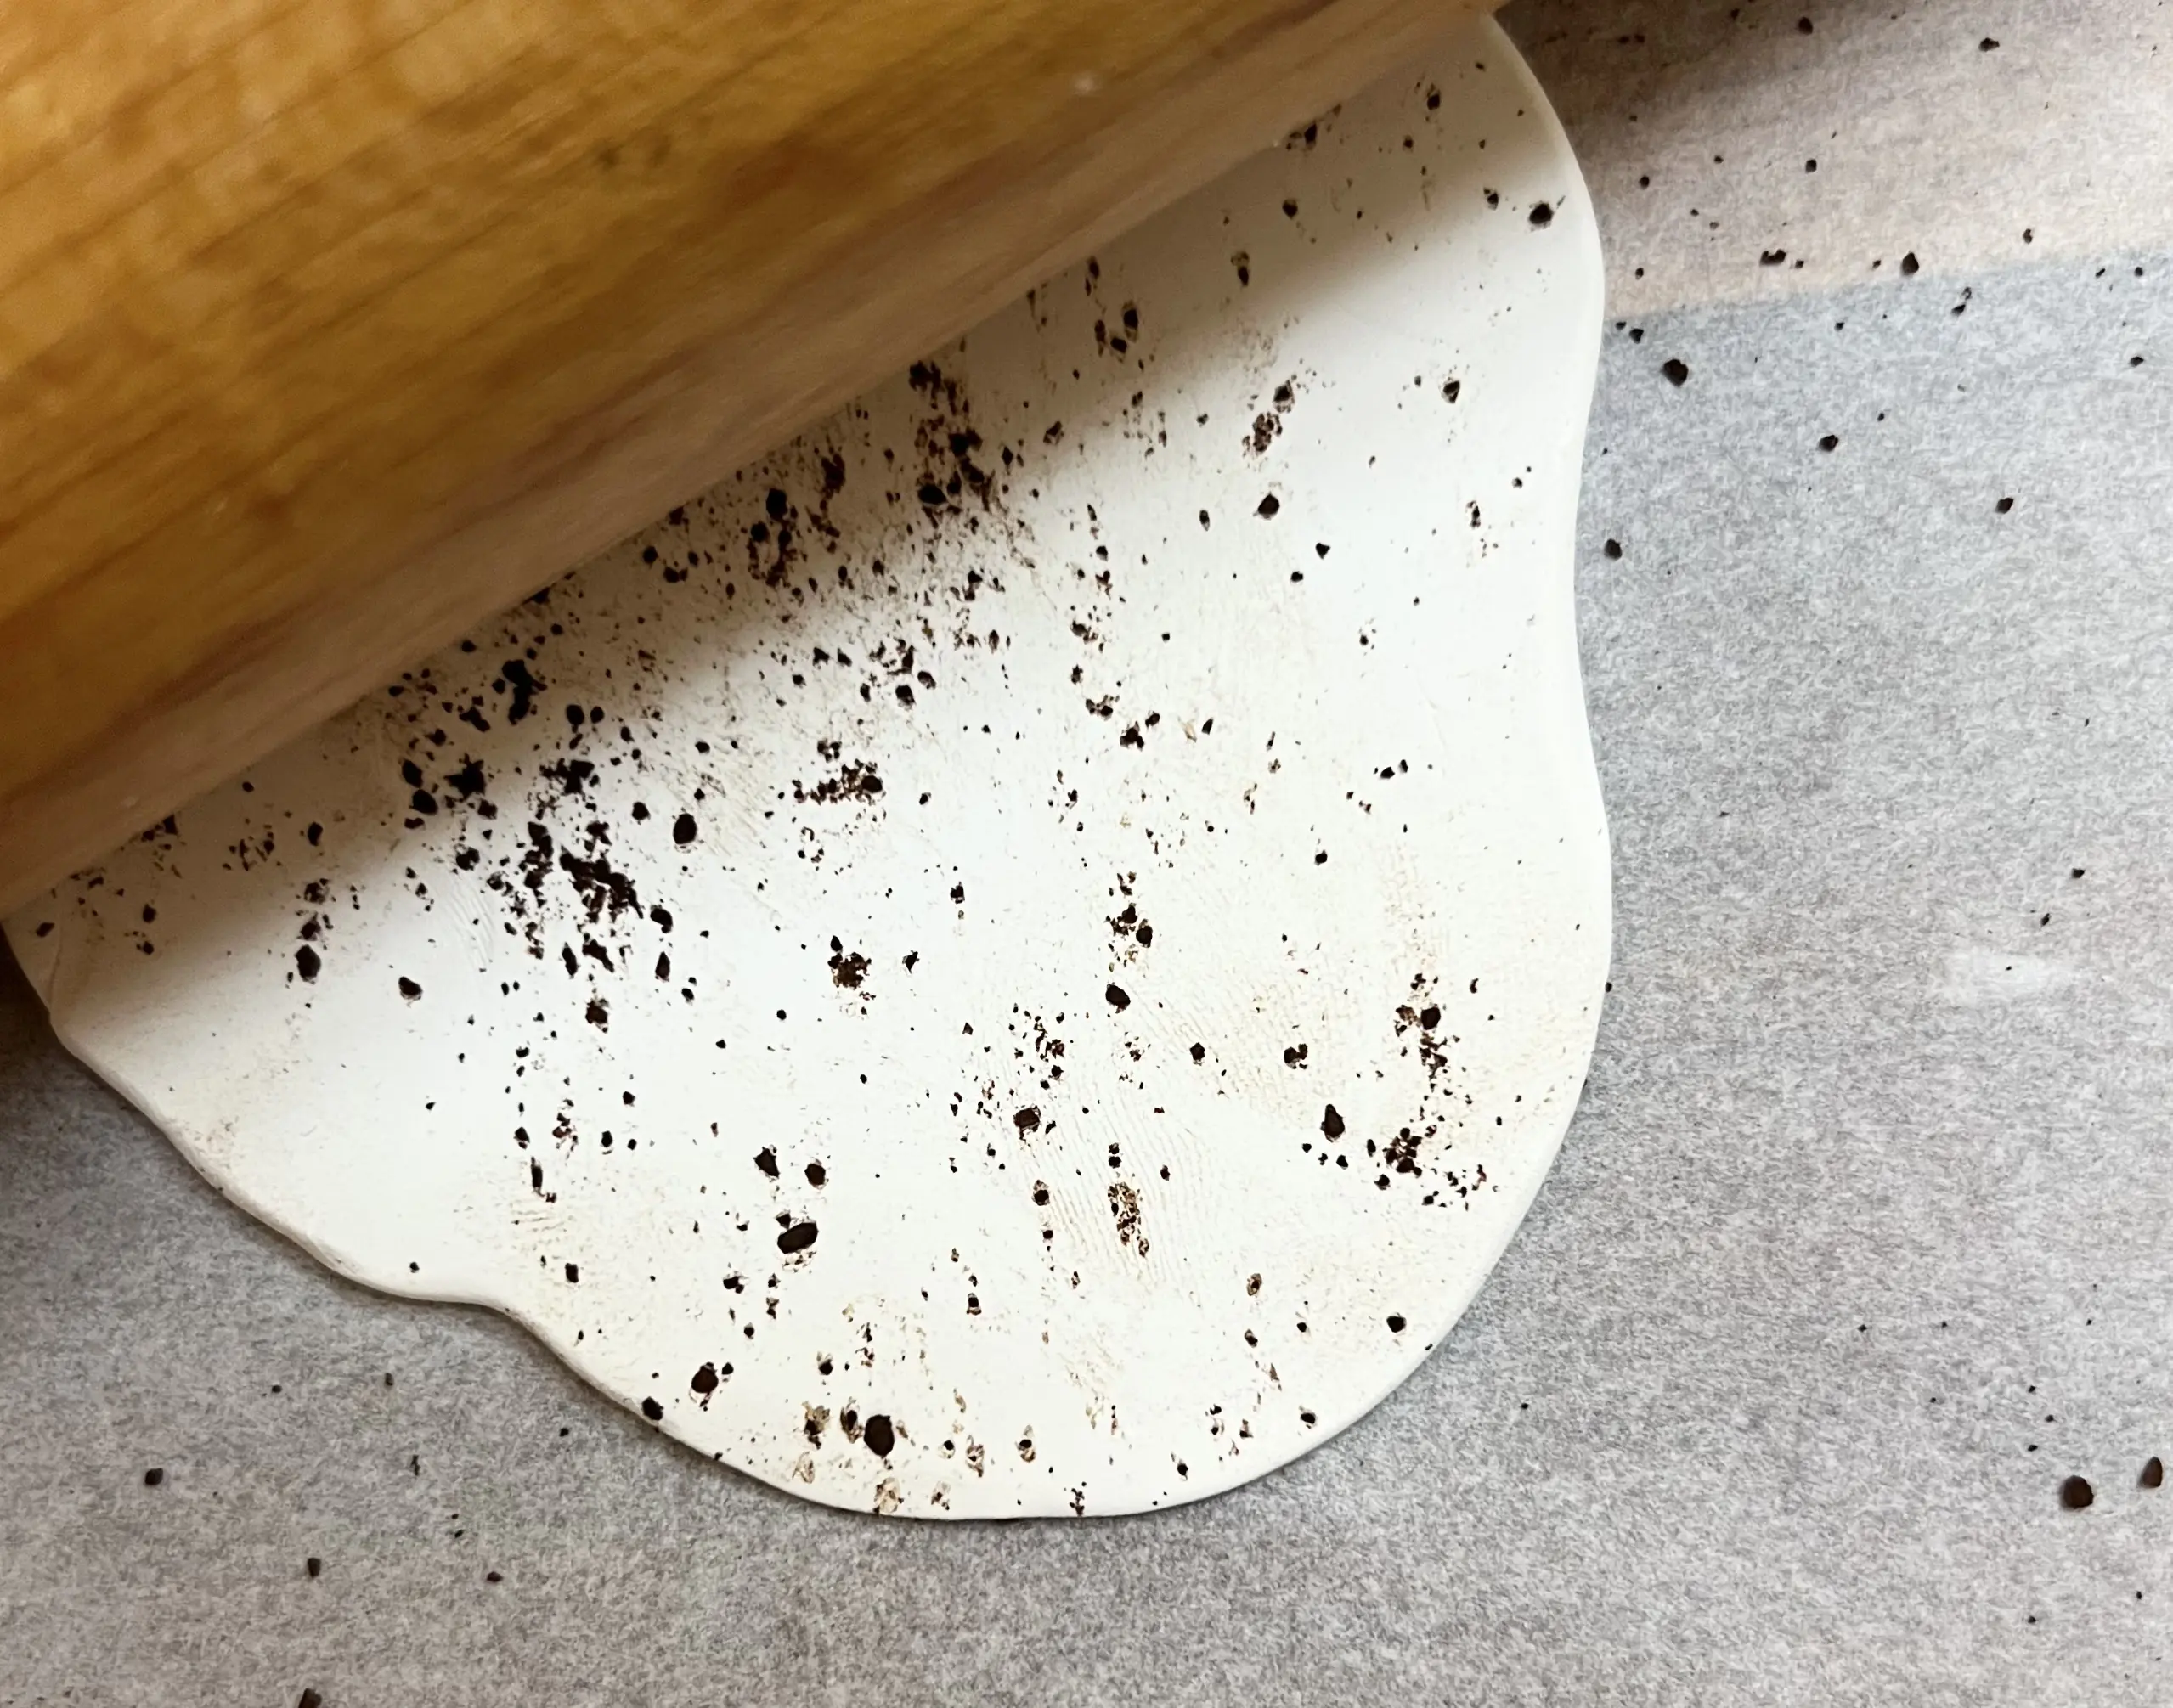
Then very gently roll over the clay again with your rolling pin. You only need enough pressure to press the coffee grounds into the surface of the clay.
I tried mixing the coffee grounds directly into the clay, but they started to smear. Instead of getting pretty little speckles, the clay started looking dirty.
For the best results, don’t knead the coffee grounds into the clay. Sprinkle them on top and gently roll them into the surface.
You only need a little bit of coffee to get the effect.
It’s such a simple trick, but those tiny speckles give plain white Sculpey clay a beautiful natural clay look.
Step 4: Use the Printable Template
I’ve provided a paper template that you can use to make the rectangle shape for your tags.
Print the template and cut out the rectangle.
Place the paper shape directly onto your rolled clay and use a craft knife to carefully cut around it.
Be careful not to pull or tug on the clay while cutting. Polymer clay is soft at this point, so pulling the knife too aggressively can stretch the rectangle and change its shape.
I found that gently cutting around the paper template worked really well and kept my tags fairly consistent.
You don’t need a special rectangle stamp outline or cookie cutter for this part—the printable pattern does the work for you.
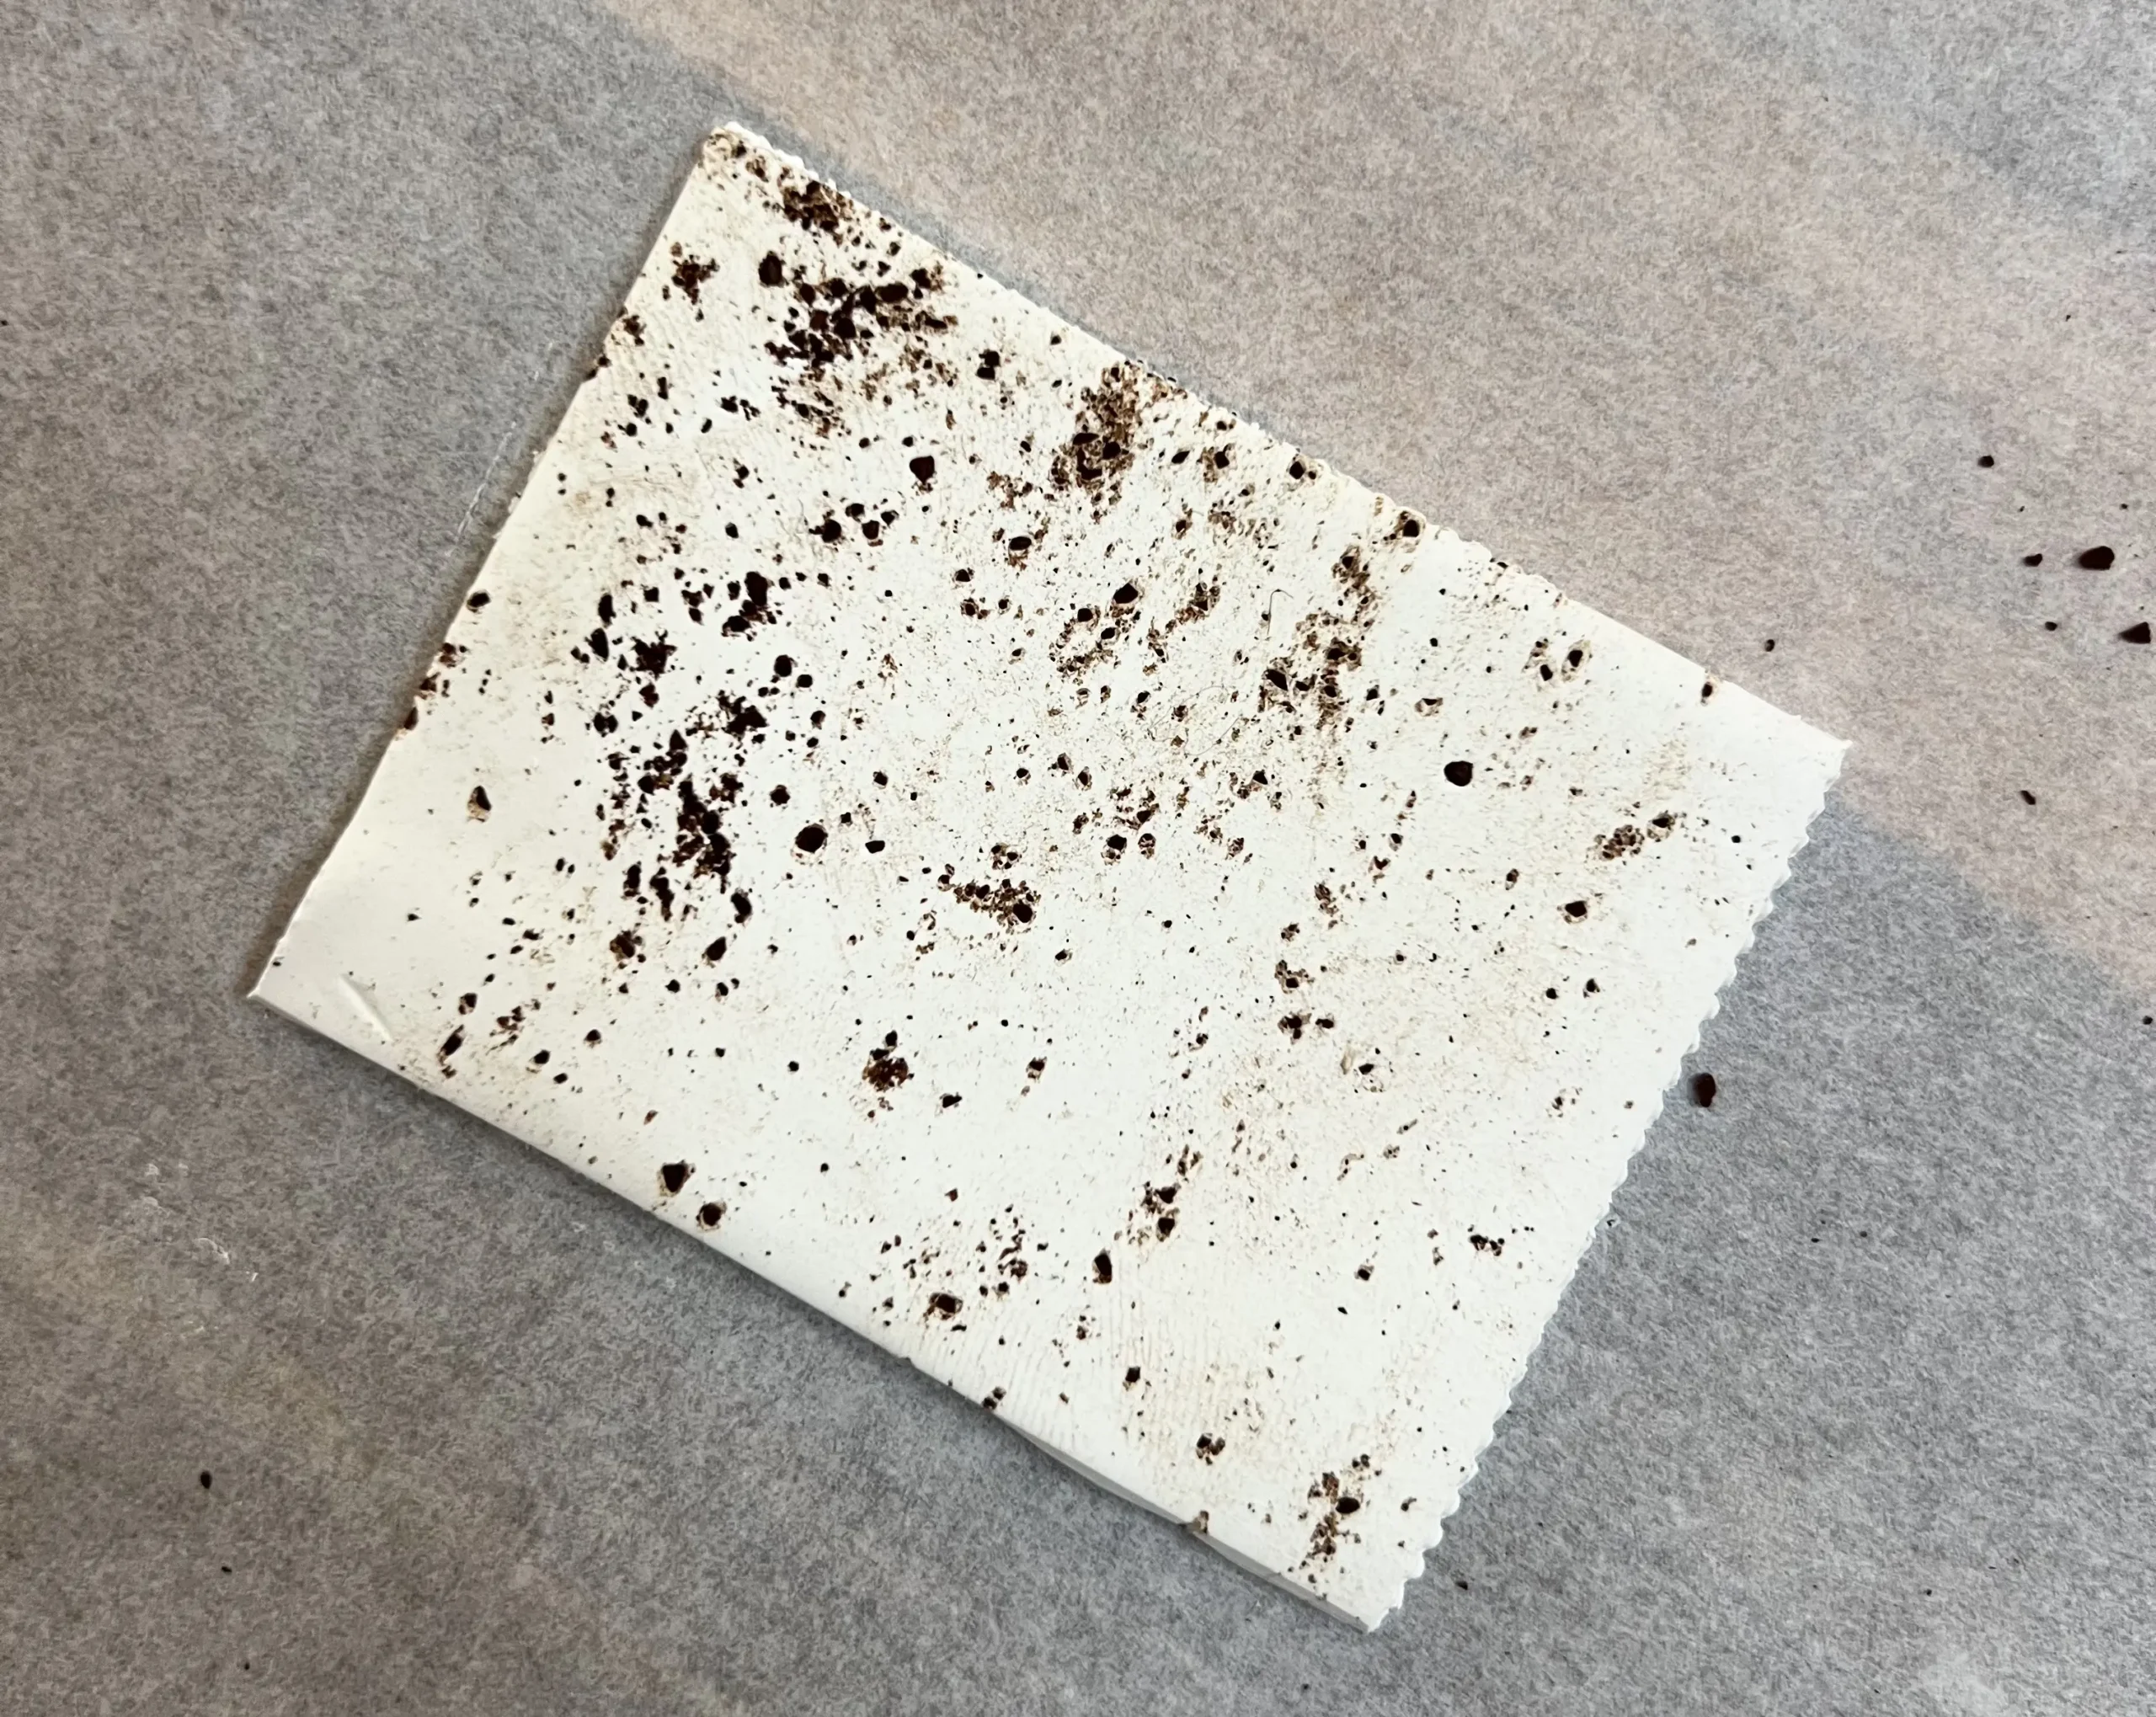
Step 5: Make the Heart Cutout
Before baking the tags, make a small heart-shaped cutout near the top of each rectangle.
This is where the yarn or string will go when you attach the finished tag to your jar.
The little heart is one of my favorite details because it makes the hole itself part of the design.
Just be sure you don’t place the heart too close to the edge of the clay. You want enough clay around it to keep the tag sturdy.
If you don’t have a tiny heart cutter, you could also make a simple round hole.
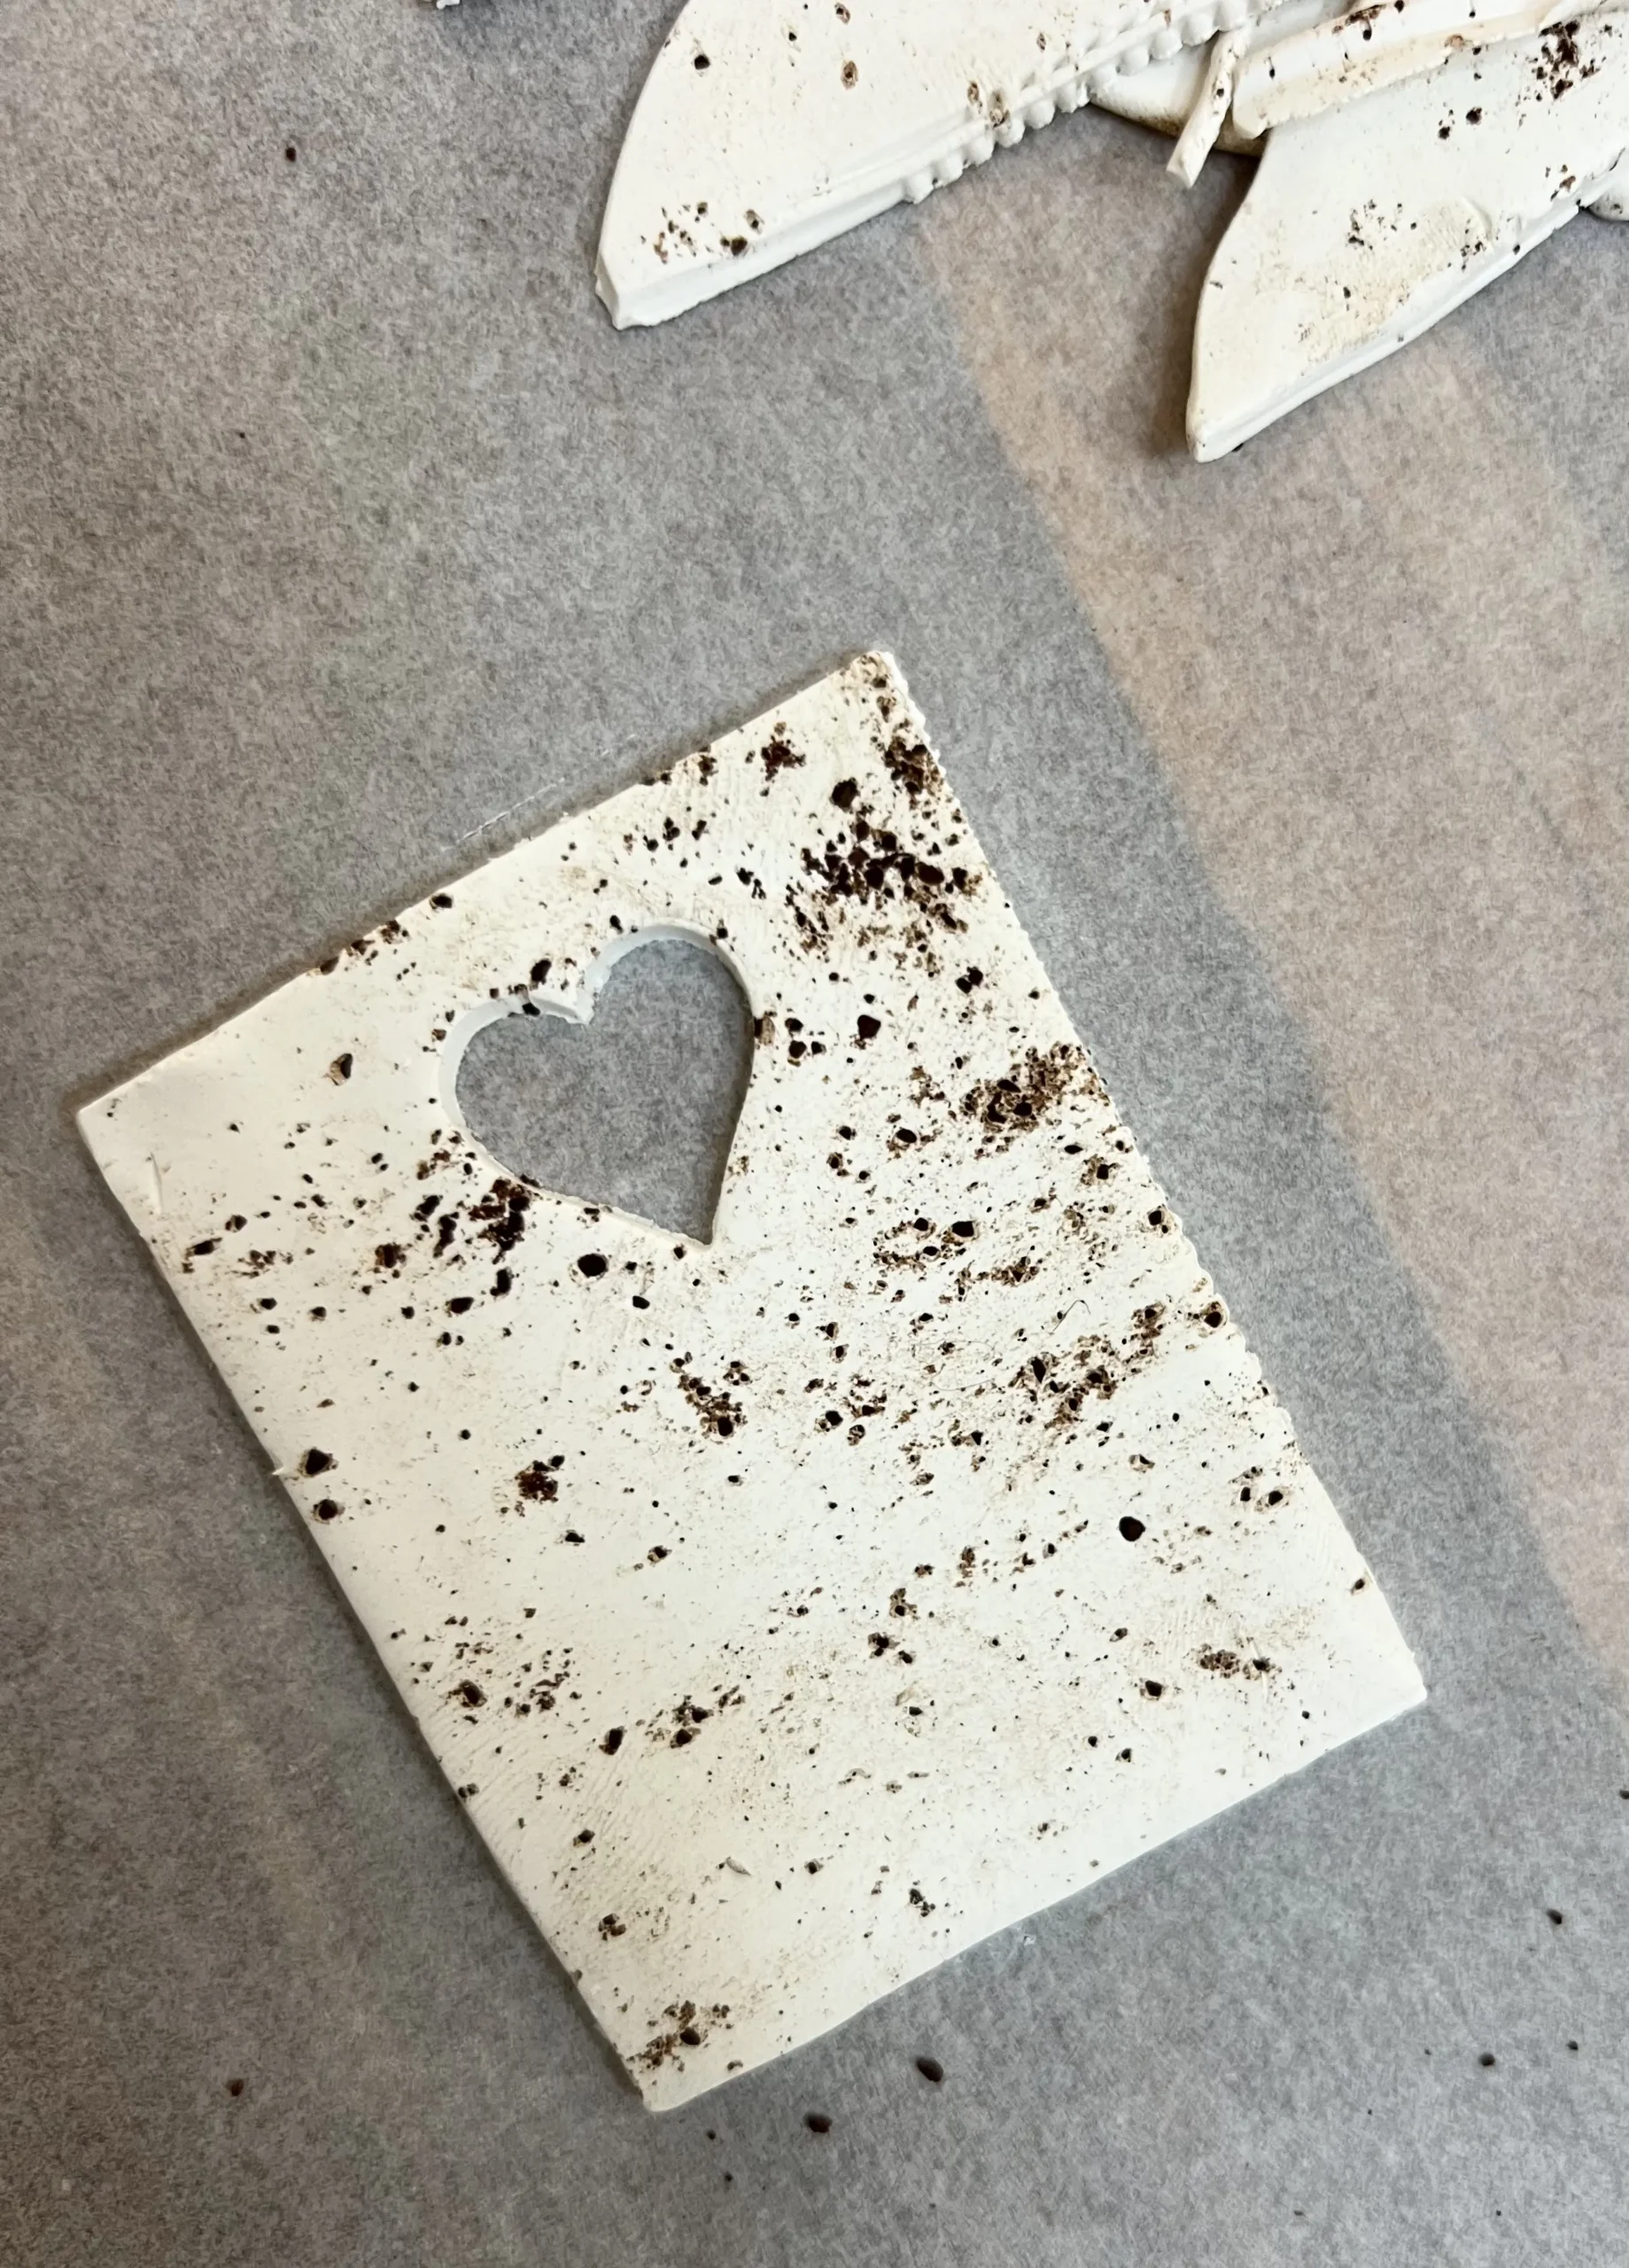
Step 6: Bake the Clay
Transfer the finished clay tags to a baking sheet lined with parchment paper.
The Sculpey clay I used bakes at 275°F. Different varieties of polymer clay can have different instructions, however, so always check your clay’s packaging for the correct baking temperature and time.
I baked my tags for about 15 minutes.
Once they’re finished, remove them from the oven and let them cool for about 30 minutes.
Make sure they’re completely cool before adding the lettering.
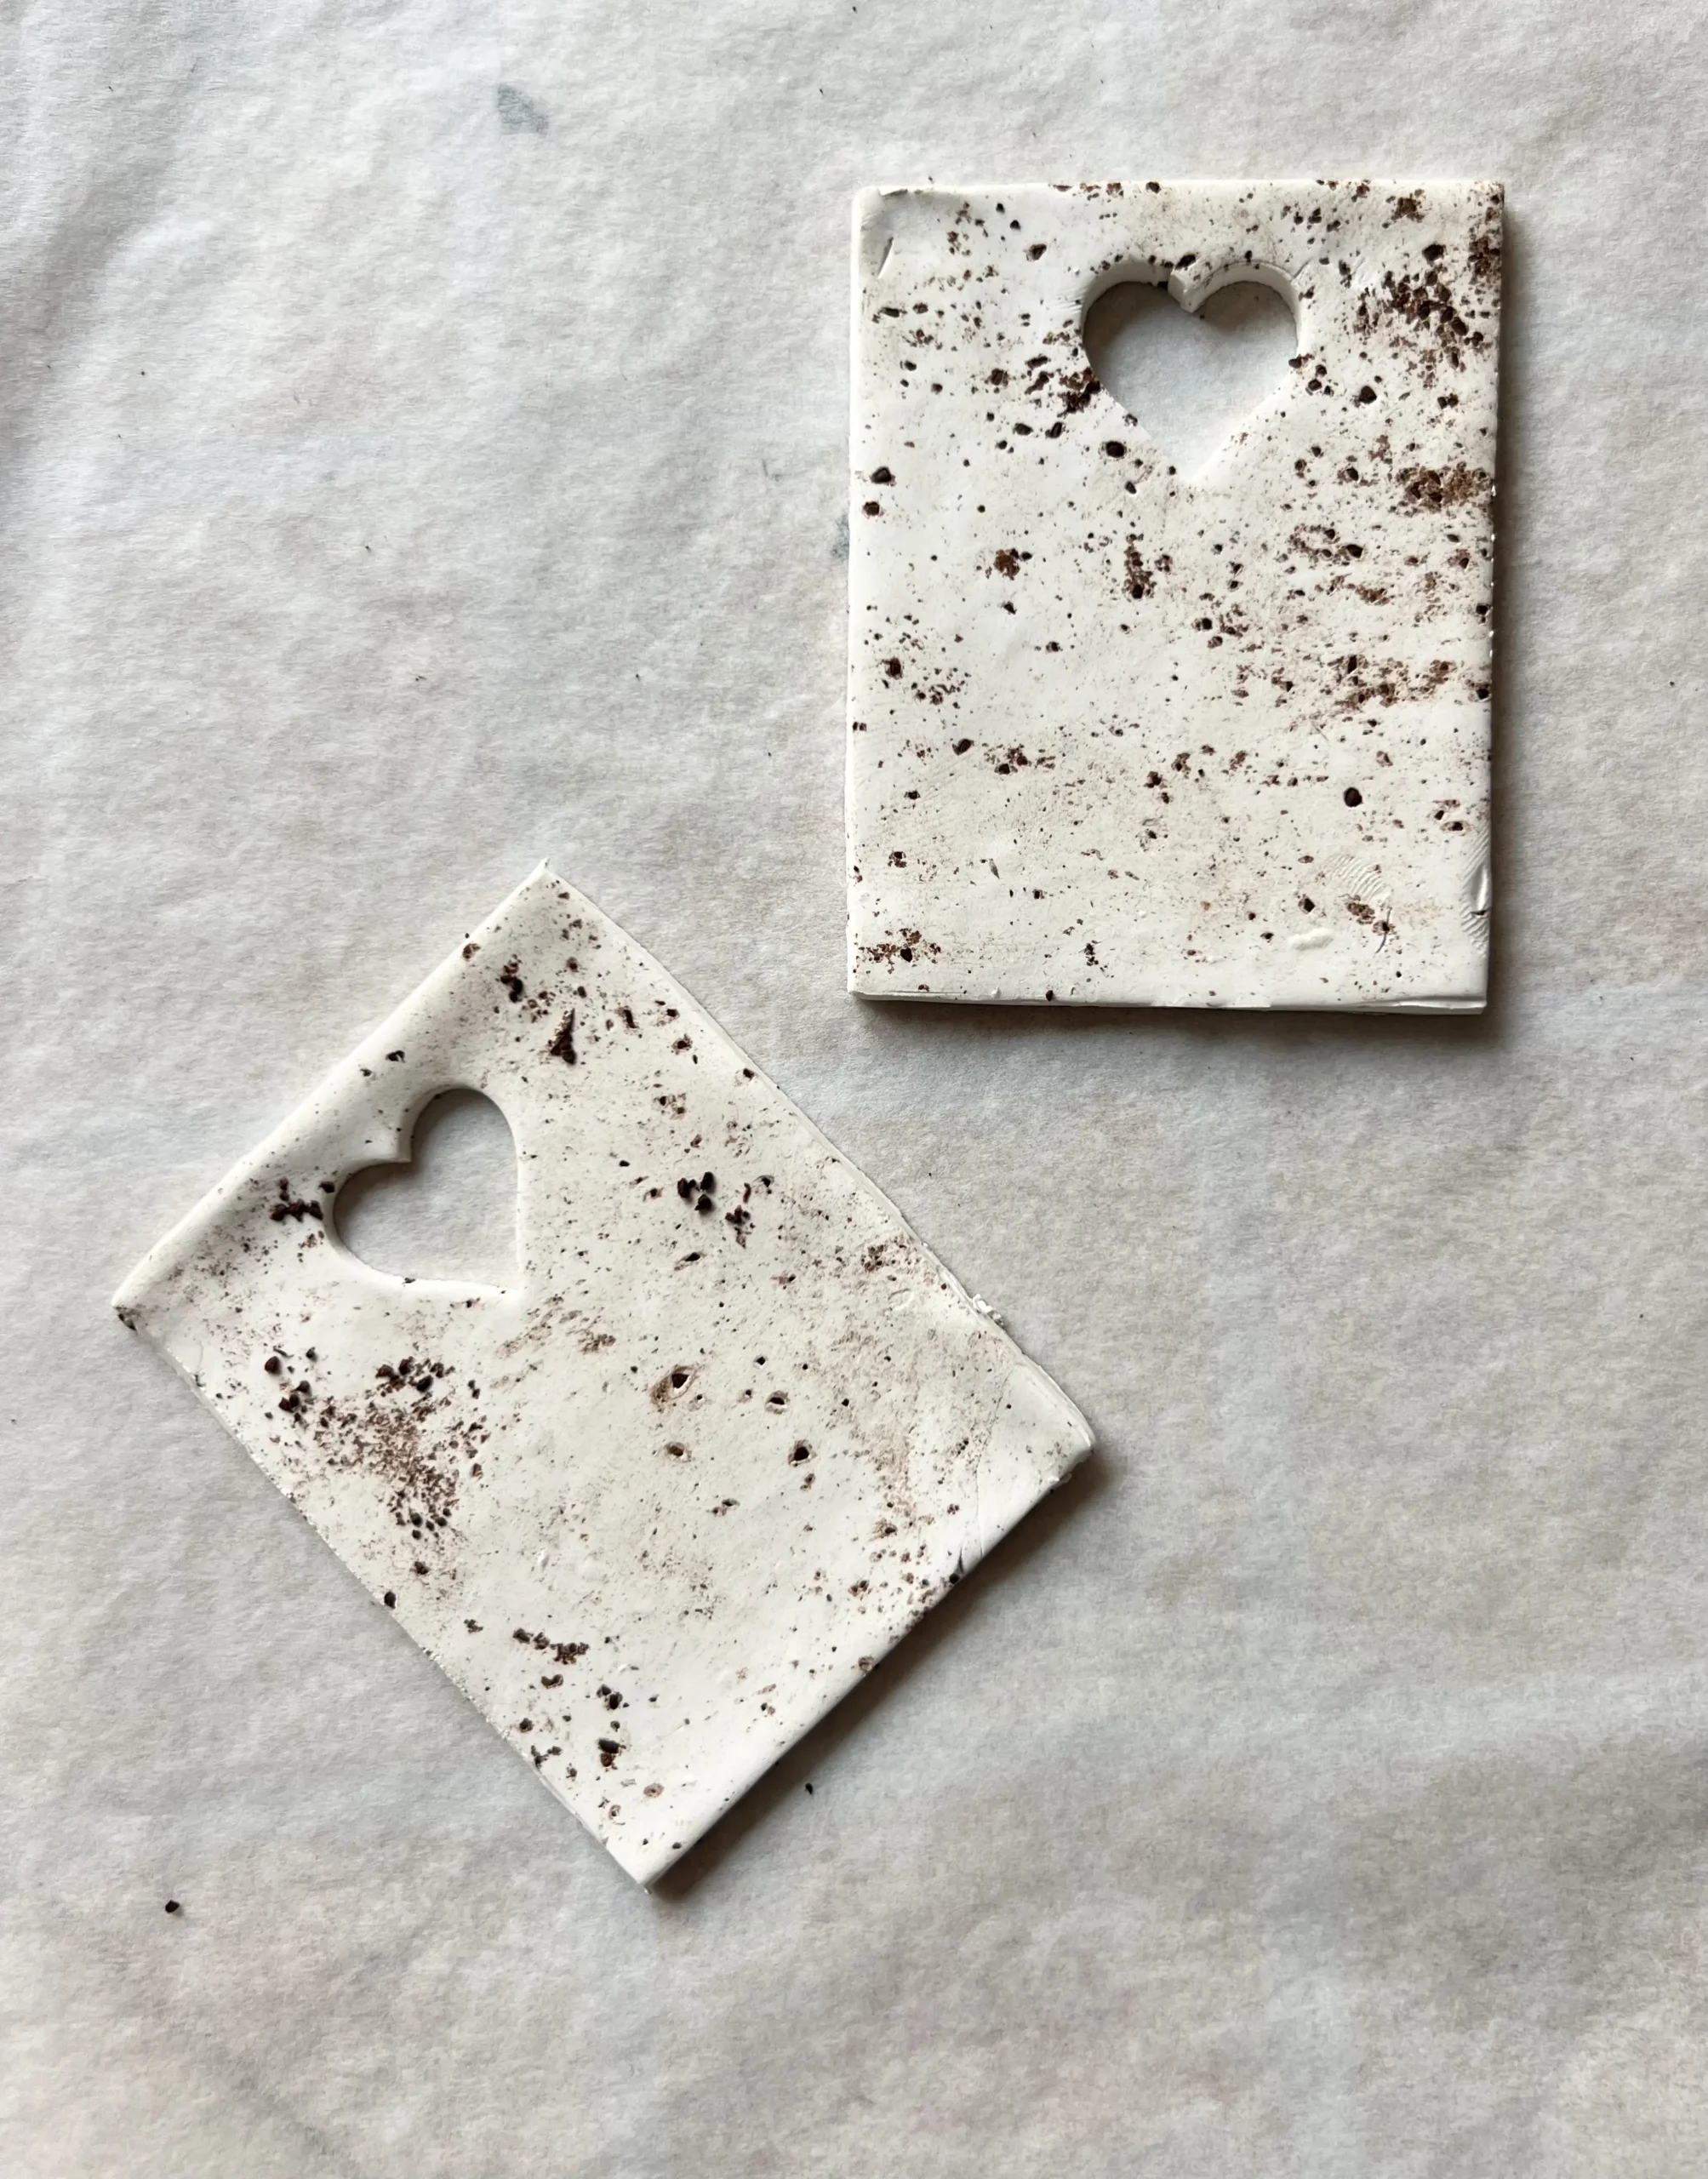
How to Add Lettering Without Letter Stamps
I love the look of stamped clay, but I didn’t have letter stamps—and I didn’t want to buy another tool just for this project!
Instead, I used a pencil and a black Sharpie.
Once your clay tags are completely cool, use a pencil to very gently write the word onto each tag.
I followed a tall, narrow Rae Dunn-inspired font for mine. Using a pencil first gives you the perfect opportunity to play around with the spacing and size of the letters before making anything permanent.
Don’t press hard with your pencil. You only need a light line that you can follow.
Once you’re happy with the lettering, carefully trace over the pencil lines with a fine black Sharpie.
Take your time, especially on those narrow letters.
That’s it!
You get the look of simple hand-lettered clay tags without needing a whole set of letter stamps.
If you want to experiment with a different style, you could try a chalk marker or even watercolor paint or acrylic paint. I’d recommend testing anything different on a scrap piece of baked clay first.
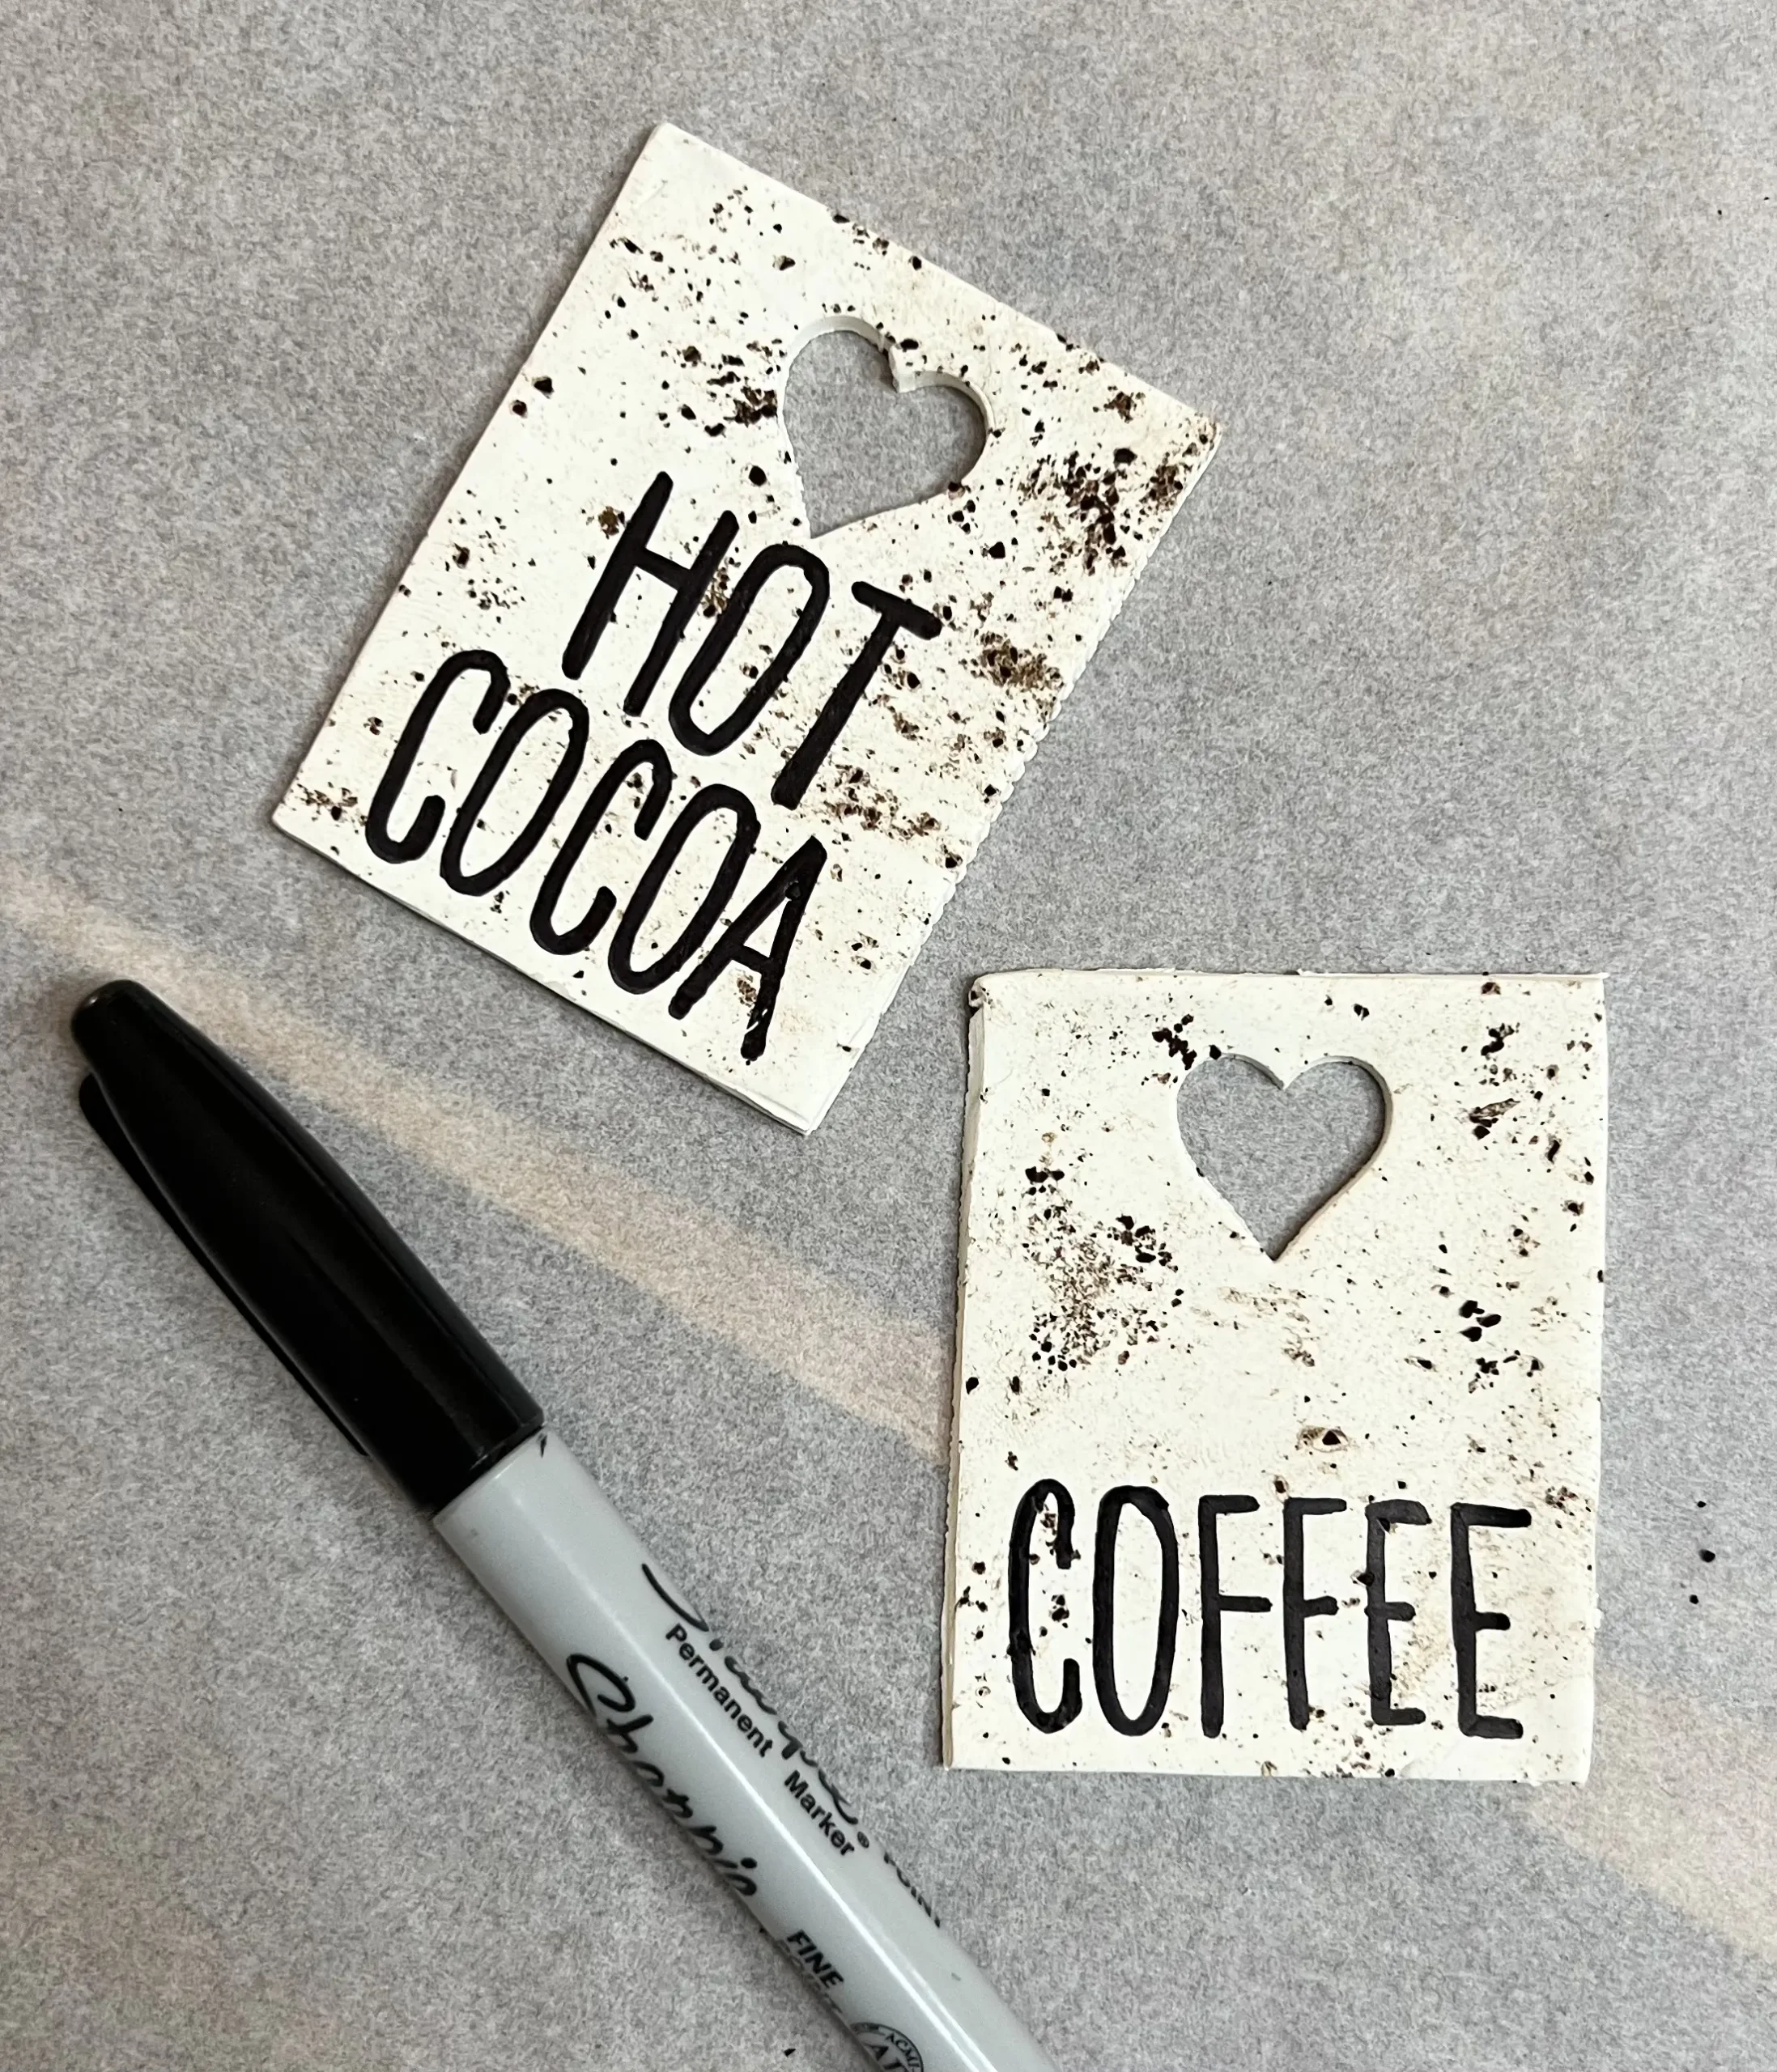
What Should You Put on Your Pantry Tags?
The nice thing about making your own DIY tags is that you can label them with whatever your family actually keeps in the pantry.
Here are some ideas:
- Flour
- Sugar
- Brown Sugar
- Oats
- Rice
- Pasta
- Coffee
- Tea
- Cocoa
- Cornmeal
- Baking Soda
- Baking Powder
- Cornstarch
- Chocolate Chips
- Cinnamon
- Garlic
- Basil Salt
- Sea Salt
- Granola
- Nuts
- Crackers
- Lentils
- Beans
You can make a large matching set for your entire pantry or just make a few for the glass jars that sit out on your kitchen counter or coffee bar.
You can also change the size of the tag if you need something smaller for spice jars or larger for big pantry containers.
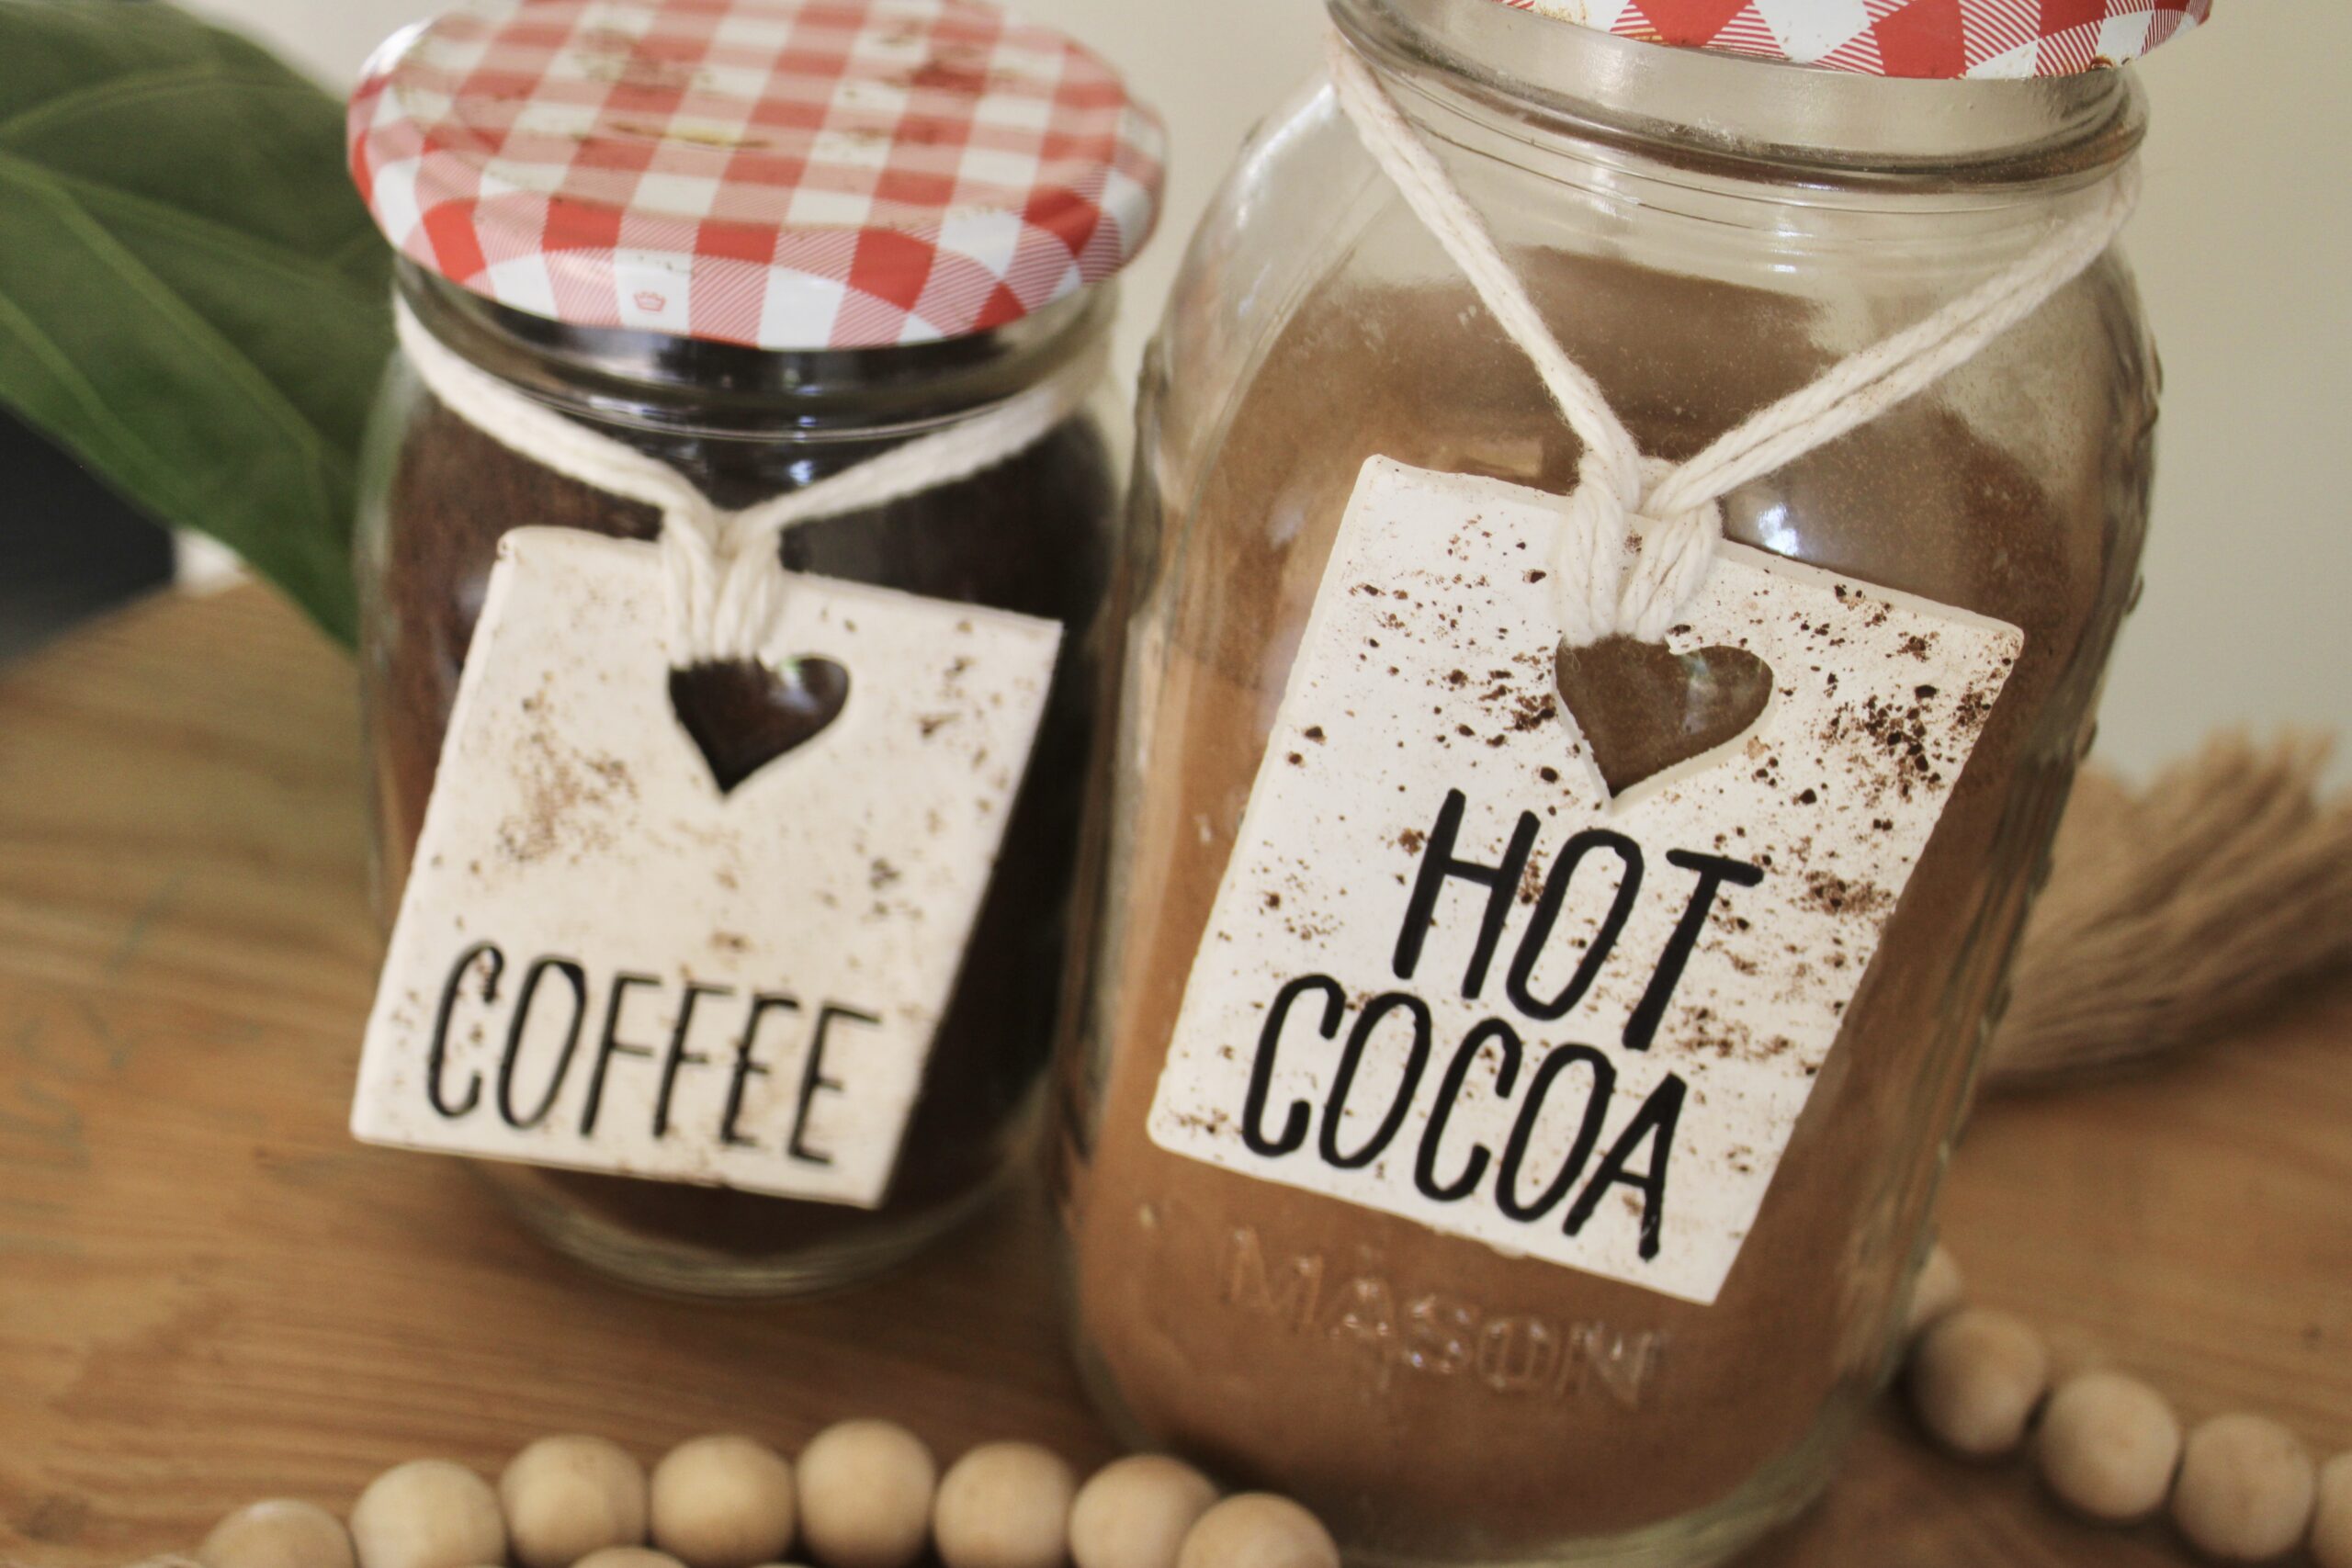
Attach the Tags to Your Jars
Once the lettering is finished, cut a piece of yarn, twine, or string.
Thread it through the heart cutout and tie it around the neck of your glass jar.
Trim off any extra string, and you’re done!
I love how the yarn adds even more texture to the finished jars. You could use natural twine for a rustic look, thin cotton yarn, or another string that coordinates with your kitchen.
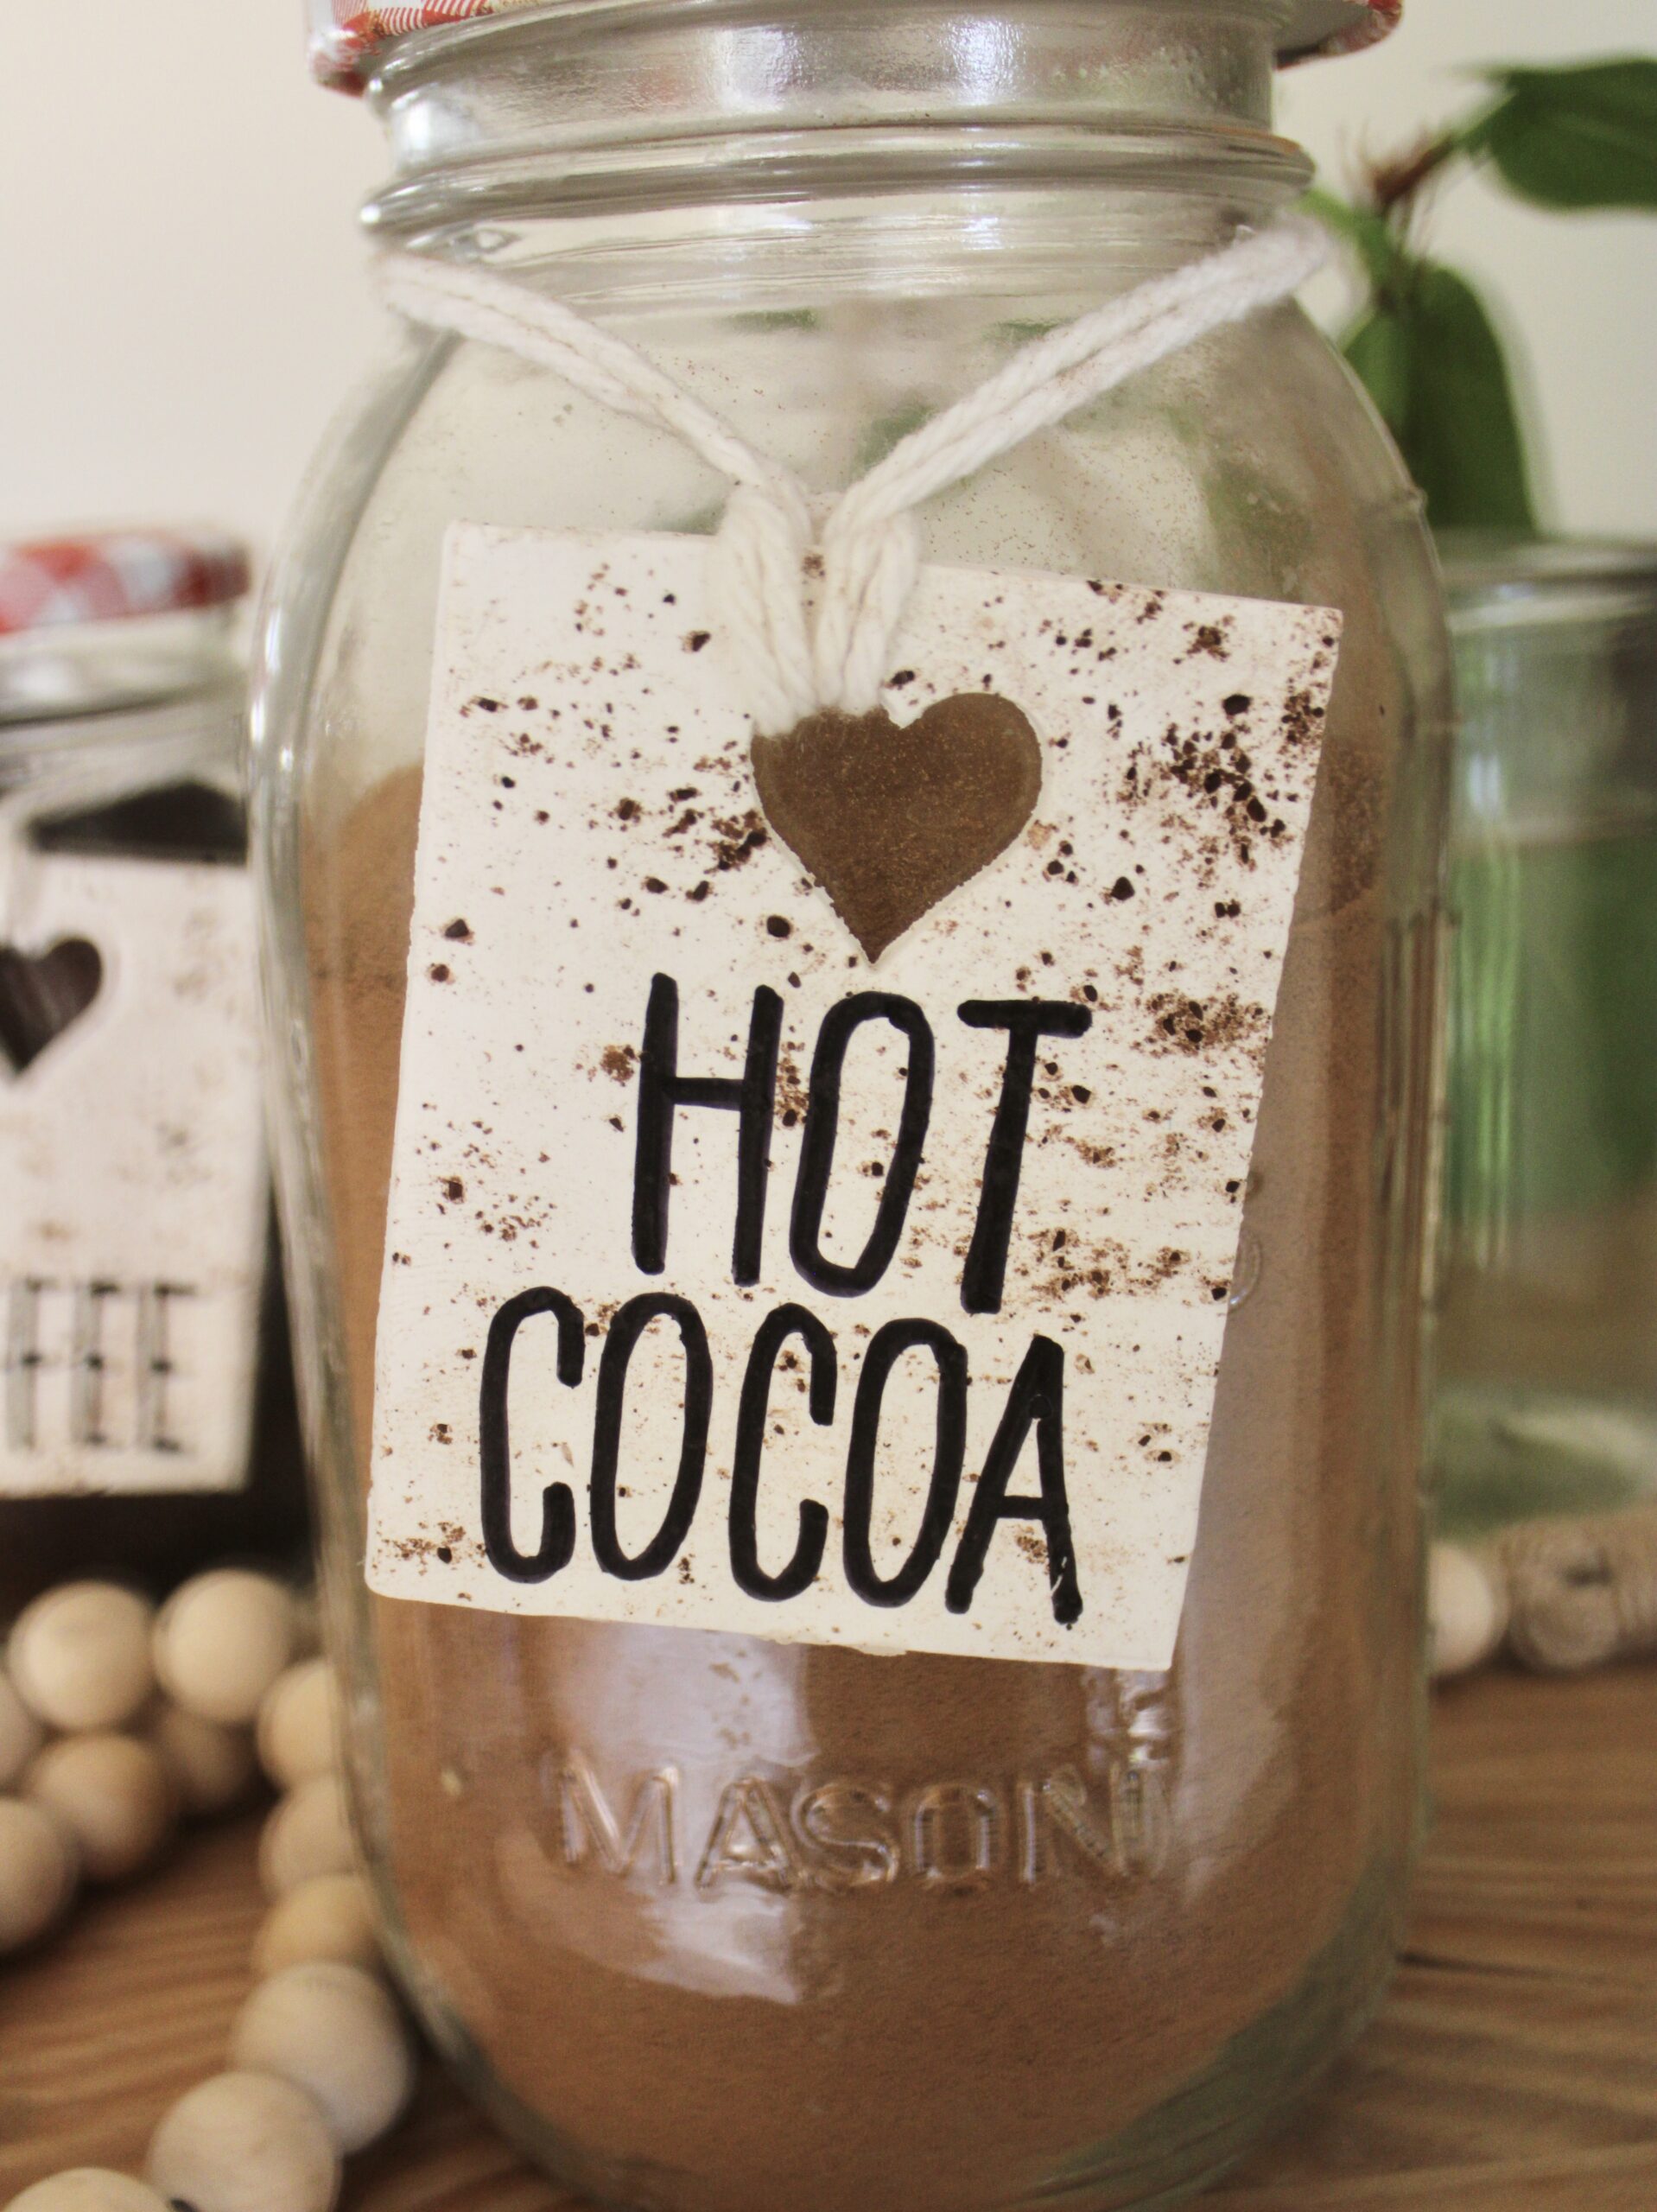
Are Polymer Clay Tags Durable?
I was really happy with how sturdy these turned out.
Baked polymer clay is very lightweight but hardy, so the finished tags don’t feel heavy or overly fragile hanging from the jars.
Of course, I wouldn’t intentionally throw them onto a hard floor, but they’re much more durable than they might look!
That’s another reason I chose polymer clay instead of air-dry clay for this project. I wanted these to be something I could actually use and move around without constantly worrying about them.
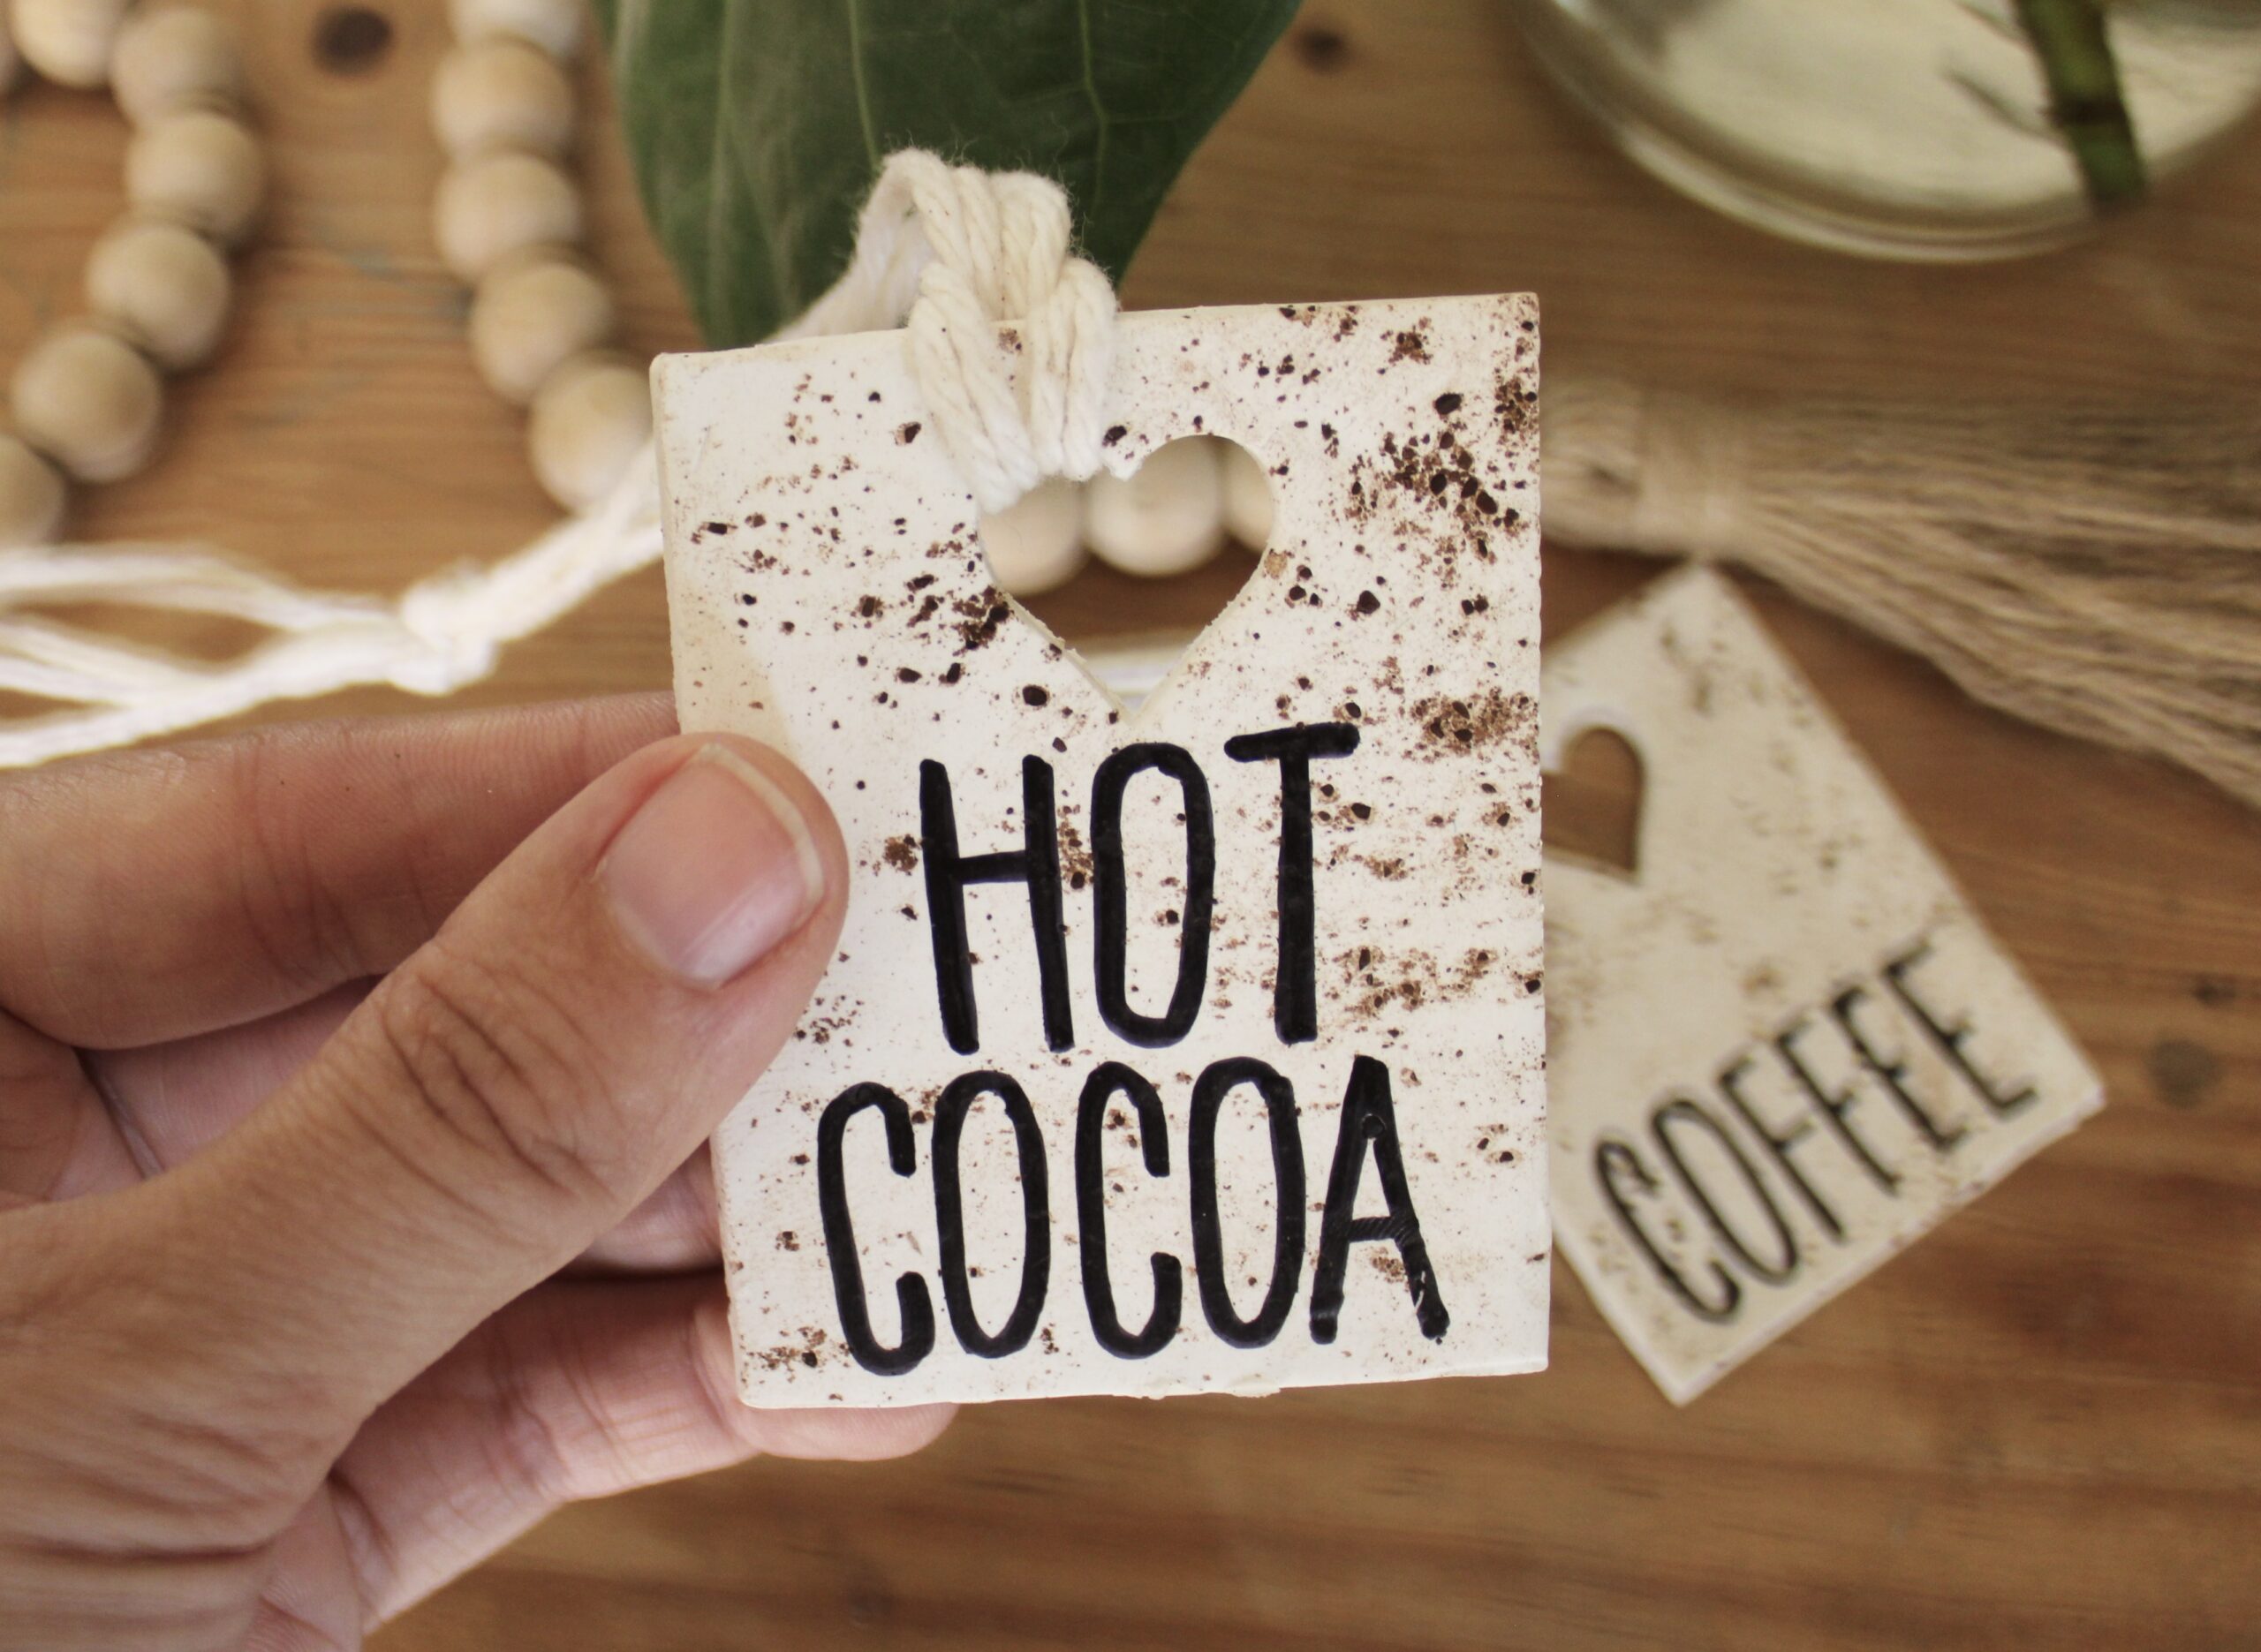
Do Polymer Clay Tags Need to Be Sealed?
For these indoor pantry tags, I didn’t find it necessary to cover the entire piece with Mod Podge or an acrylic sealer.
If you’re using a different paint or marker, you may want to test it first to make sure it doesn’t rub off.
Polymer and air-dry clay are also popular for DIY plant markers, plant labels, plant stakes, herb garden markers, and other garden art. If you’re making something similar for your own garden or garden beds, however, keep in mind that outdoor use is very different from hanging a tag on a pantry jar.
For outdoor projects, you’ll need to make sure the clay, lettering, and acrylic sealer you choose can handle exposure to water and weather.
These particular DIY clay tags are intended for indoor use.
DIY Clay Tags Make a Great Gift
These would also be adorable as a handmade gift.
Make a coordinating set of tags, add them to a few pretty glass jars with metal lids, and fill the jars with something useful or delicious.
Here are a few gift set ideas:
- Coffee, sugar, and tea
- Flour, sugar, and oats
- Pasta, rice, and lentils
- Cocoa, chocolate chips, and marshmallows
- Baking soda, baking powder, and cornstarch
- Coffee beans, cocoa, and sugar
You could even fill the jars with homemade mixes or treats.
It’s a creative way to give someone something useful while still having that personal handmade touch.
And if you know someone who just moved into a new home or reorganized their kitchen, a set of pantry jars and handmade clay tags would make such a cute housewarming gift.
An Easy Way to Dress Up Glass Pantry Jars
Polymer clay really is one of the crafting world’s coolest materials. You can shape it, stamp it, cut it, add texture to it, and keep changing things until you’re happy with the design. Then a short time in the oven turns it into a permanent creation.
These little pantry tags are a perfect example of how you don’t need a complicated project to make something really cute.
The coffee grounds might be my favorite part. It’s such a magical little thing to sprinkle them onto plain white clay and suddenly get this pretty, speckled finish.
And the best part is that every tag turns out just a little bit different.
You don’t need fancy equipment, plastic containers, expensive letter stamps, or a huge collection of supplies. White Sculpey clay, a rolling pin, a few coffee grounds, a Sharpie, and some yarn are enough to create beautiful DIY tags for the jars you already use.
Tie them onto glass jars, fill them with your pantry staples, and you’ve got functional storage that also looks pretty sitting on the shelf.
This is definitely one of those easy projects that gives you a lot of impact for a very little bit of work!
Some of the links on sixcleversisters.com are affiliate links that pay a commission if a purchase is made. Six Clever Sisters, LLC is a participant in the Amazon Services LLC Associates Program, an affiliate advertising program designed to provide a means for sites to earn advertising fees by advertising and linking to amazon.com.