How to Make Bracelets with Beads and String
Making your own jewelry is such a fun way to create something beautiful that is completely your own. A handmade personalized bracelet is a perfect Christmas gift for someone you love! If you love colorful beads, simple jewelry-making projects, or handmade gifts, this tutorial will show you how to make custom bracelets with beads and string using a few basic supplies and some easy techniques.
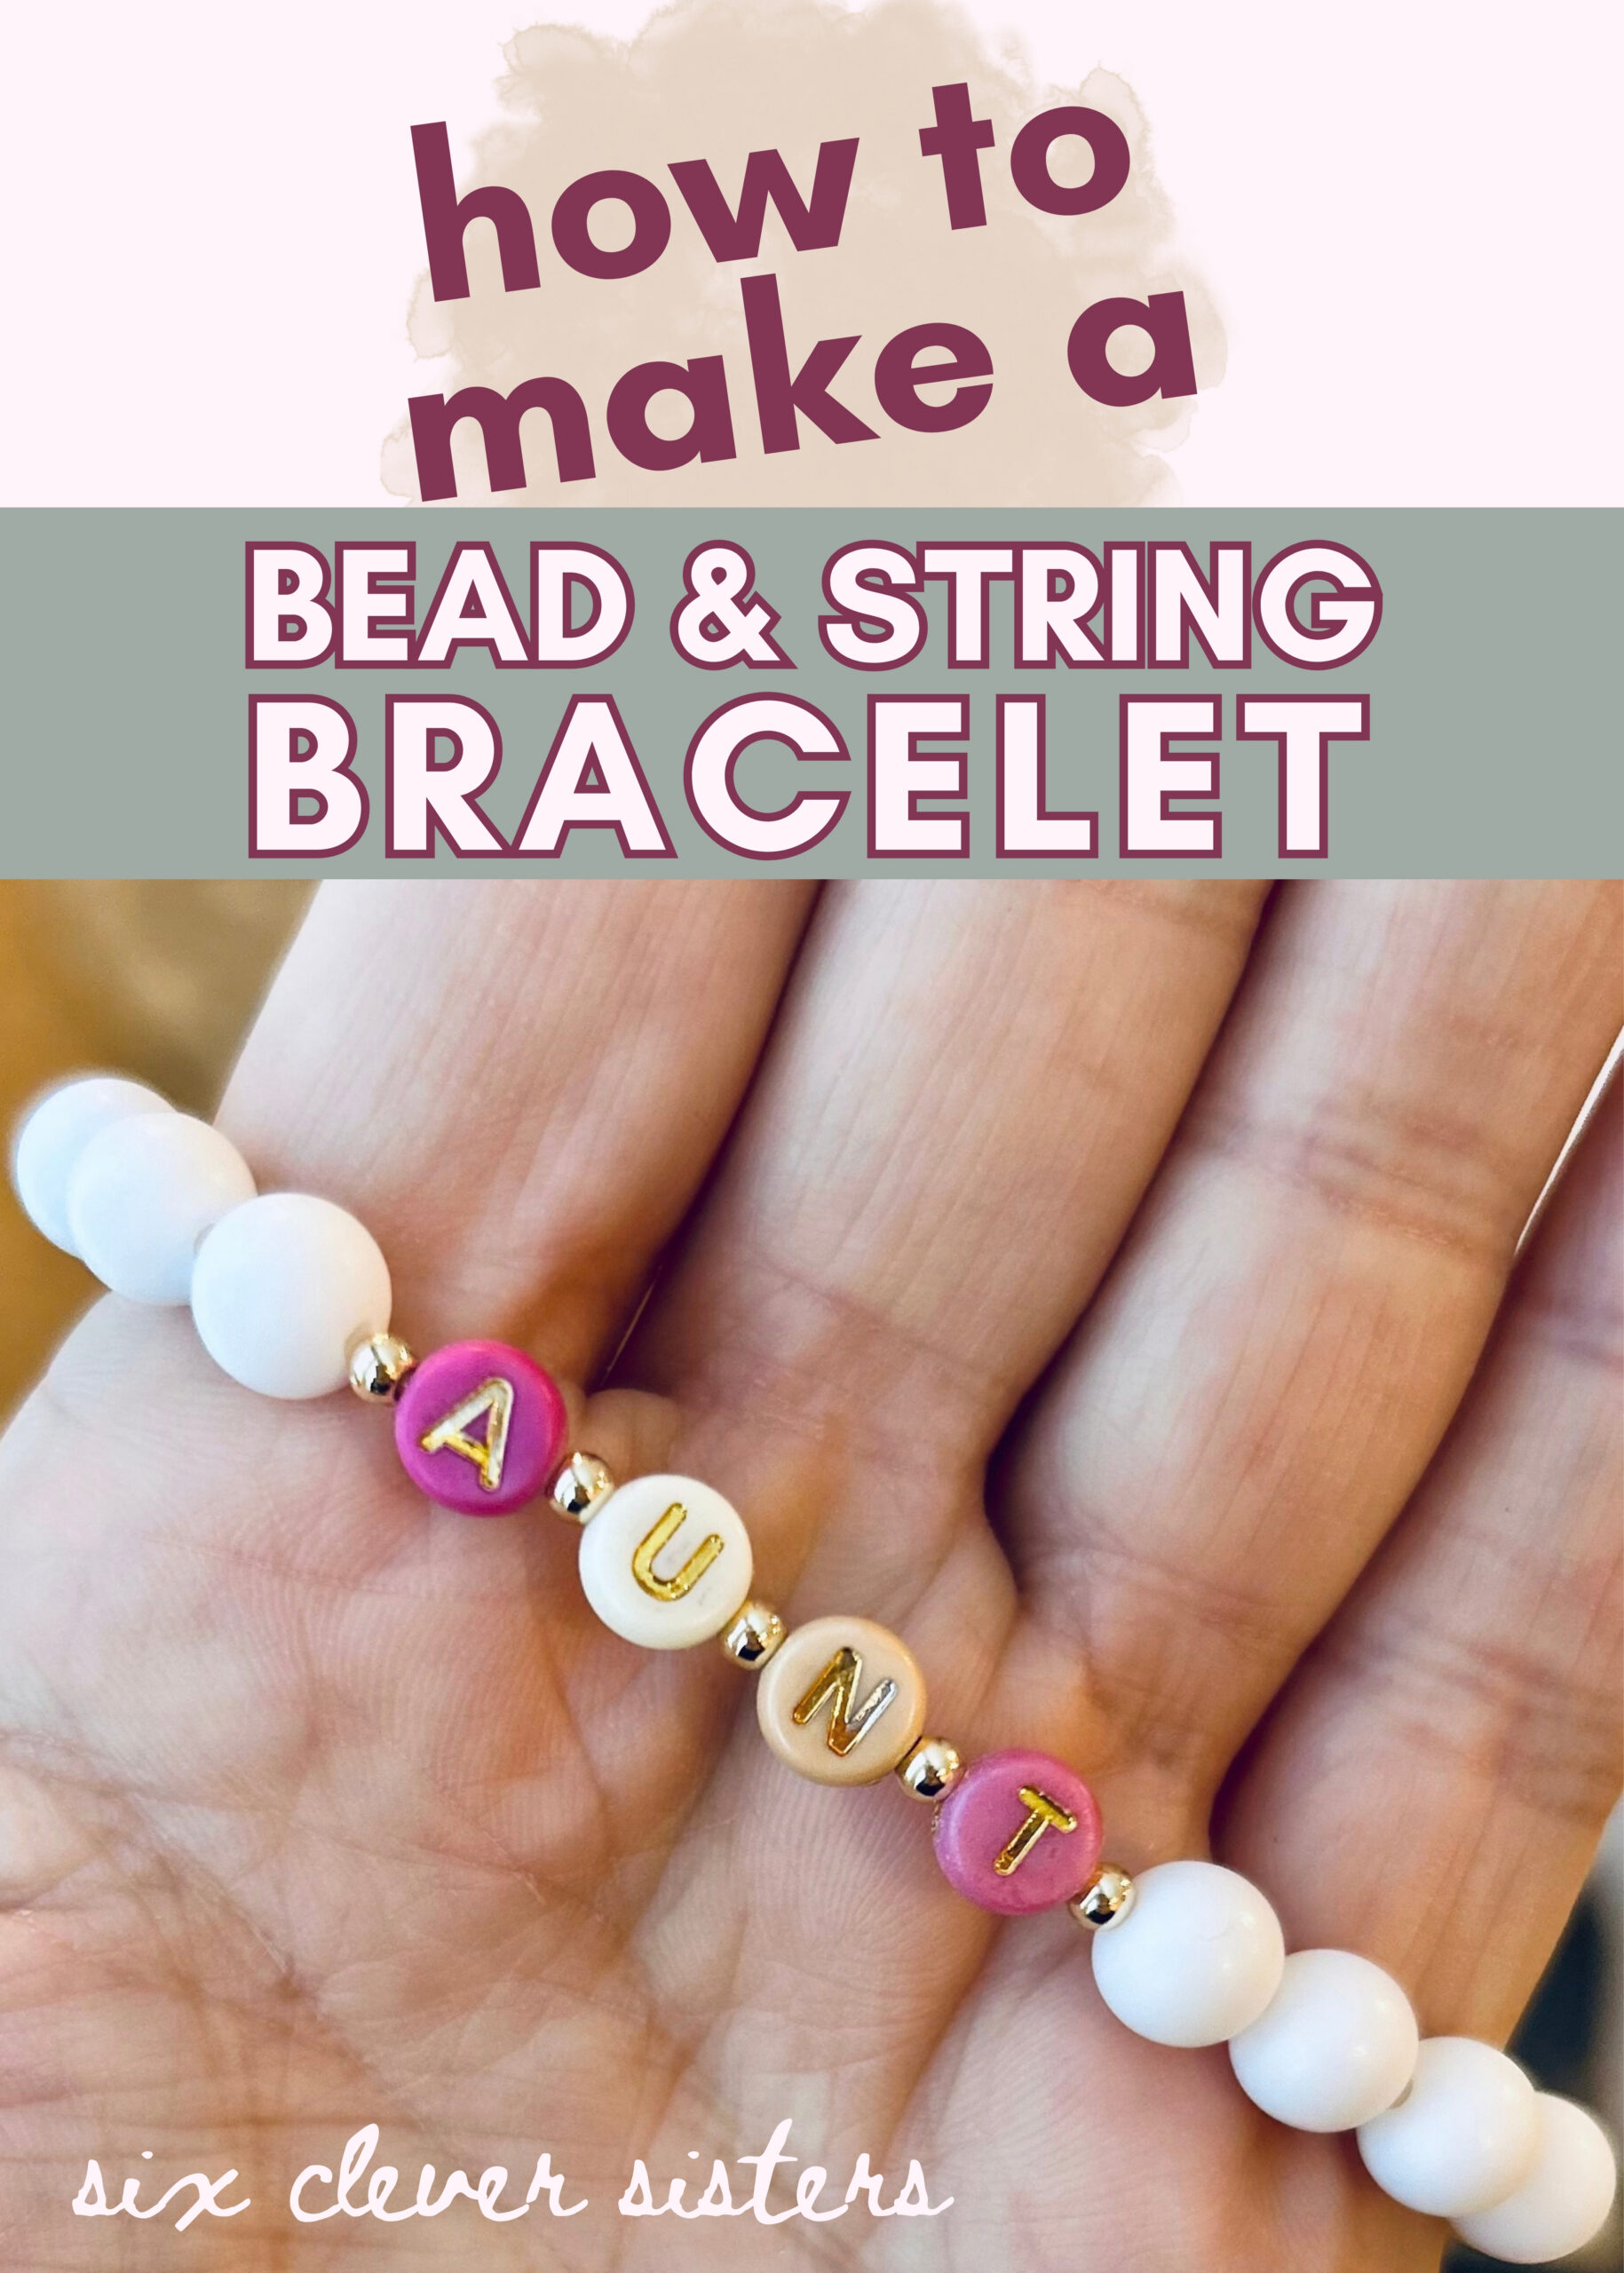
This particular beaded bracelet is one of my favorite DIY projects because it looks much more complicated than it actually is. With the right combination of beads, elastic cord, and a few simple steps, you can make your own beautiful stretch bracelet in no time.
I’ll walk you through exactly how I made this bracelet, including how to measure your cord, add the beads, tie a secure knot, and finish the ends of your bracelet so they are neat and comfortable to wear.
The best part is that once you learn these basic techniques, you can use them to make all kinds of diy bracelets, friendship bracelets, and stretchy bracelets in different colors and styles.
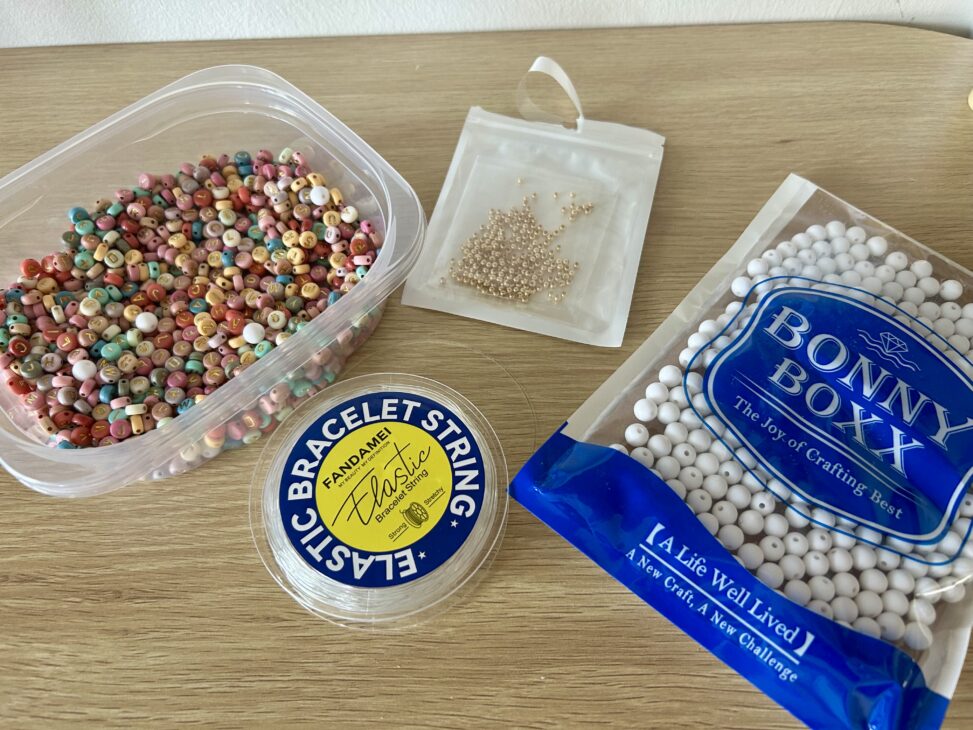
Supplies for This Beaded Bracelet
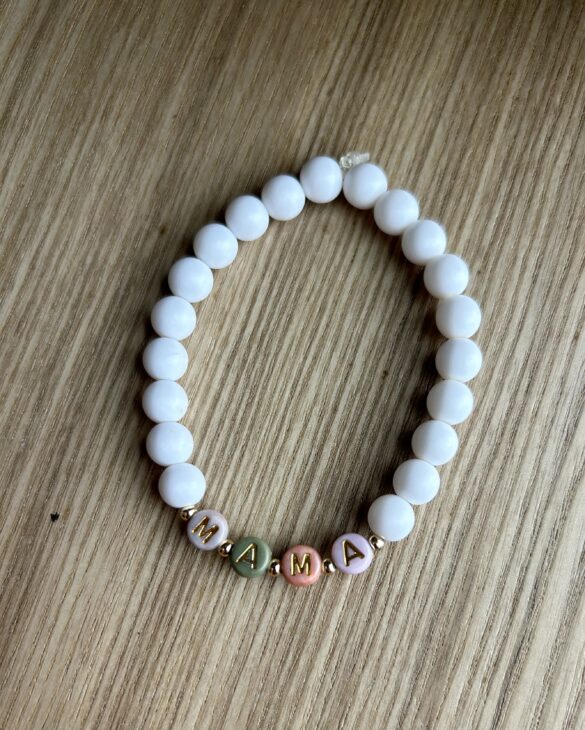
For this particular bracelet, I used the exact beads shown in the finished bracelet pictured in this post. I’ll link each of the beads below so you can easily find the same supplies if you want to recreate this exact design.
You’ll need:
- Elastic cord
- The specific beads used in this bracelet (links below)
- Scissors
- Binder clip or masking tape
- Measuring tape or ruler
- Super glue
The beads
Here are links for the exact beads I used for this particular bracelet:
You can substitute other different beads if you want to create your own version, but if you want the same final product pictured here, I recommend using the exact beads linked above.
When choosing substitutions, pay attention to the size of the bead holes. Some beads have very small holes, while others are considered a large-hole bead and can easily accommodate thicker elastic cord.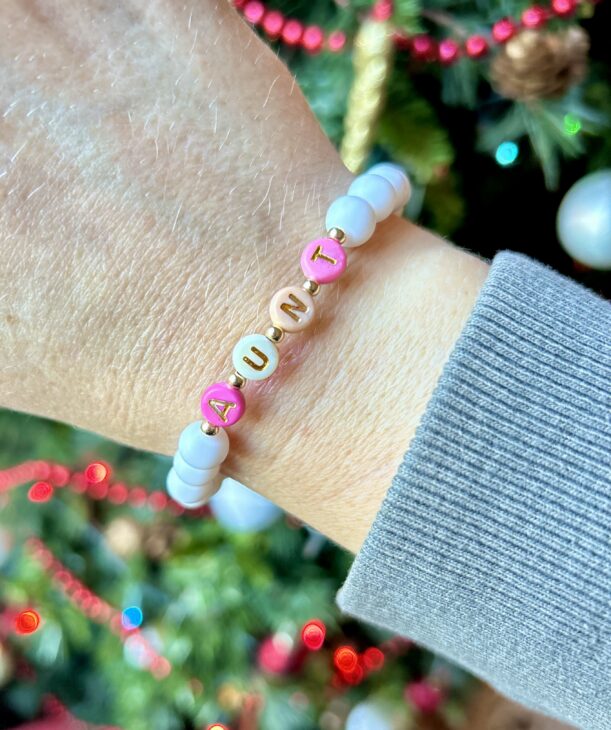
What Kind of Cord Should You Use?
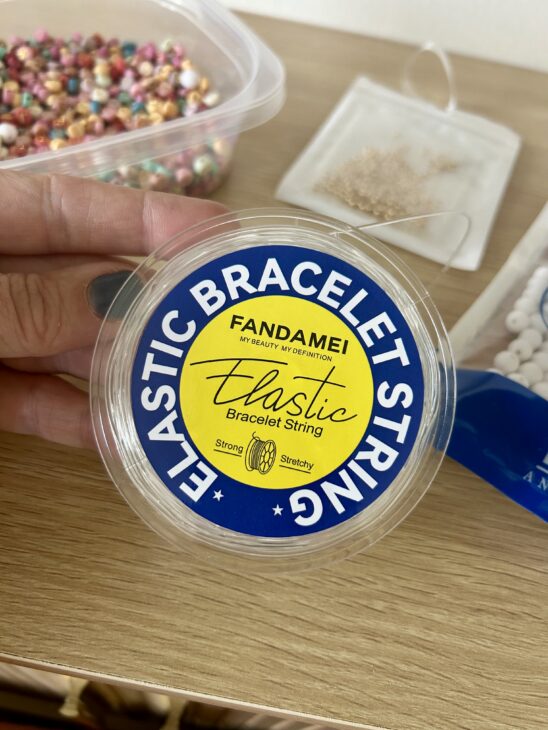
For a bracelet like this, I recommend using jewelry-making elastic cord. Stretch cord makes it easy to create elastic bracelets that can slip comfortably over your hand without needing a clasp.
I used this clear elastic cording from Amazon for this bracelet.
The thickness of the cord is important because you want it to fit through all of the bead holes. A thicker cord may work well with larger beads, but some smaller beads and seed beads have smaller holes.
If your bracelet includes heavier beads, make sure the elastic cord you choose is strong enough to support the weight.
A jewelry-making tip: Before stringing all of your beads, test one or two beads on the cord. This will make sure the cord passes easily through the bead holes before you get too far into the project.
Step 1: Measure Your Bracelet
The first step in learning how to make bracelets with beads and string is determining the size you want your bracelet to be.
Measure around your wrist where you want the bracelet to sit. For a comfortable fit, you don’t want the finished bracelet to be too tight.
Because you are working with stretchy cord, you have a little bit of flexibility in the sizing. However, the bracelet should still be comfortable when worn.
I recommend adding a little extra length to the cord while you work. These extra pieces are sometimes called long tails, and they give you enough room to tie your knot securely at the end.
Don’t cut the cord too short!
It is much easier to trim away extra cord at the end than it is to discover that you don’t have enough cord to tie your bracelet.
Step 2: Secure One End of the Cord
Once you have cut your elastic cord, you’ll want to keep your beads from sliding off while you work.
This is where a binder clip comes in handy.
Place the binder clip over one end of the cord. You can also use a small piece of tape or another jewelry-making tool to keep the beads from falling off.
This simple step can save you from chasing beads across the table! Or you can simply use a piece of tape to secure one end to your work area.
If you’re working with several different sizes of beads, it can also be helpful to lay everything out before you begin stringing.
Step 3: Arrange Your Beads
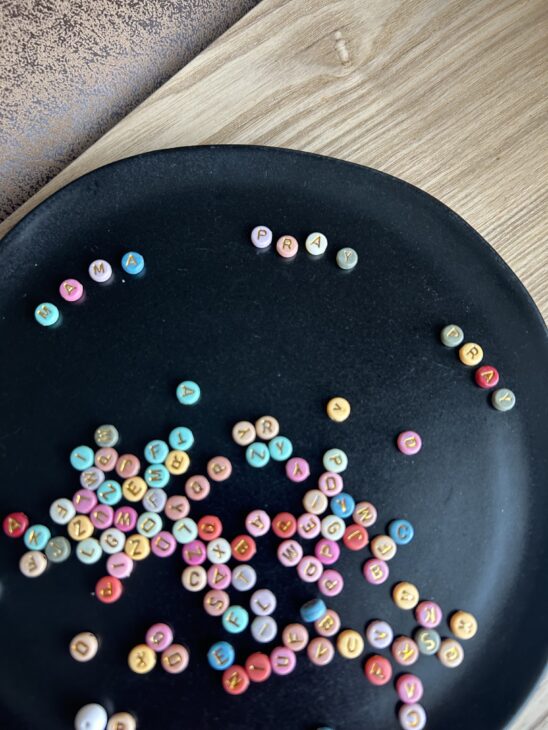
Before putting the beads on your cord, arrange them in the order you want them to appear.
This is especially helpful when spelling out a name or following a specific pattern.
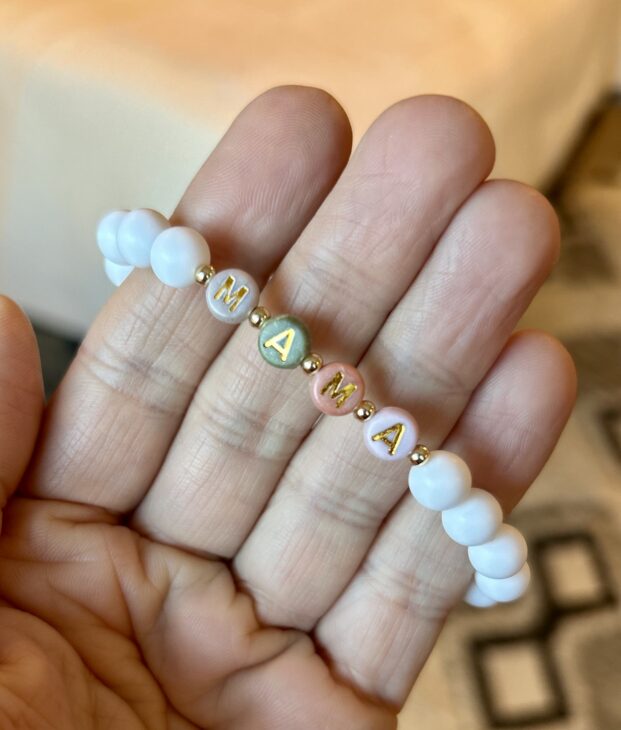
For my bracelet, I arranged the beads with the tiny gold ones in between each letter, followed by the white round beads on either side.
For a simple bracelet like this one, with a personalized name, I like to make the joining knot centered on the back side of the bracelet. So I counted the white round beads and split them in half to find my starting and stopping point.
Step 4: Start Stringing the Beads
Now comes the fun part!
Begin sliding your beads onto the elastic cord in the order you’ve planned.
Take your time as you work. If you’re using larger beads, smaller beads, spacer beads, crystal beads, glass beads, or gemstone beads, pay attention to the pattern as you go.
There are so many possibilities when it comes to bead combinations. Continue adding beads until you have enough beads to wrap comfortably around your wrist.
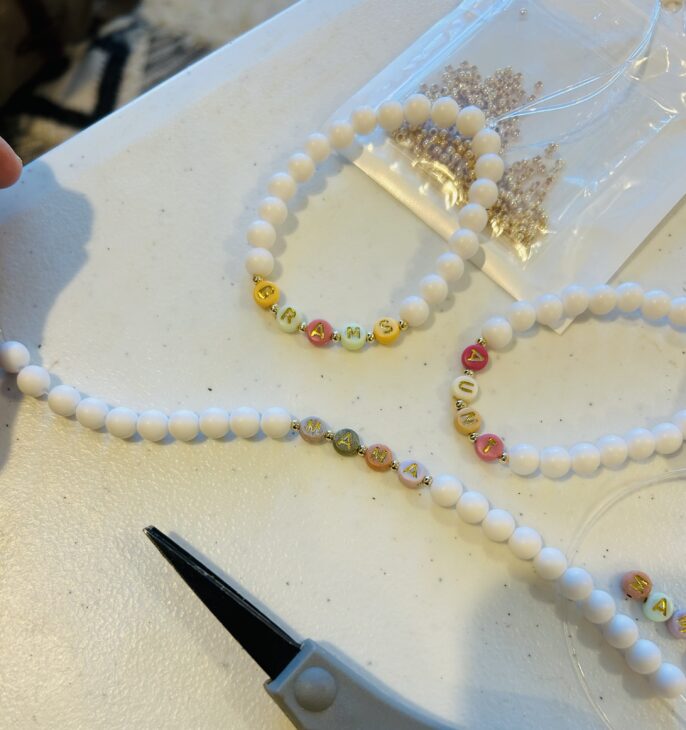
Make sure you have enough beads.
One of the most common mistakes when making a stretch bracelet is running out of beads before the bracelet is long enough.
That’s why I recommend laying out all of your beads before you start.
If you are following a specific pattern, count the beads and make sure you have enough of each type of bead before beginning.
Step 5: Check the Fit
Once you’ve added all of your beads, carefully bring the ends of the cord together.
Before tying anything, check the size of your bracelet.
This is the time to make adjustments.
If it feels too loose, you may want to remove a bead or two. If it feels too tight, add another bead or adjust your arrangement.
You want a comfortable fit that allows the bracelet to stretch enough to slide over your hand but doesn’t feel excessively loose around your wrist.
Remember that the finished bracelet may fit slightly differently once the knot is tied, so leave yourself enough room to make adjustments.
Step 6: Tie the Bracelet
Once you’re happy with the size and bead arrangement, it’s time to tie your bracelet.
For stretch bracelets, you want a secure knot that will hold the ends of the elastic together.
One commonly used option is a surgeon’s knot. A surgeon’s knot is similar to an overhand knot, but the first portion is wrapped an extra time before being tightened.
For this bracelet, you can tie a surgeon’s knot by:
- Cross the two ends of the elastic cord.
- Tie the first overhand portion, wrapping the cord through the loop twice.
- Pull the first part of the knot snugly.
- Tie a second overhand knot over the first.
- Pull the knot firmly to secure it.
Be careful not to pull so aggressively that you break or damage the elastic.
Step 7: Add Glue
If you want additional security, you can add a very small amount of super glue to the knot. Trim the cord close before applying the glue.
Allow the glued knot to dry completely according to the manufacturer’s instructions before wearing the bracelet.
Some people also use a tiny amount of clear nail polish on the knot. If you choose this method, use only a small amount and allow it to dry thoroughly.
(Always follow the instructions for whatever adhesive you choose.)
Step 8: Enjoy Your Finished Bracelet!
That’s it!
You’ve made your own string bracelet using beads and elastic cord.
I love how simple this project is while still giving you a beautiful finished piece of jewelry. Once you know how to make bracelets with beads and string, you can make them in practically any color combination or style you can imagine.
You can create bracelets for yourself, make handmade gifts for friends, or let older kids make their own friendship bracelets.
For some more DIY jewelry, check out our faux leather earrings!
Try Different Bead Combinations
Once you’ve made this bracelet, don’t be afraid to experiment.
You can use:
- Seed beads for delicate details
- Clay beads for colorful designs
- Crystal beads for a little sparkle
- Glass beads for a classic look
- Gemstone beads for a natural style
- Spacer beads between larger beads
- Larger beads as focal points
- Smaller beads to fill in spaces
You can even combine several types of beads in one design.
If you’re making bracelets as gifts, consider creating different color combinations for each person. A personalized bracelet with letter beads can be a particularly fun handmade gift.
Tips for Making Beaded Bracelets
Here are a few of my favorite tips to keep in mind:
Don’t cut your cord too short. Always leave long tails so you have plenty of room to tie your knot.
Check the bead holes first. Smaller beads sometimes have smaller holes, so make sure your elastic cord will fit before you start.
Lay out your pattern first. This is especially important when working with names or complex designs.
Don’t skip the knot. A loose knot can cause your bracelet to come apart.
Check your fit before tying. Once you’ve secured the knot, making changes becomes much more difficult.
Use the right cord for your beads. Heavier beads may require a stronger or thicker elastic cord.
Give your finished bracelet time to dry. If you use glue or another finishing product, let it fully cure before wearing the bracelet.
Make Your Own Beaded Bracelets
I hope this tutorial has shown you just how easy it is to make bracelets with beads and string!
You don’t need complicated jewelry-making skills to get started. With some elastic cord, your favorite beads, and a few basic techniques, you can create beautiful elastic bracelets in all kinds of styles.
This exact bracelet is a great place to start because you can follow the bead pattern shown in the photos and use the links provided to purchase the same beads.
Once you’ve made one, you’ll probably start thinking about all of the other combinations you could create!
Try different colors, different sizes, personalized letter beads, or even a completely new bead pattern. Before long, you’ll have a collection of handmade stretch bracelets to wear, share, and give as gifts.
And there is something especially satisfying about wearing a beaded bracelet that you made yourself!
Some of the links on sixcleversisters.com are affiliate links that pay a commission if a purchase is made. Six Clever Sisters, LLC is a participant in the Amazon Services LLC Associates Program, an affiliate advertising program designed to provide a means for sites to earn advertising fees by advertising and linking to amazon.com.