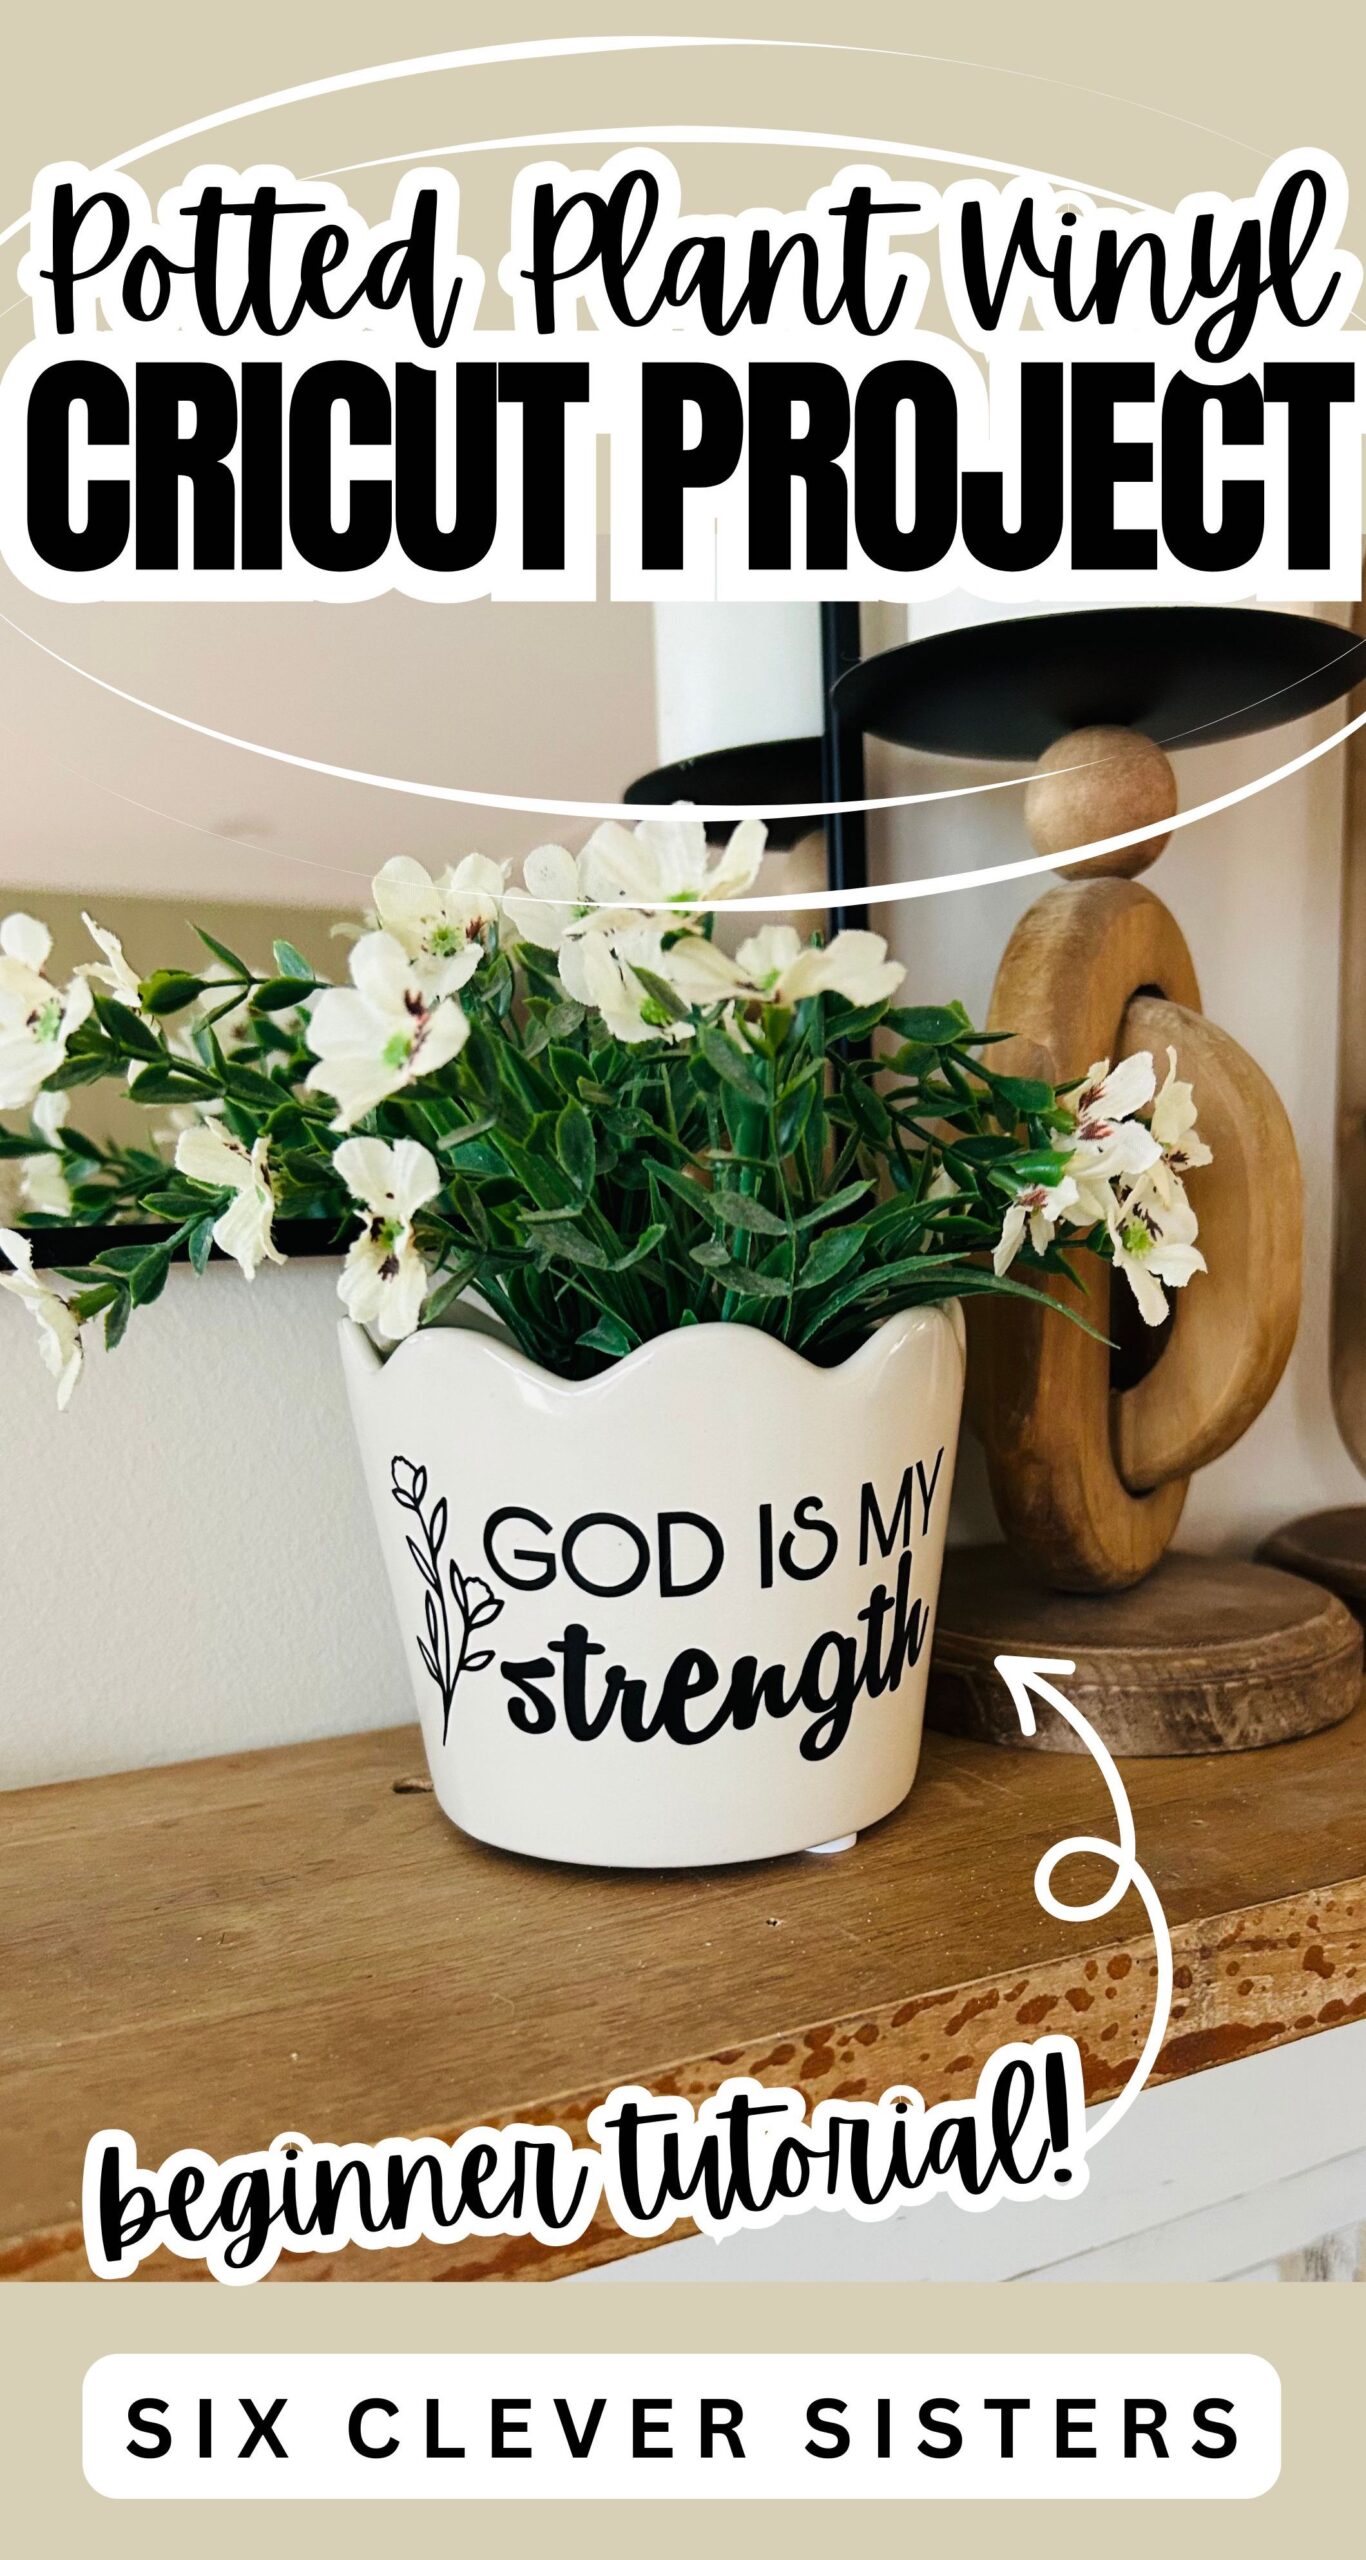
Potted Plant Vinyl (Beginner Cricut Tutorial)
This cute Cricut Project for beginners is so simple!
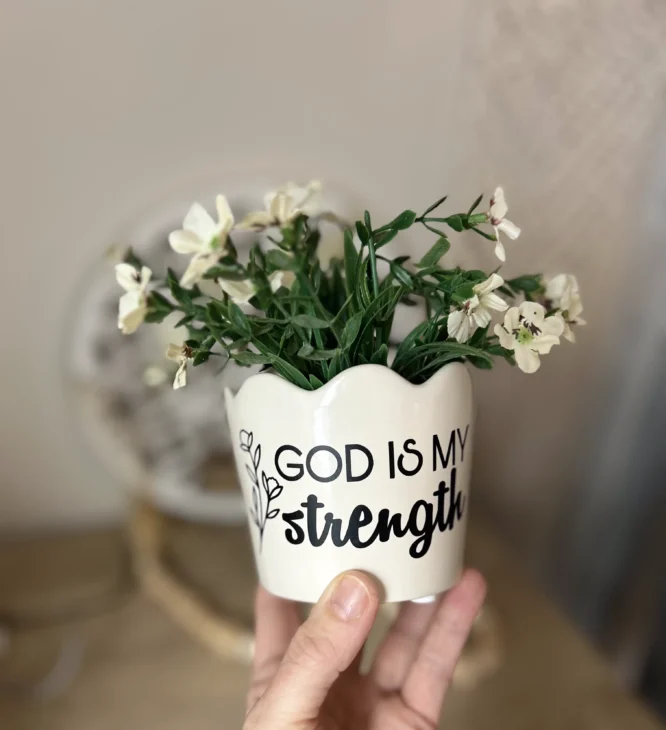
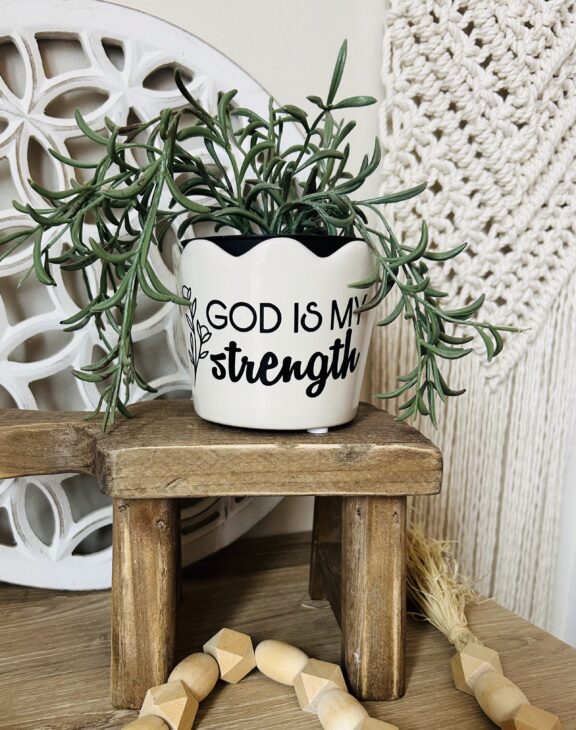
Adding vinyl to a ceramic pot is one of those Cricut projects that looks high-end but is actually super approachable—even if you’re fairly new to crafting. Today I’m walking you through how I added the quote “God is my strength” to a cream scallop-edge ceramic pot that I got from Walmart… link HERE. It is so cute, it will likely sell out, so here is one on Amazon that wood also work. But you can use any pot that you have on hand or find that you love. I added this by using black vinyl and my Cricut Explore Air 2. The best part? The quote is already designed and ready to use, so you can jump straight into making.
This project makes a beautiful faith-based home décor piece or a thoughtful handmade gift.
SUPPLIES YOU’LL NEED
- Cricut Explore Air 2
- Cricut Design Space
- Black permanent vinyl
- StandardGrip cutting mat
- Weeding tool
- Transfer tape
- Ceramic pot (cream scallop edge works beautifully for this design)
- Small scraper or credit card
- Clean cloth or alcohol wipe
Step 1: Prepare Your Design in Cricut Design Space
Open Cricut Design Space and load the pre-designed quote “God is my strength.” Since the design is already created for you, all you need to do is size it to fit your pot. A good tip here is to measure the front flat area of your pot and resize the design slightly smaller than that measurement. This helps keep the vinyl centered and prevents it from wrapping too far around the curves of the pot. Once sized, make sure the design is set to Cut and select Permanent Vinyl as your material.
Step 2: Cut and Weed Your Vinyl
Place your black vinyl shiny side up on the cutting mat (a small piece in the top left corner is all you need!) and load it into your Cricut Explore Air 2. Let the machine do its thing, then unload once cutting is complete. Carefully weed away the excess vinyl, leaving only the quote. Take your time here—clean edges make a big difference, especially with text designs.
Step 3: Apply Transfer Tape
Cut a piece of transfer tape slightly larger than your design. (I use standard grip, but before I use it, I stick to my clothing and throw pillows and anywhere I can, to reduce the amount of stickiness it has. This helps in transferring it so much!) Place it over the vinyl and gently burnish with your scraper tool. Flip it over and slowly peel the vinyl backing away, making sure the letters lift cleanly onto the transfer tape.
Step 4: Prep Your Pot
Before applying vinyl, wipe the front of your ceramic pot with a clean cloth or alcohol wipe. This removes dust and oils and helps the vinyl adhere properly. Position your design on the pot without pressing it down right away. Once you’re happy with placement, burnish the vinyl onto the surface, working from the center outward. Slowly peel away the transfer tape, watching closely to ensure all letters stay in place.

Step 5: Final Touches
Once applied, gently press down any edges and let the vinyl set. For best results, avoid washing or getting the pot wet for at least 24 hours. That’s it! You now have a beautiful, meaningful potted plant that showcases faith and creativity. This project is a perfect reminder that simple materials and a Cricut can create something truly special.
For another fun Cricut project, that just may be a little more of a challenge, check out these fun leather earrings! YES… made with a Cricut!