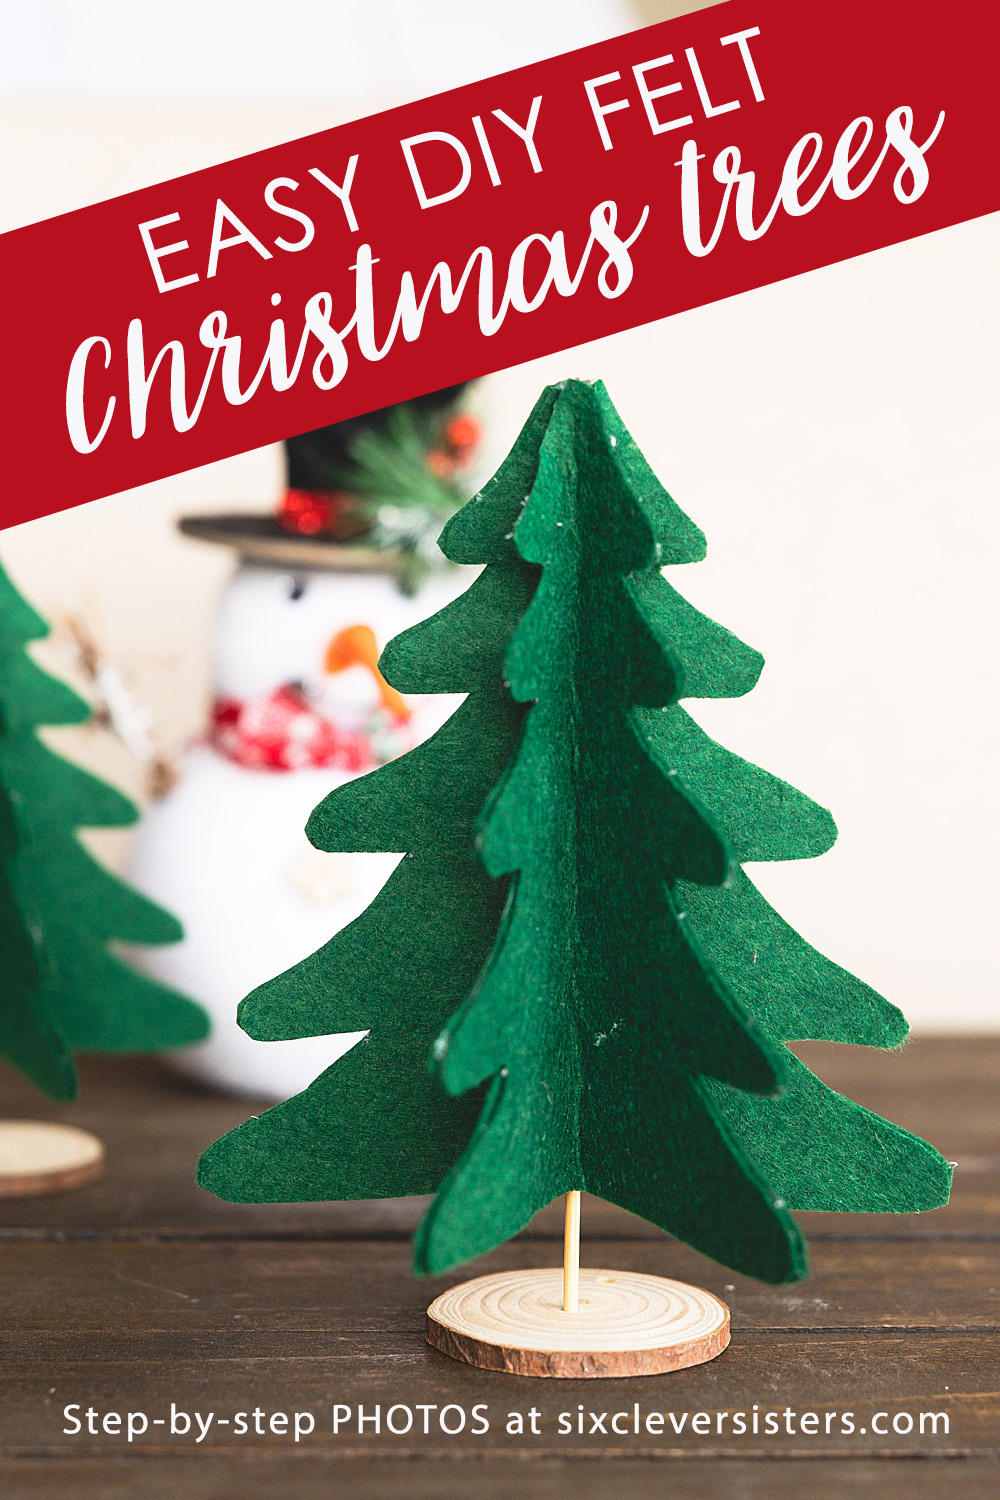
DIY Felt Christmas Trees (with free printable template!)
I’ve been decorating for Christmas since the first of November this year! We will be away from our home for most of December, so we wanted to enjoy our wintery decor for a few weeks before we leave. 😃
It’s been so nice to have pretty lights up on all these dark mornings….plus now I had a chance before the busy season to see what little “extras” I could make to fill different spots that need just a little something.
We leave our decorations up for most of January as well, so some of my stuff is more “winter” (aka evergreen and pine cone). I thought a nice touch would be some little DIY Felt Christmas trees!
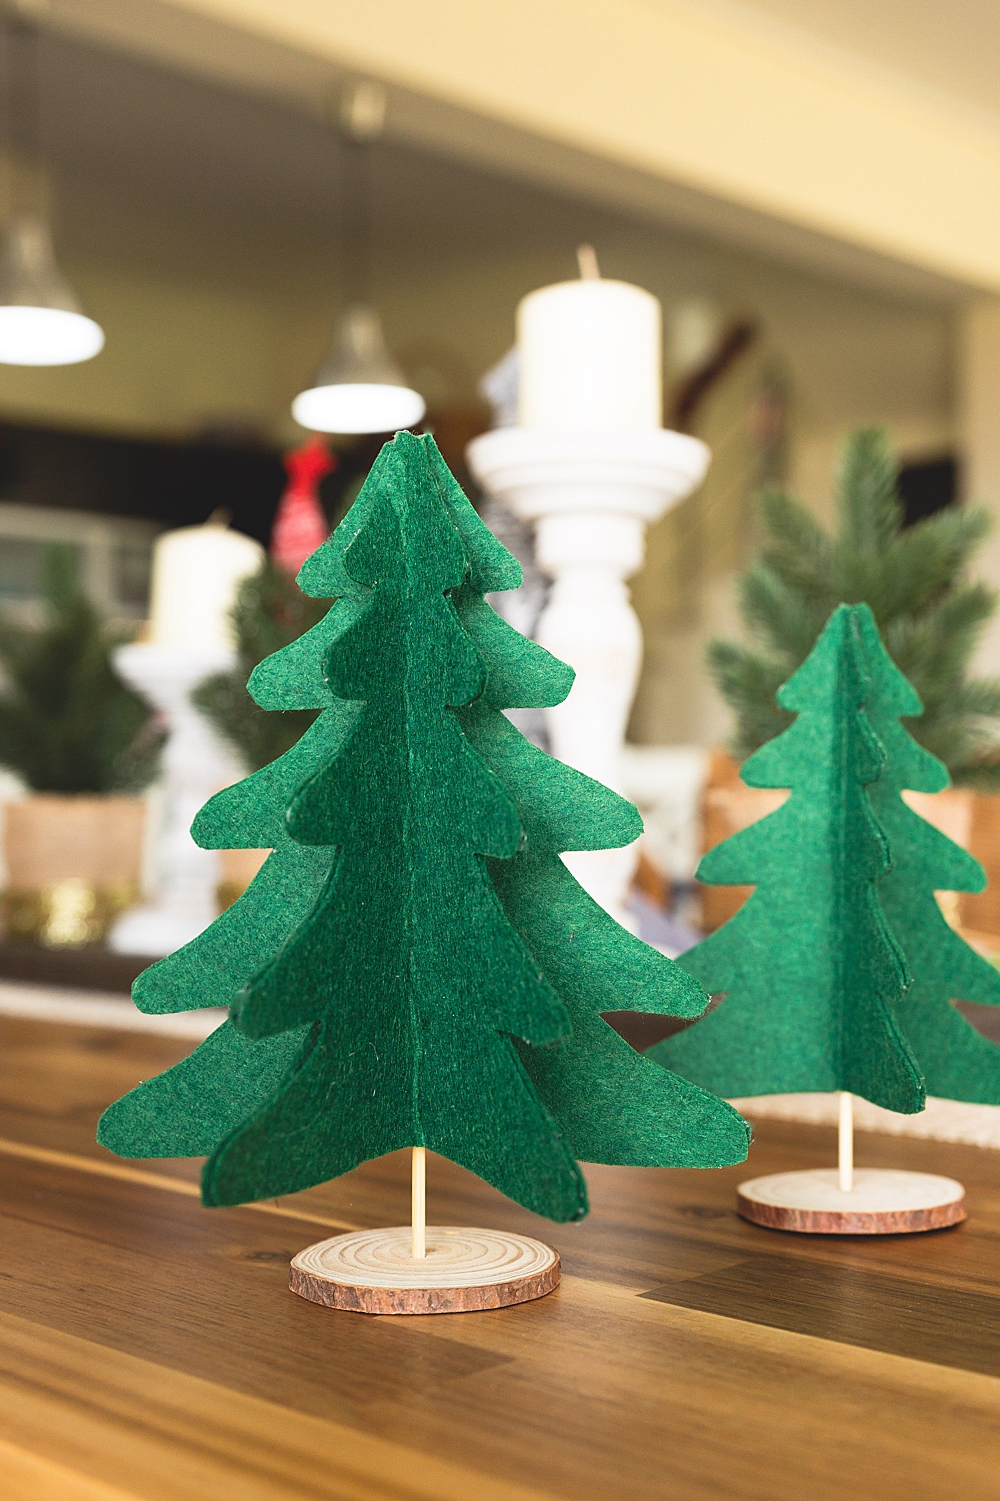
These are easy to whip up in under an hour – yay! (Another quick Christmas tree project is our Yarn-Wrapped Christmas Trees.) 🥳
What you need:
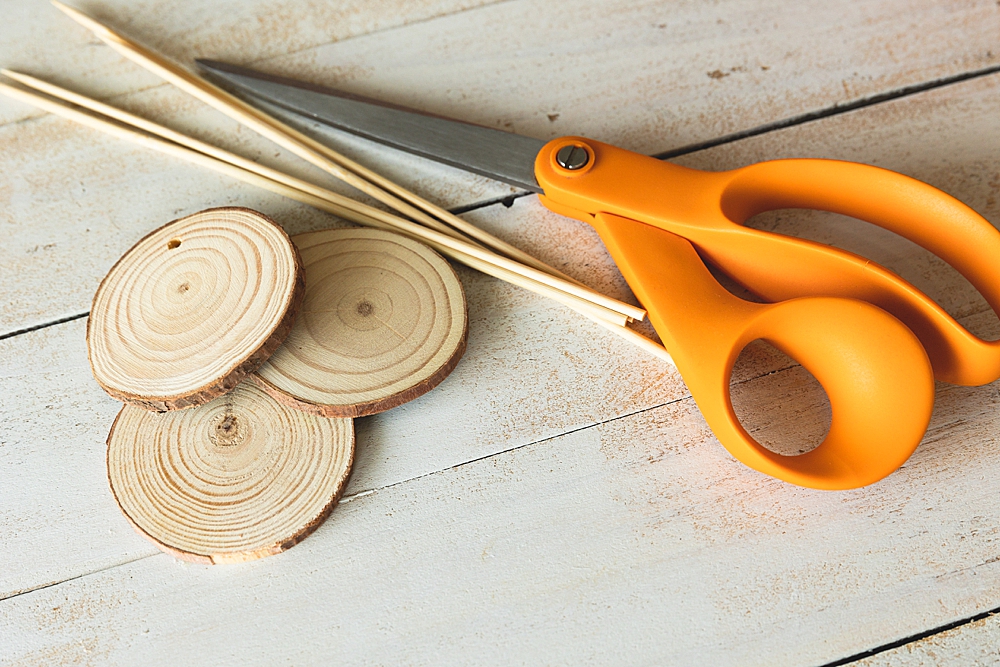
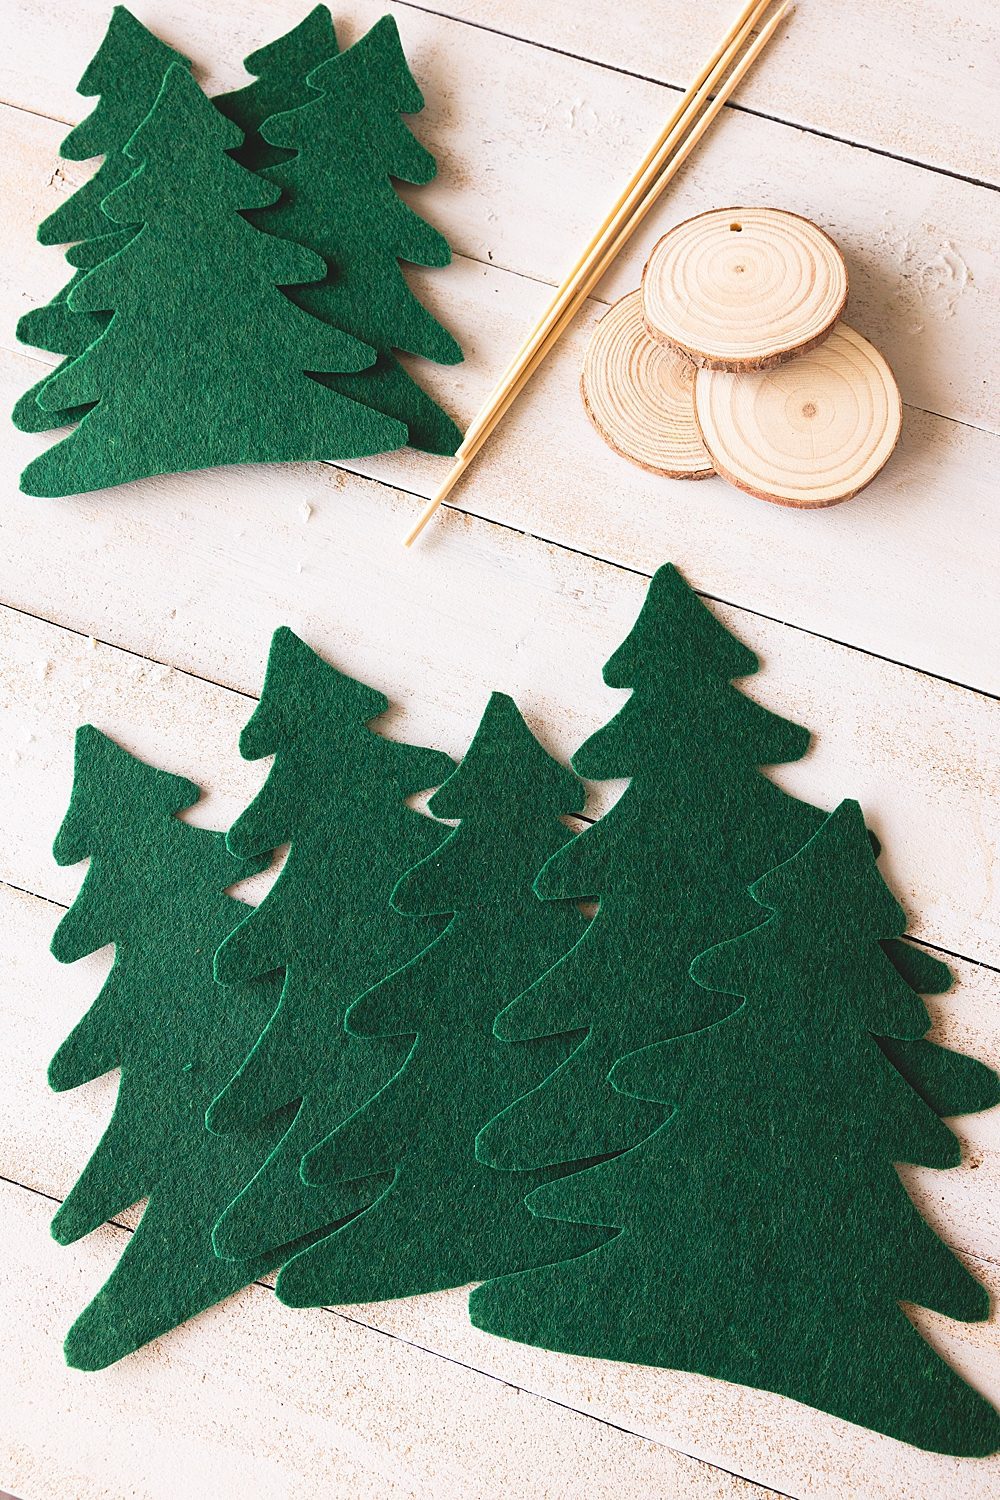
I looked in my stash of craft supplies and had some nice dark green felt that was perfect for this project.
⬇️ Download our template for the tree pattern. ⬇️
Then I found some leftover wood slices that I had purchased last year for making into ornaments – they make a nice base for these trees.
For the centers of the tree, I grabbed some wooden skewers from the kitchen.
Then scissors and hot glue gun and glue sticks and I was ready to make these!
(If you have hot glue gun finger protectors, grab those too! Boy could I have used some during this project… 😂)
How to make DIY Felt Christmas Trees
Start by cutting Christmas trees out of felt – you’ll want 5 or 6 (or more for a fuller tree!) for a large tree.
If you want a large tree (6.5″ tall), print the template at 100%. For a medium-size (5″ tall), print at 80%.

I used these 8×12 sheets of green felt that I had in my craft stash and they were great for this project because they are pretty stiff…not the best for every project, but perfect for these trees!
On 8″x12″ sheets of felt, you can fit 3 trees this way. ⬇️
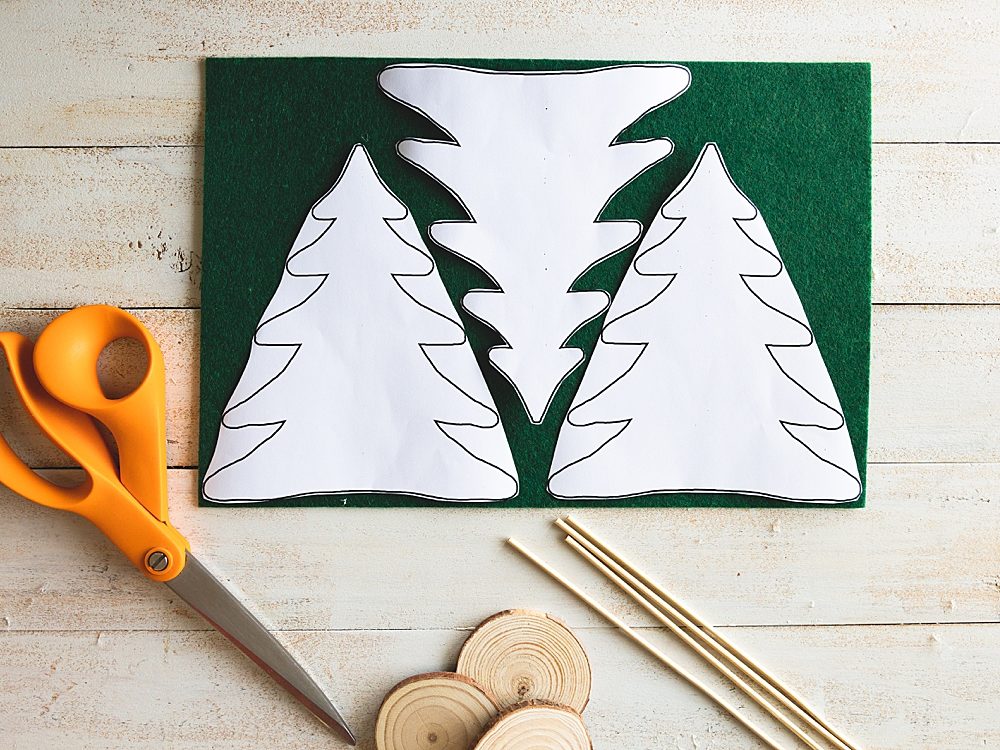
I cut out some large trees (template printed at 100%) as well as some medium (template printed at 80%).
I did 5 shapes for my large tree, and 4 for my medium….this looks more rustic in my opinion, but you can add in as many as you want for a fuller tree!
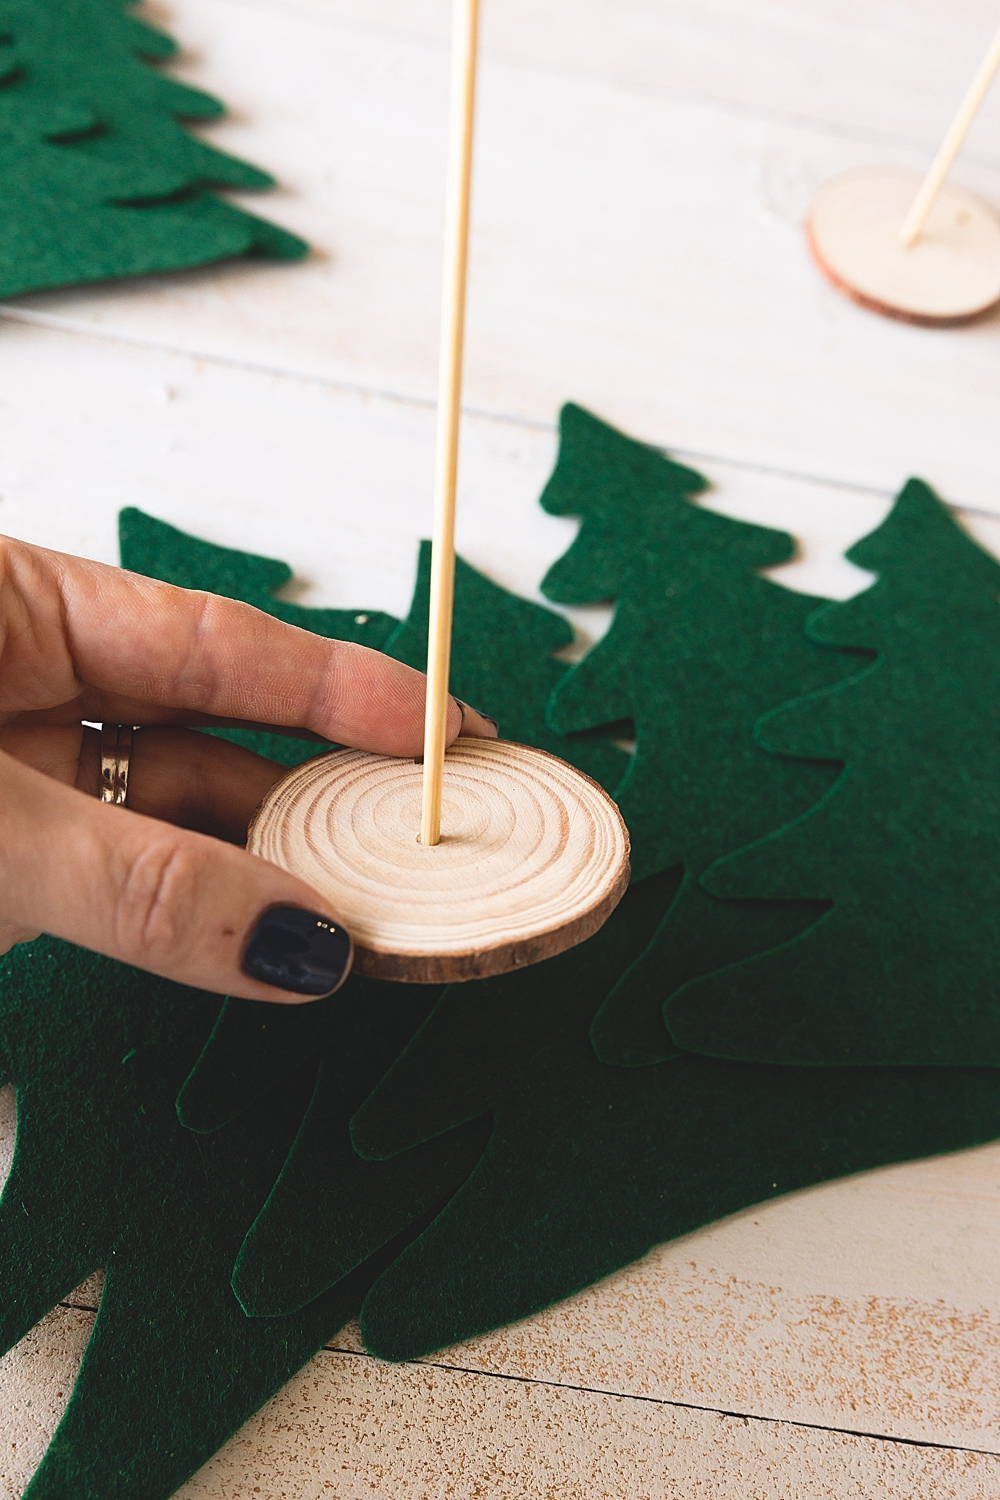
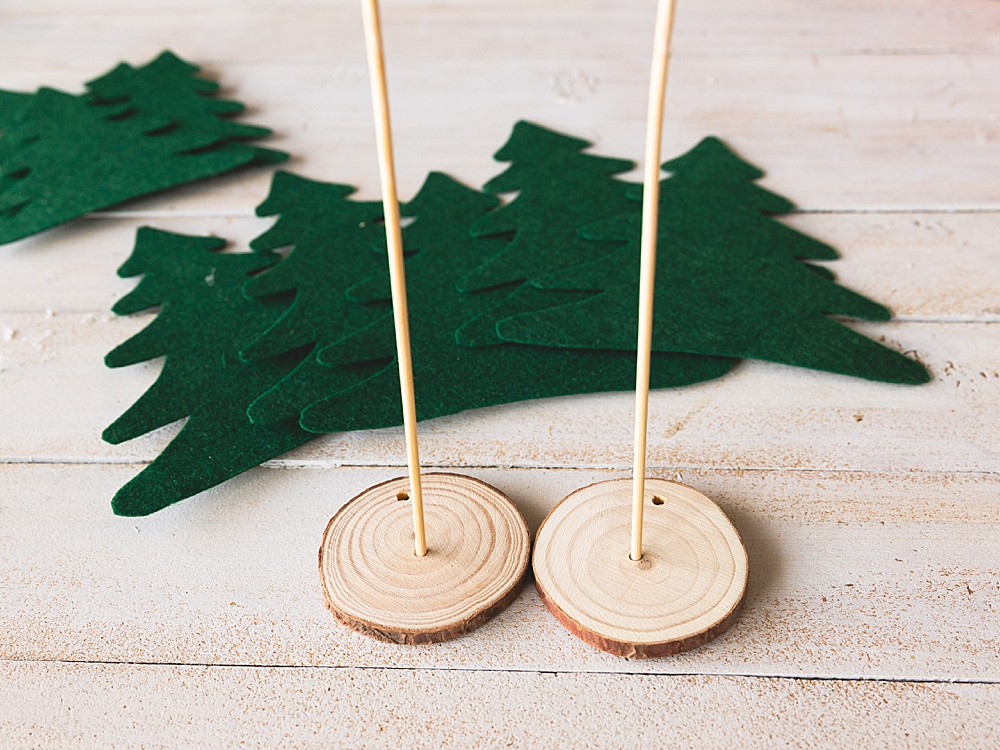
After all my trees were cut out, I drilled a hole into the center of each log slice and stuck a wooden skewer into it for my tree stand, as pictured below.
When that was all ready, I got my glue gun heated up, with extra glue sticks nearby.
(My log slices have extra holes since these were leftover from last year’s ornament-making! But I don’t like to waste, so those are fine with me.)
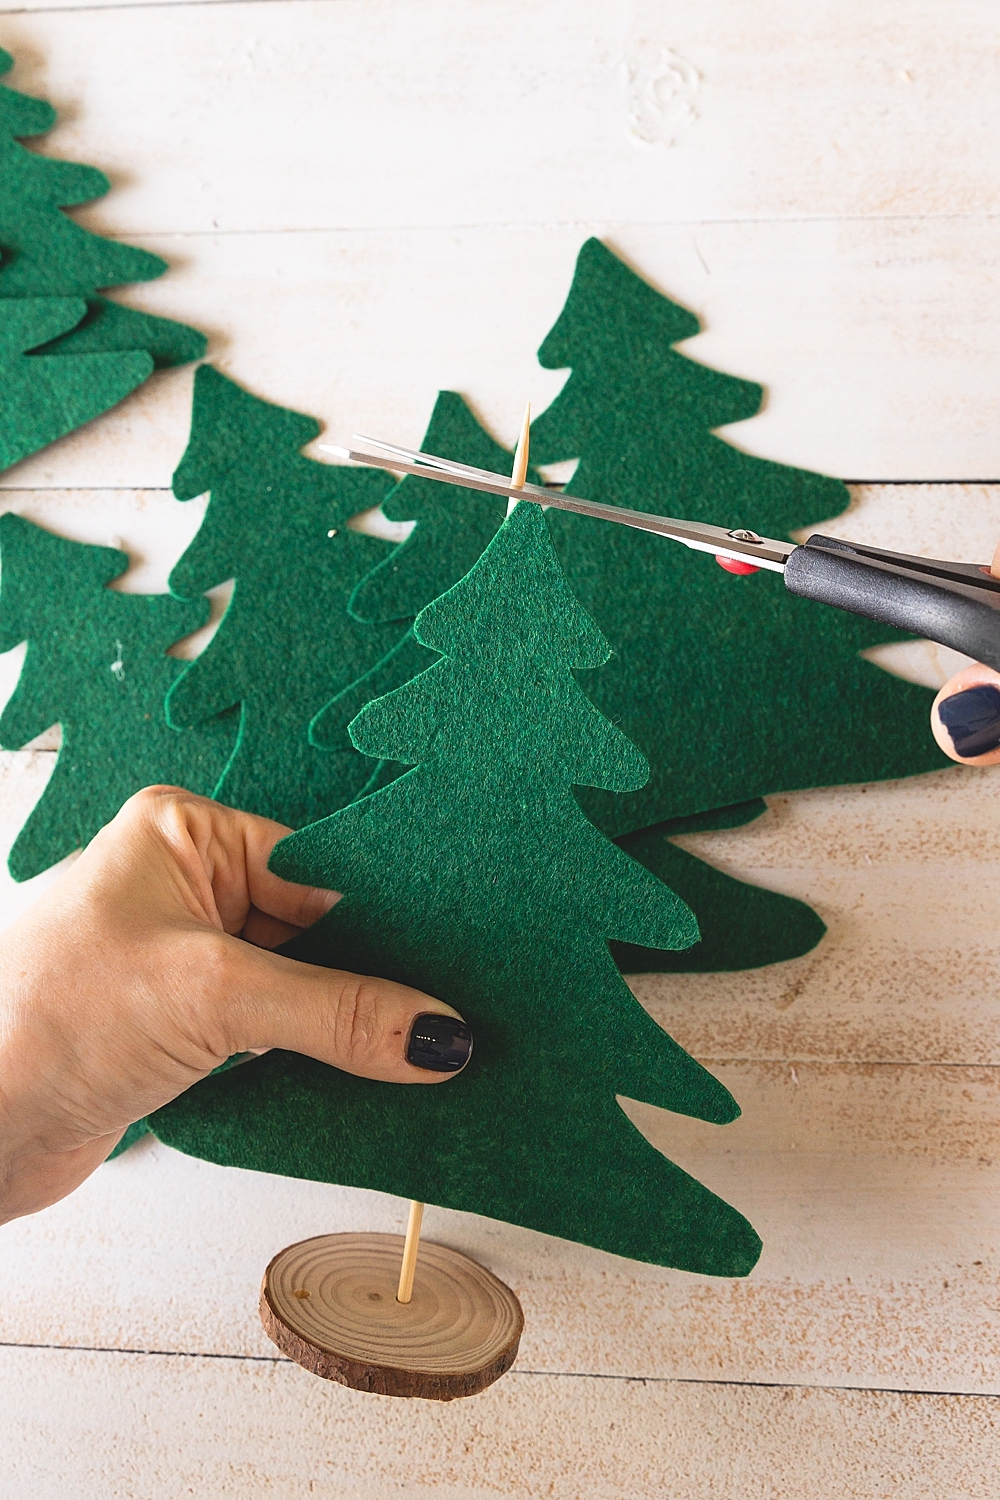
Check the size of your skewers and cut off the extra.
I just held my tree up to it to see what looked good, then clipped off the top.
::PIN FOR LATER::
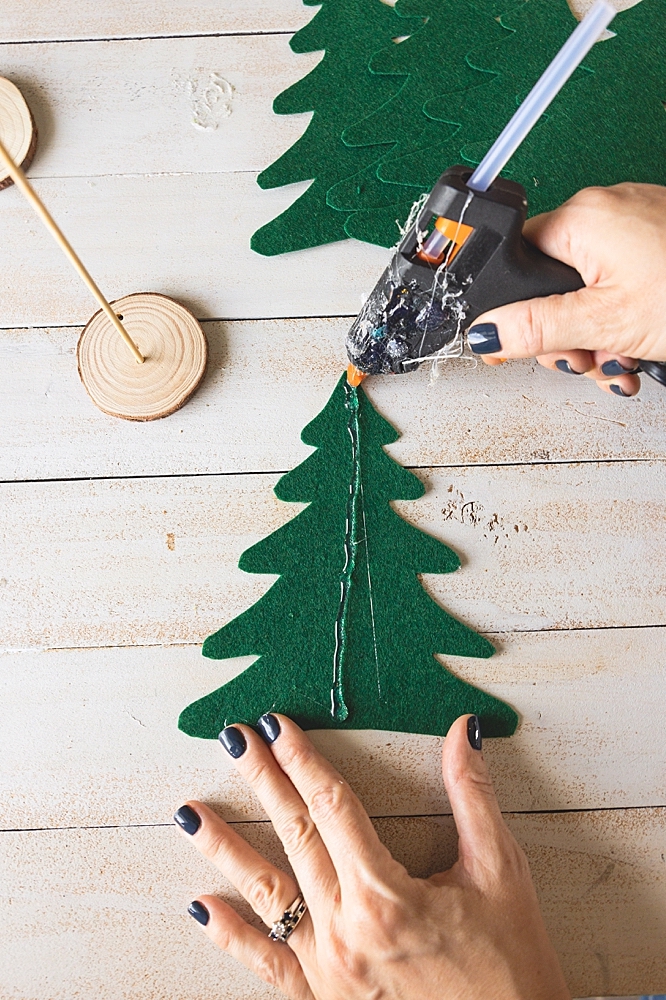
Now put a stripe of hot glue down the center of one tree, then set the skewer right on that and hold it until it’s cool and sturdy.
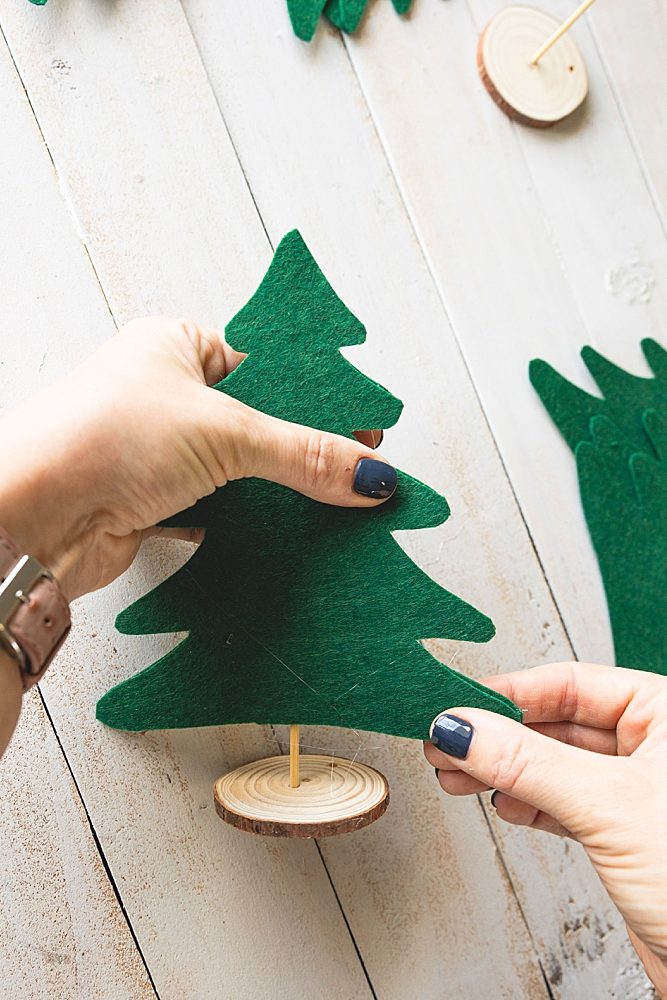
 Put just a little glue on the right side of the tree and along the skewer (too much will squeeze out and require some cleanup afterwards…ask me how I know! 😂).
Line up a tree on top of it and hold it until it’s dry. 
Now fold the left side of that tree over to the right side and repeat the process.
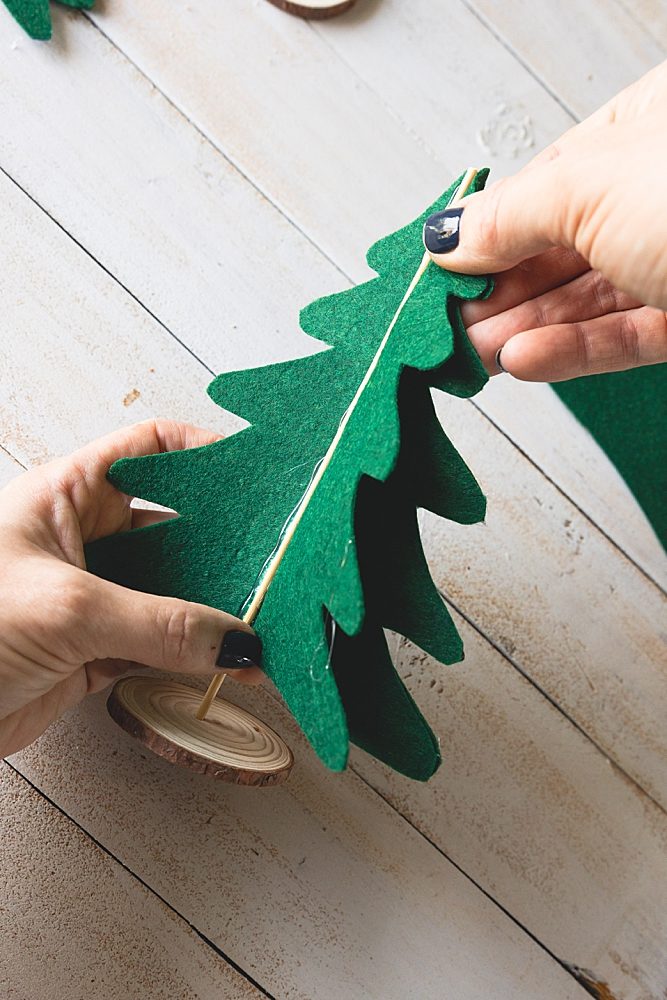
Keep doing this until you have used all the pieces you have (5 or 6 or more for a really full tree!)
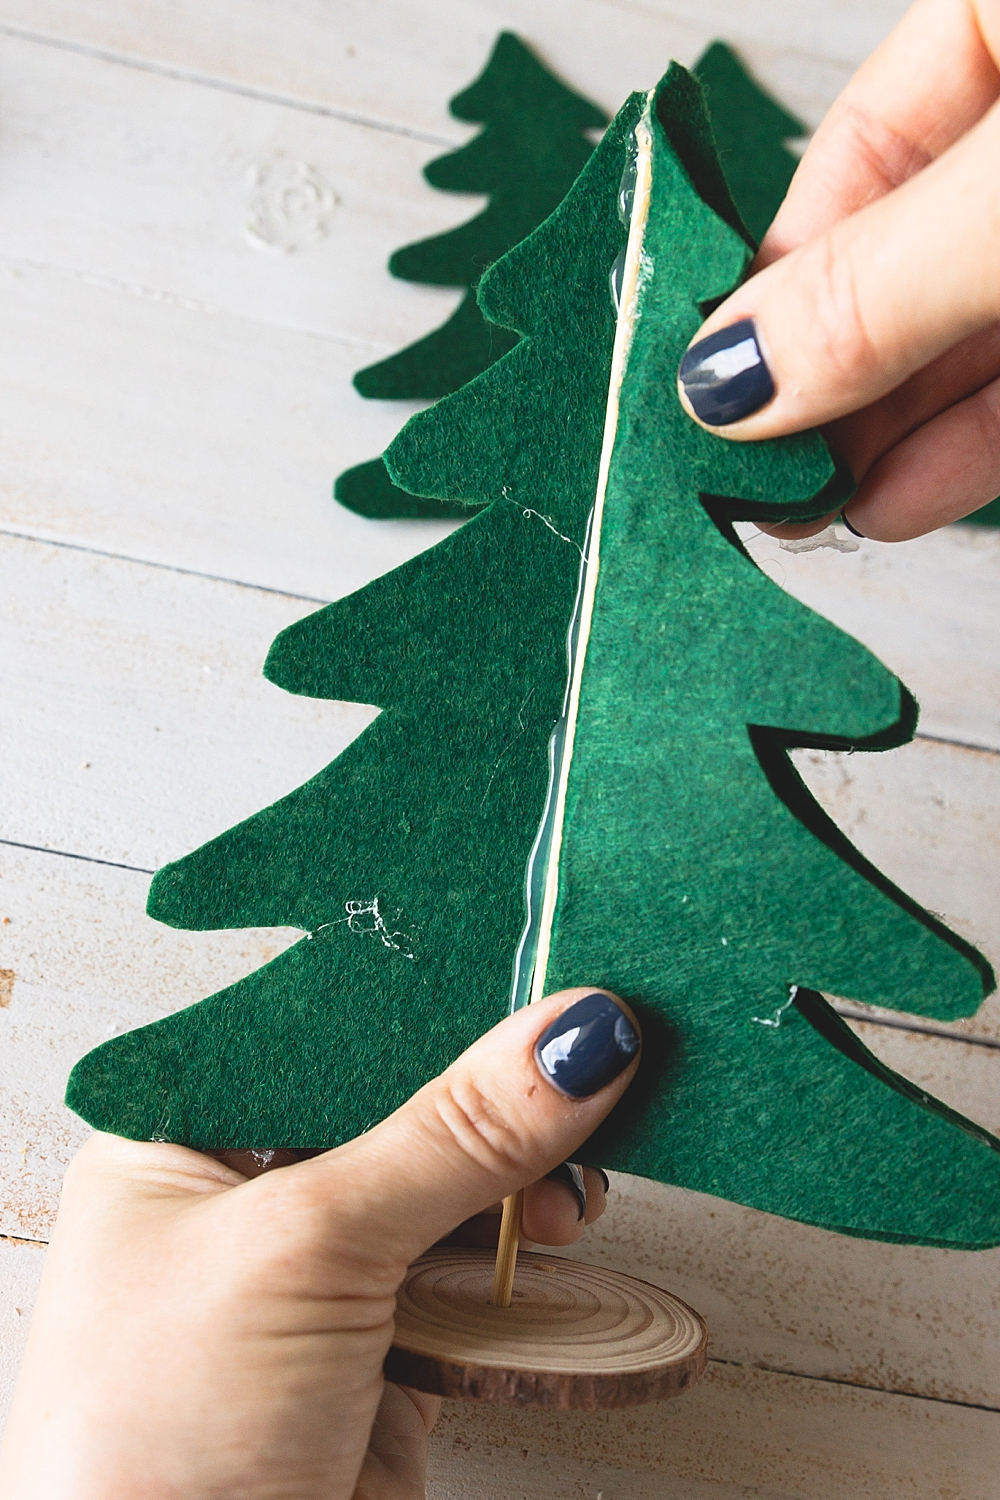
When you get all the way around to your starting point, glue the start and the end together.
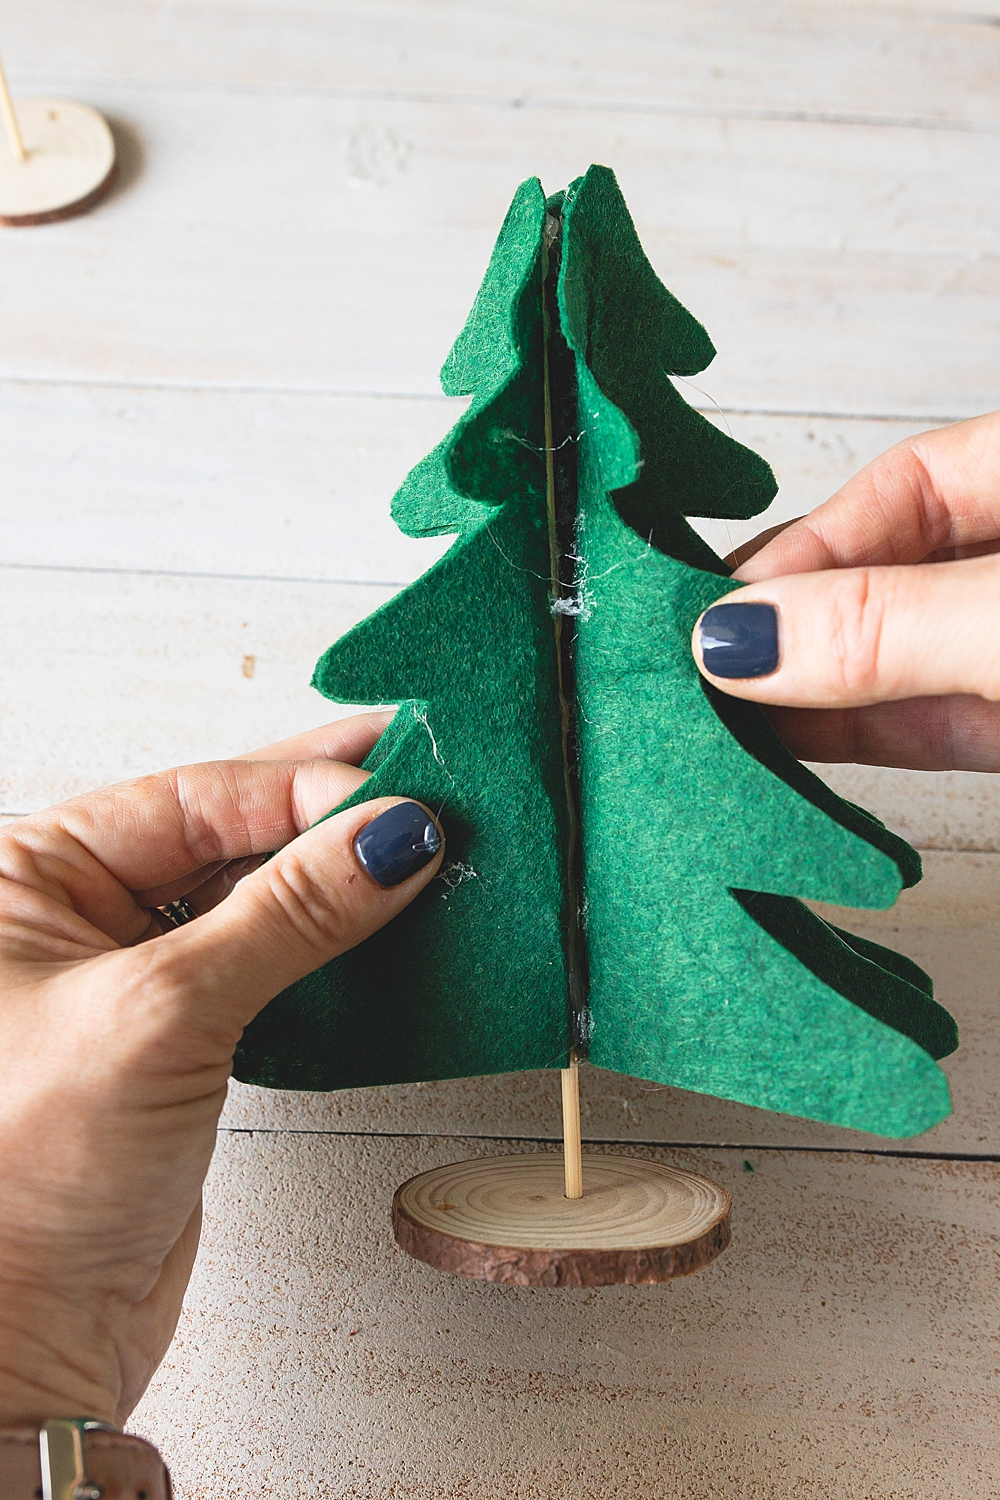
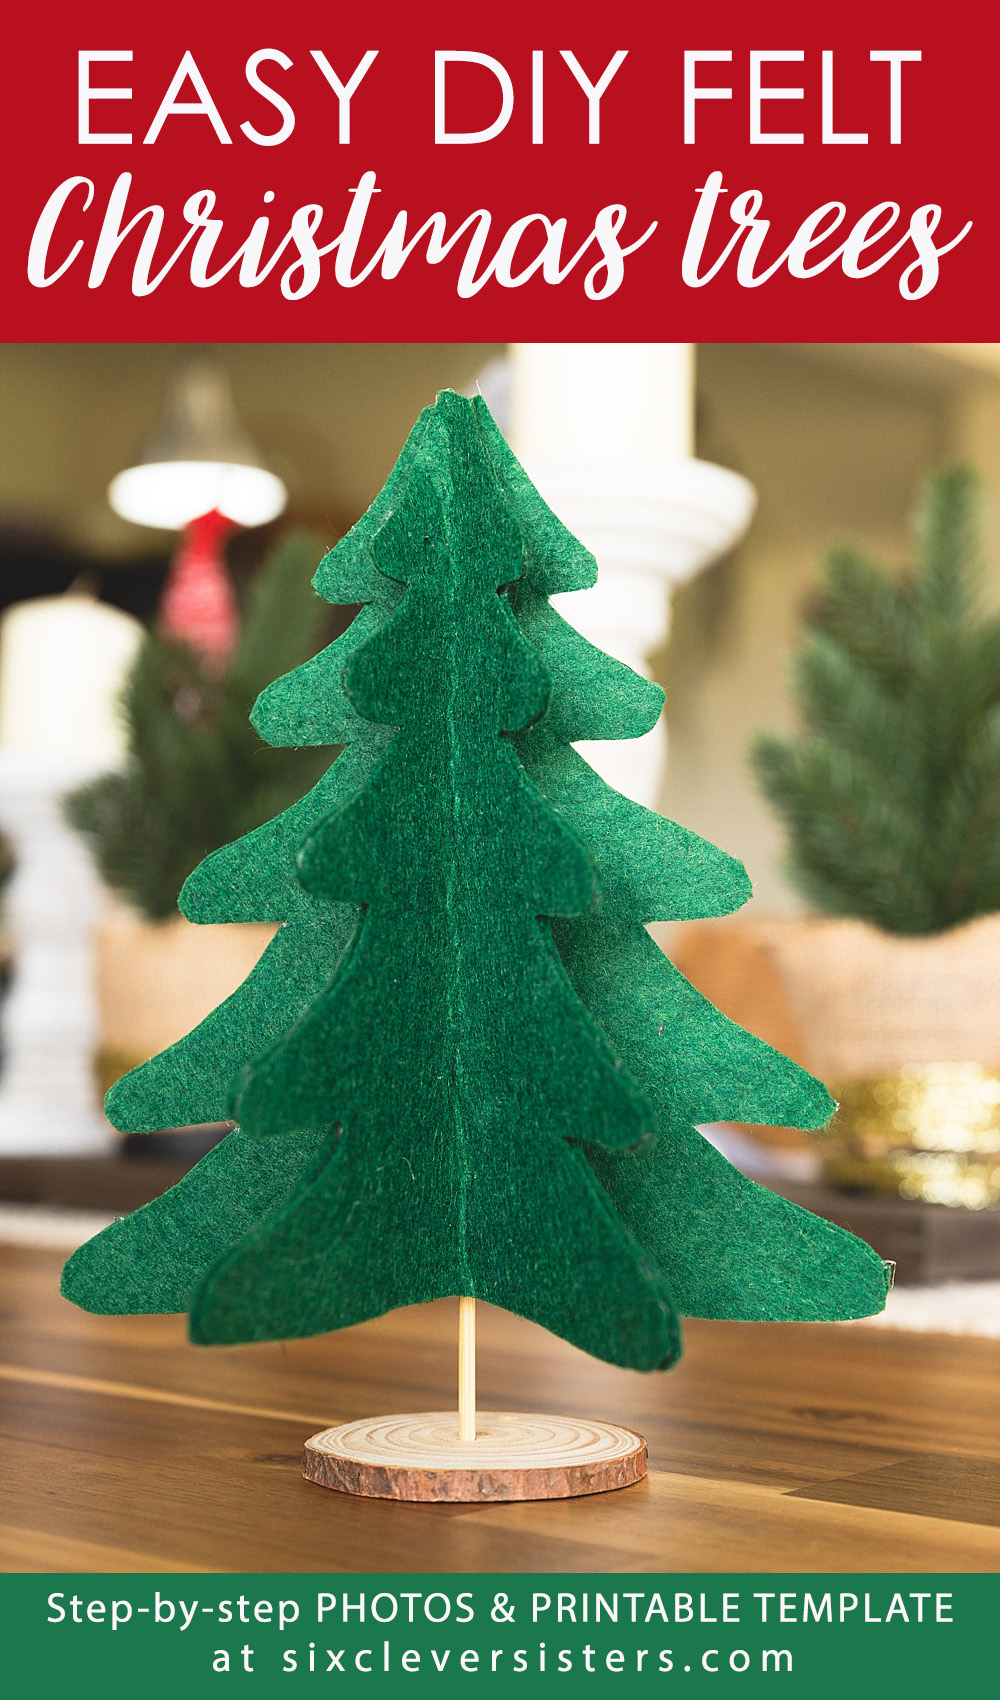
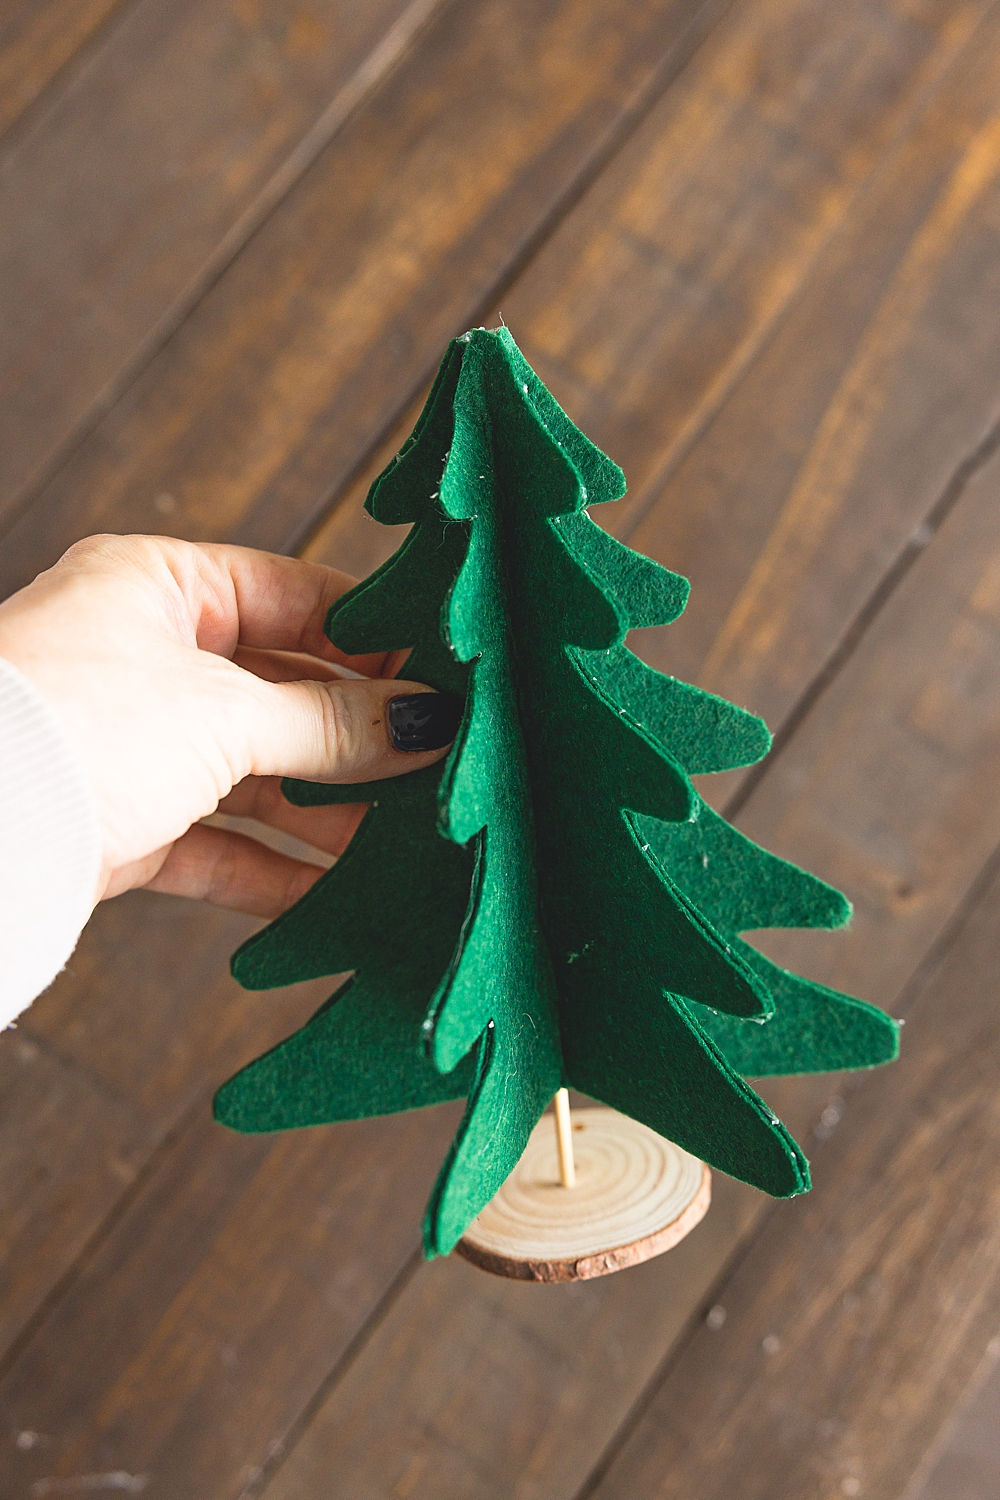
DIY Felt Christmas tree is done and so cute!
I got these cut out while I was listening to my first-grader read, then it took me all of 5 minutes to assemble with hot glue.
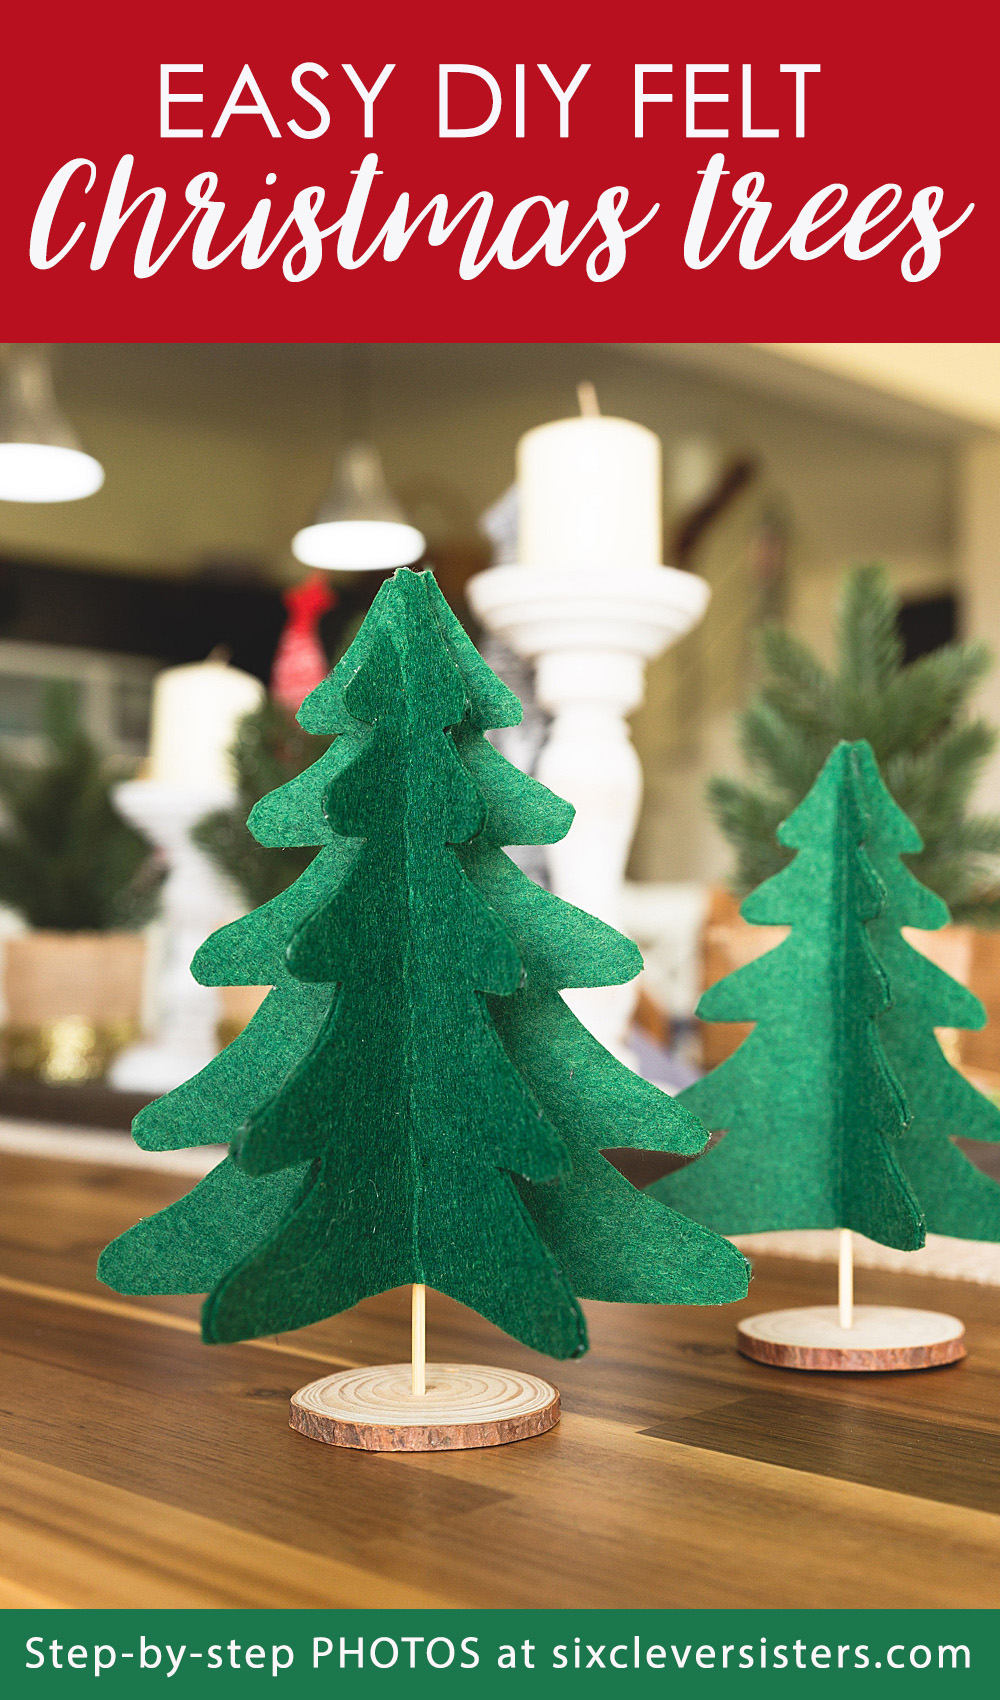
You can easily whip up a bunch of these for a mantle or a centerpiece! I’ve even seen felt tree cutouts at the dollar store in years past, so you could do it even quicker if you ran across some of those. 👍🏼
⬇️ Here’s another really cute rustic Christmas tree sign that’s quick and easy to whip up! ⬇️

