Folded Paper Flower Tutorial – Origami Flowers for Party, Shower, and Wedding Decor
FOLDED PAPER ORIGAMI FLOWER TUTORIAL
I love finding projects that I can try RIGHT away – no need to go out and buy supplies or search for a hard-to-find “ingredient.” This folded paper flower is one of those projects for sure!!
As long as you have . . .
- Some type of paper (any kind will do!!)
- Some type of glue (I use hot glue because I use hot glue for everything :-)!)
- Scissors
- A pair of hands
. . . . you’re all set!
These folded paper flowers = birthday party decor, wedding decor, bridal/baby shower decor, little girls’ room decor, and anything else you want to decorate with these origami folded paper flowers!
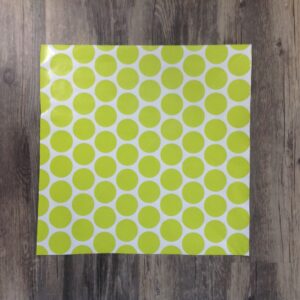
1. Start with a square piece of paper. I used 12×12 because I wanted my flowers to be nice and big! (If you want square sheets of paper, try something like this or this!) But you can use any size at all. It all depends on what you are using the flowers for.

2. Fold one corner diagonally to the other corner.

3. Now fold the right corner to the top corner.

4. And the left corner to the top corner. Now you have a diamond shape.

5. Next you’ll take that top corner and pull it down to line up with the diamond edge. Remember to keep creasing all your edges!

6. And do the same on the other side. (There’s something I really like about this shape :-D)

7. Now comes the “trickiest” part – and it’s not anything hard! Stick your fingers inside the “wing” and open it out. You’ll be able to tell what I mean from the picture.

8. So after you do that to both sides it’ll look like this.

9. Now fold the little triangles on the right down.

10. And now the little triangle on the left.

11. Now grab the little triangle on the right that you just folded down, and put it inside the 2 layers behind, almost like you’re putting it in the little “envelope” behind.

12. Same on the other side!

13. Now you’ll fold those outer flaps toward the center. You should be back to a diamond shape.

14. That’s all the folding! Now you need to grab a glue gun (love this one!), tacky glue, or something else sticky and put a stripe of glue down the edge.

15. Now join the 2 outer edges together and press.

16. Pinch that seam together to make sure it holds.

17. Wala! You created your first petal!!

18. Make 5 more petals using Steps 1-17, then come back to here to join the petals.


Now display them anyway you like! The large paper folded flowers are best to hang; small flowers can be grouped in a bouquet and displayed in a vase – perfect centerpiece. Use your creativity to come up with some awesome display options, and be sure to post in the comments or email a pic bc I’d LOVE to see what you did! 🙂

Explore more party decor –


Pingback: Cute and Fun Mother's Day Banner - Six Clever Sisters
Pingback: Cute and Fun Mother's Day Banner -