
How to Take Good Pictures for Etsy
Let’s talk about how to take good pictures for Etsy so you can sell more!
In the bustling marketplace of Etsy, where your product may have a lot of competition, standing out is a necessity.
The saying “a picture is worth a thousand words” has never been more relevant, especially in this day and age where potential customers rely heavily on the photos in your listing to make purchasing decisions! In fact, they make solely look at your photos and not actually read the listing description all the way through, so make sure your photos tell all!
Whether you’re a seasoned Etsy seller looking to elevate your product presentation or a newcomer ready to dive into selling on Etsy, learning how to take good pictures for Etsy is essential.
So – let me break it down for you so you feel confident about taking good pictures for your Etsy shop! We’ll discuss the fundamentals of taking good pictures as well as giving some details that are more specific to showcasing Etsy products.
🥳 Cheering for you to entice potential buyers to click that “Add to Cart” button!!! 🥳
:: PIN FOR LATER ::
How to take good pictures for Etsy:
TIP #1: Lighting is *everything* when it comes to good photographs, and natural light is my absolute favorite when it’s used correctly! Turn that flash off on your phone or camera!
Now check for good, natural light near a window that you can use – if the sun is shining in and you have bright sun spots, find a window where the sun is *not* shining in directly. Or if that window is the only option, just choose a different time of day when it is not directly in the sun.
Pretty light is one of the top ways to get great pictures!
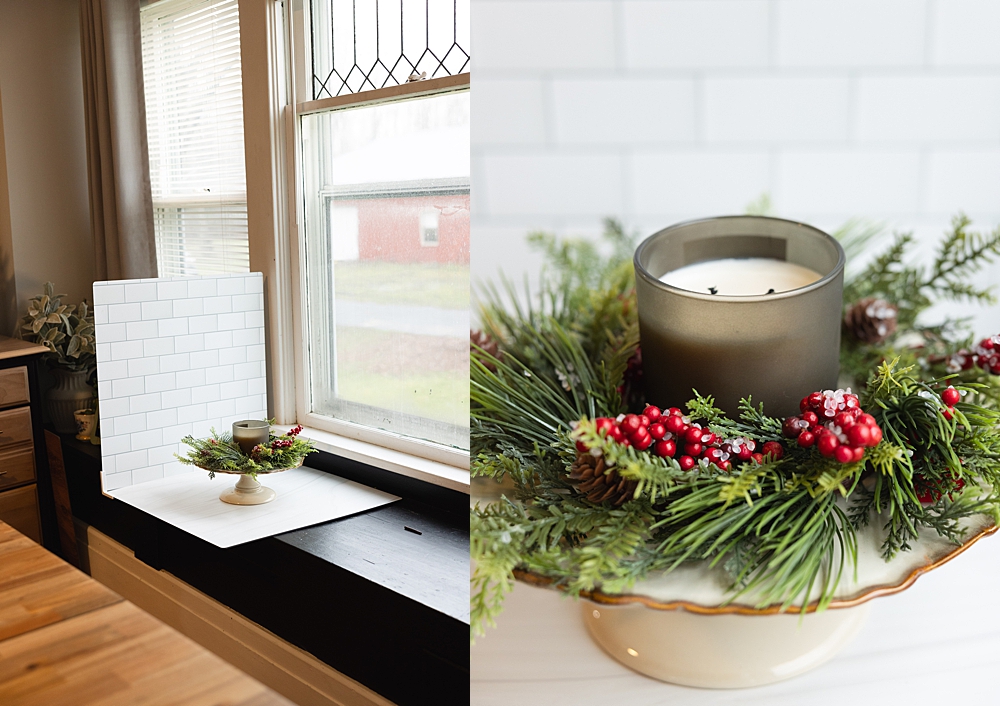
TIP #2: Bounce light back in to the shadows with something white, like a piece of foam board. The side of your photo that is not the side closest to the window may need fill light. (Maybe not! Just try a photo and see! 🙂 ) If you find that side to be too dark, grab a piece of white foam board or even a shiny cookie sheet, and prop it up where you see it adding light to that side. It’s a simple fix that may make a big difference!
Check out the short video clip I did below ⬇️ – you can see extra light just filling in some of the shadows as I hold up a piece of white cardboard on the left side. When I take it away, you can tell that it gets a bit darker. It’s not necessary in this particular setup, but some setups are *very* shadowy on one side and you’ll benefit a lot from this simple trick.
Can you see it? It’s so subtle.
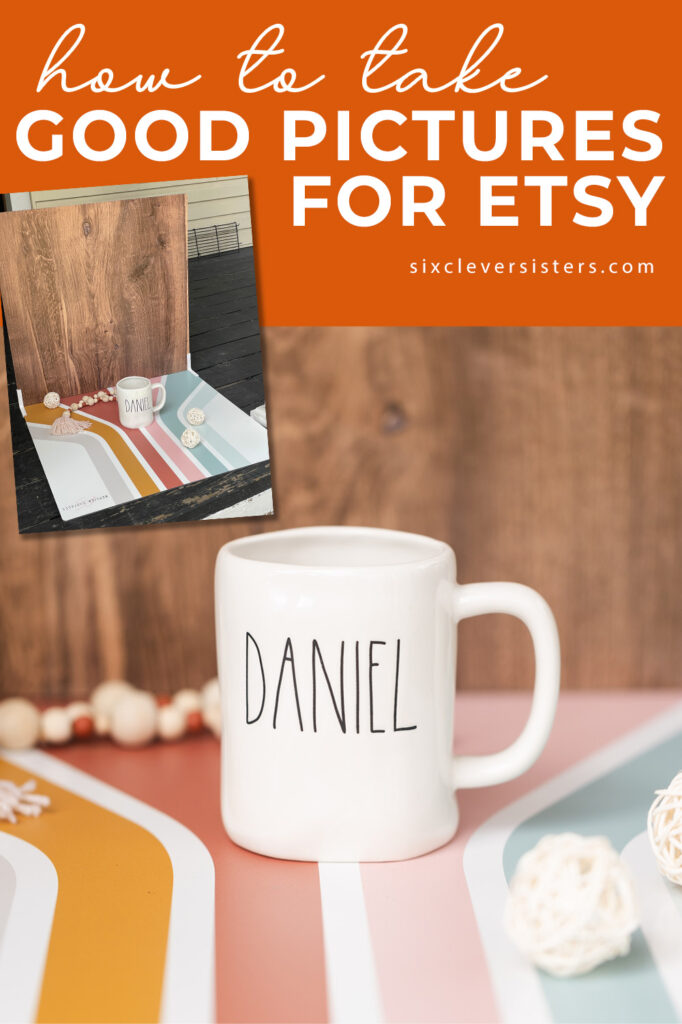
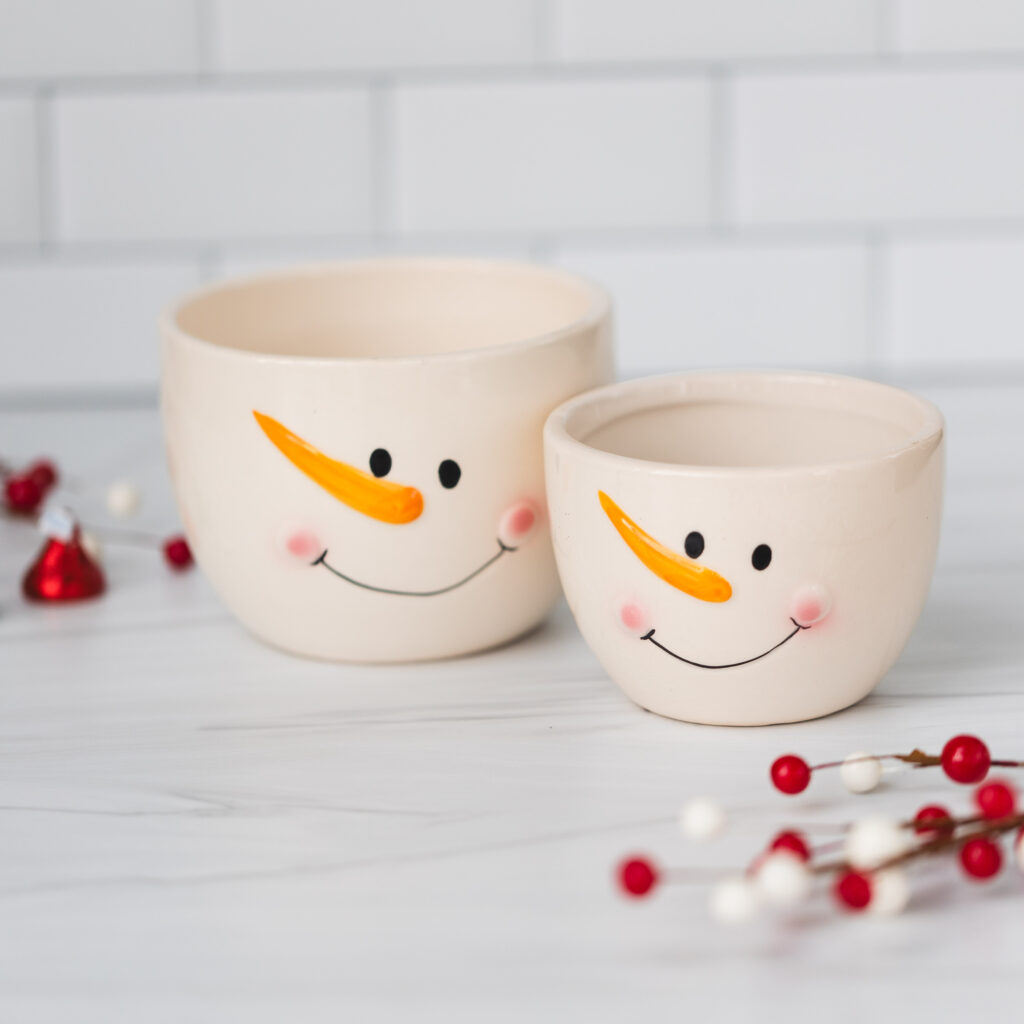
TIP #3: Choose a good backdrop. I’m currently using Replica Surfaces and they’ve been *amazing*! To be honest, I thought I could check them out and try to DIY something similar, but their non-reflective surfaces have me sold! You can’t order matte photos and get the same results. So I’m totally sold on the Surfaces they offer! A plus is that these Surfaces are so lightweight and portable.
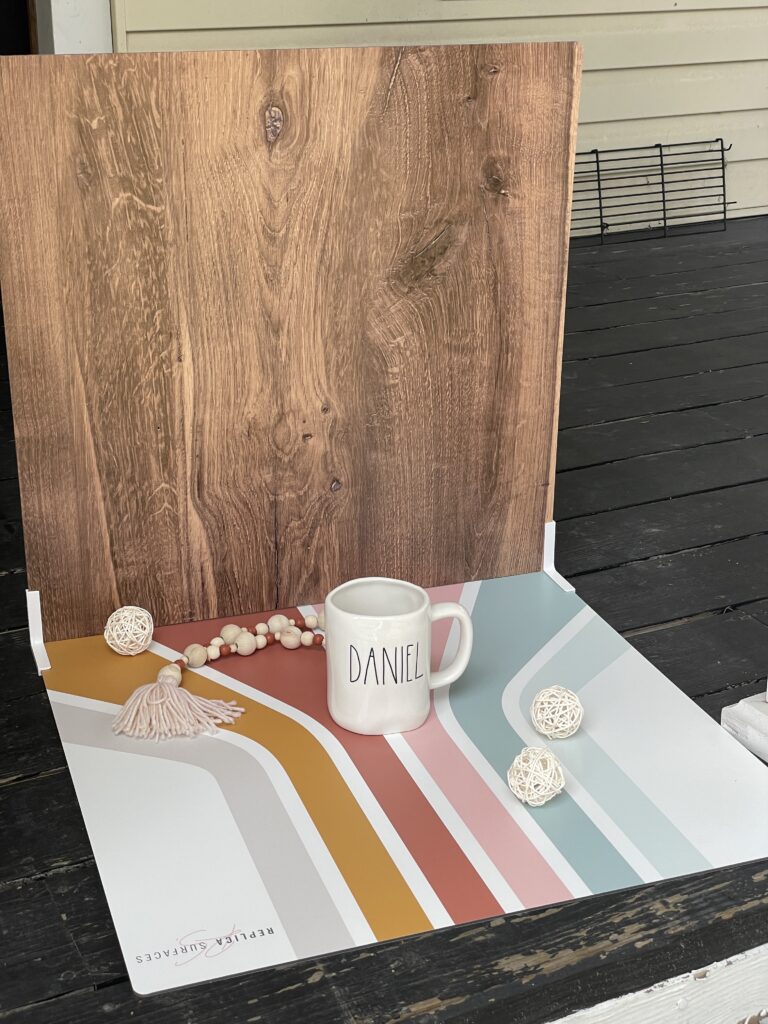
Here’s how it works — you get double-sided Surfaces and little Stands to hold them together. (See them in my photo above – they create the L-shape that make the Surfaces stand up.) In the mug shot I did, the fun colorful side is the back of what I actually ordered, so I got more than I thought I would! That’s a fun one!
The wooden one on the back is one of the design Surfaces I chose – great for the back or the faux table top I was going for.

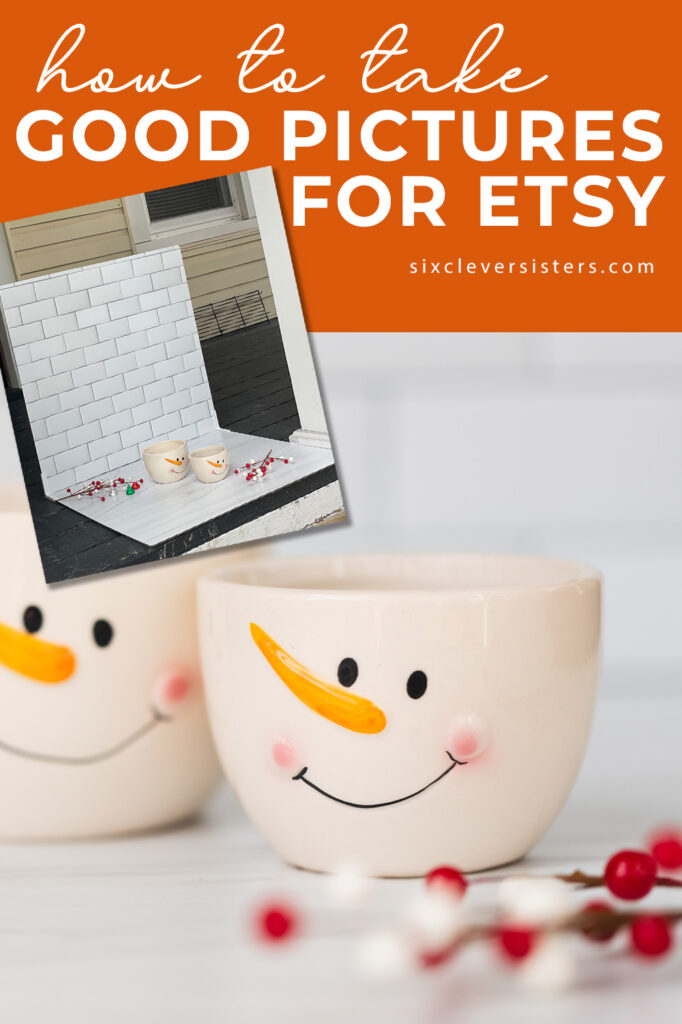
This marble top & subway tile backsplash are more of the nice ones they have to offer – remember, if you can appear to be high end in every aspect, you will sell more! My kitchen doesn’t have the window light I need, but I can make it seem like my kitchen is bright and airy just by using these Surfaces! 🥳
Look how perfect this is ⬇️ – my house was too crowded with holiday stuff, so I just set up on the front porch (same idea, out of the bright sunlight, but it’s similar to that natural window light), and I was easily able to get my photos done!
So if your house doesn’t have big enough windows, or you just don’t have the room, move outside! Try doing it on a porch, or right inside an open garage door, even right inside an open front door! I sometimes shoot from outside on the step to where I’ve set up right inside the house.
If you can’t afford Replica Surfaces right now, then by all means try making something that works for you that you can move around to where the lighting is good! I have a pallet board that I pull out now and then for lay-flat product photos.
This DIY shiplap board I made is similar to the pallet board I use as a table top for photos. ⬇️

Continuing with choosing a good backdrop, don’t just think of the actual surface you need – also put items in your background. Notice this same idea in my other photos — something in the back left and something in the front right. These should end up out of focus but they do add elements to your photo to make it more interesting!
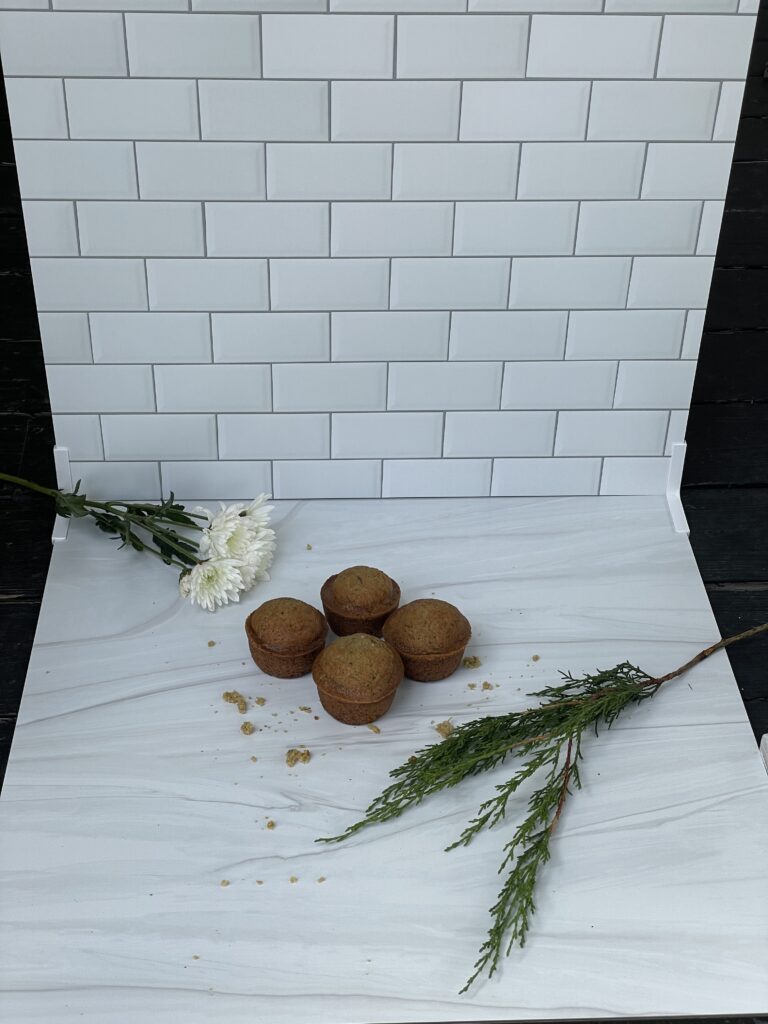
In my examples below, the background items help the photo from both the top view and the front view.
I could’ve also chosen a kitchen towel, measuring cups or spoons, etc.

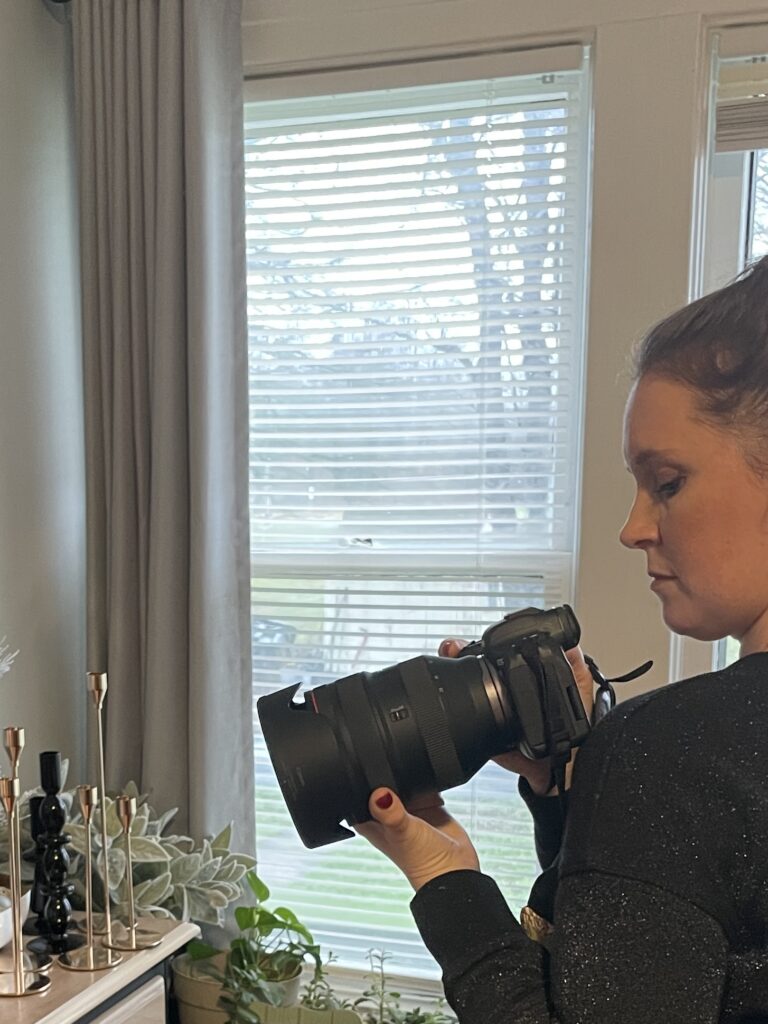
TIP #4: Keep your hands as steady as possible so that your photos are super sharp and clear. Use a tripod if you have camera shake! That might make a huge difference for you!
Otherwise, try nestling your camera against part of your body so that it stays more stable when you press the shutter button. If you’re choosing your camera settings, choose a shutter speed of 1/100 or more to make sure your photos come out sharper.
If I’m in a dark setting and I need to use a low shutter speed like 1/50 or below, I like to support my camera from below so it doesn’t move, AND push my camera into my shoulder so that I basically become a human tripod. 😆 I can shoot in low light like this and not have any camera shake.
TIP #5: Take closeup photos of your product’s features. People want to inspect items that they are considering purchasing, so show off all those details! If they can “feel” the product through your photo – awesome job! Your goal is to portray your photos so that they have no questions about what they can’t see in your Etsy listing. Let them see and they’ll be confident enough to buy!

TIP #6: Shoot from multiple angles, and then decide which one catches your eye the most. You might think the perfect shot for your product is that shot that’s in your mind….BUT…. take my word for it — while everything is set up and you’re shooting your photos, go ahead and change positions again and again so that you cover all the different angles. Otherwise, you might not be 100% happy with your photos, which may lead to setting it all up again for new ones. (I’m definitely speaking from experience. 😆)
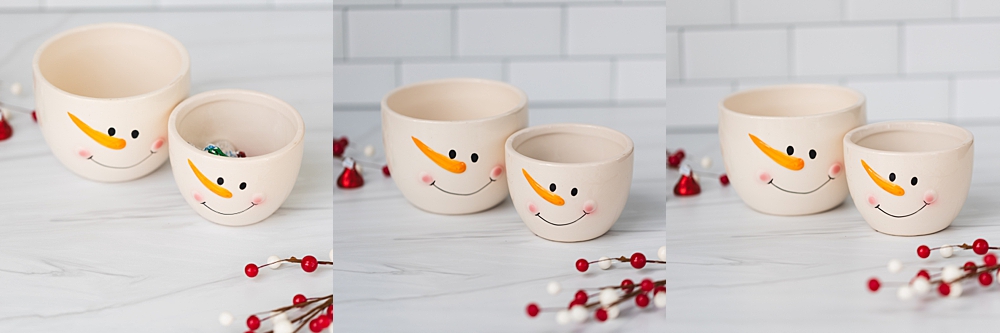
Even if it’s just 10 degrees different – have all those options so that when you’re going through your photos, you can see which one looks natural to you…which one stands out to you as THE photo. It might not be the angle you first envisioned!
TIP #7: Don’t just take product shots on your background. If at ALL possible, also include lifestyle shots so your reader can picture themself with your product. When they can picture themselves using your product, they are more likely to purchase it! This will also give them a true sense of the size of your product.

So there you have it – some tips for taking good pictures for your Etsy shop! Remember, you may have a great product, but people need to be able to see it in good light and from every angle.
From choosing the right background to basking in the glorious glow of natural light, and zooming in on those intricate details, every snapshot contributes to the visual narrative of your craft. Armed with these photography tips, let your creativity shine, and watch your Etsy shop flourish! Happy snapping! 📸