Before & After DIY Farmhouse Diffuser

I got an essential oil diffuser last year for my living room! Although I do like to diffuse oils, I’m not a huge oil user – I mainly just diffuse some peppermint oil or citrus oil to make my house smell fresh and clean 😉
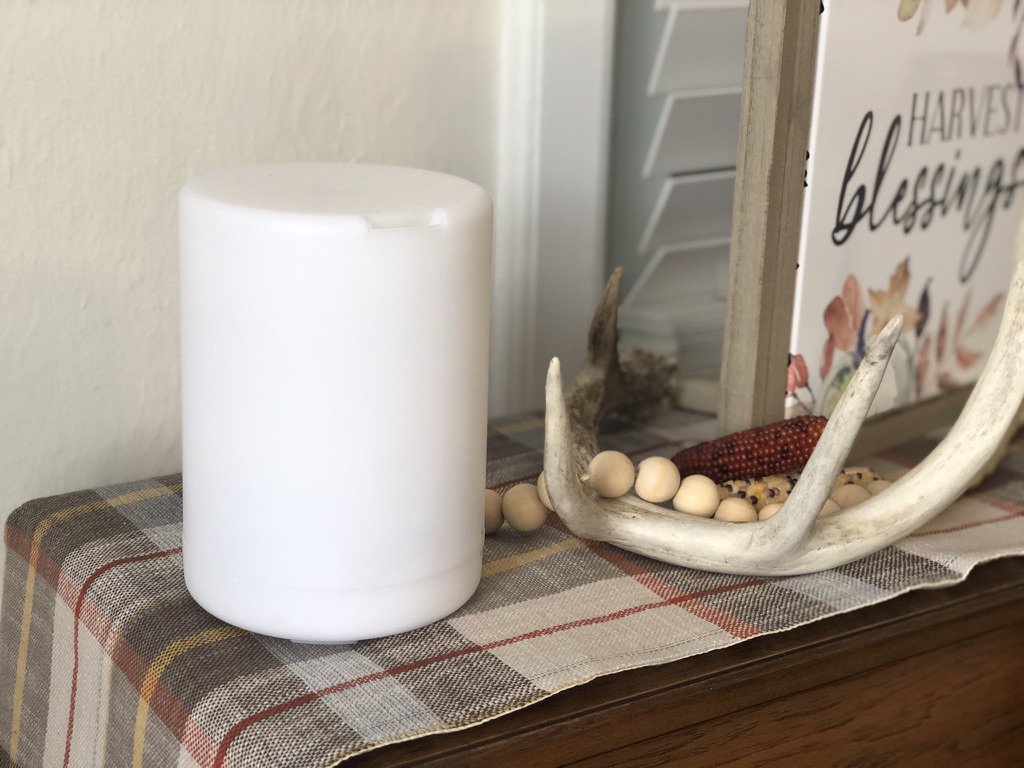
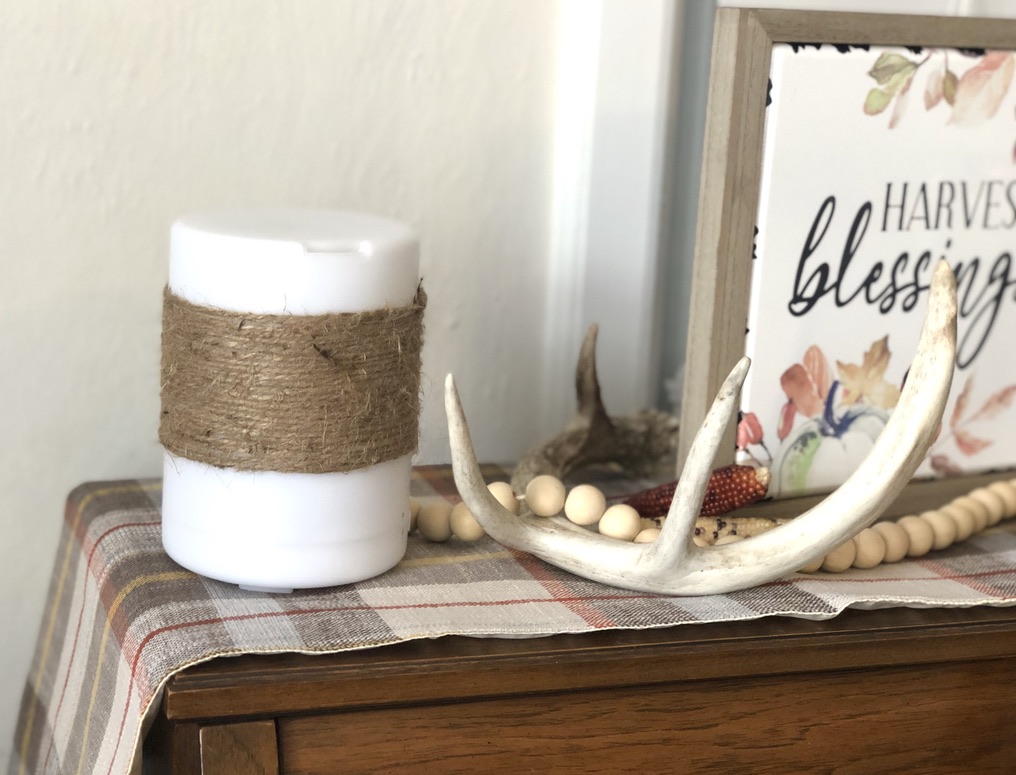
I recently decorated the top of my piano for fall. I kind of use my piano top as a “mantle scape” area that I can decorate for the seasons. Typically I keep a lantern, some antlers, a candle, some antique books, and my diffuser up there when it isn’t a holiday season. When September hit, I decided to change it up completely and bring a little autumn feeling to the space.
My diffuser is a simple white diffuser, which is great, but sometimes that can look a little too boring. Ya know? It didn’t quite flow with everything I use to decorate. My husband actually suggested that I DIY my diffuser and make it look a little more farmhouse-y. He suggested wrapping it with some twine to give it a little more of that rustic feel that we have going on in the rest of the house! I thought that sounded like a great idea 🙂
I had some leftover twine from my Dollar Tree project I did last month. This project took me only a little bit of time and hardly any money! All I used was my roll of twine from Dollar Tree and some hot glue.

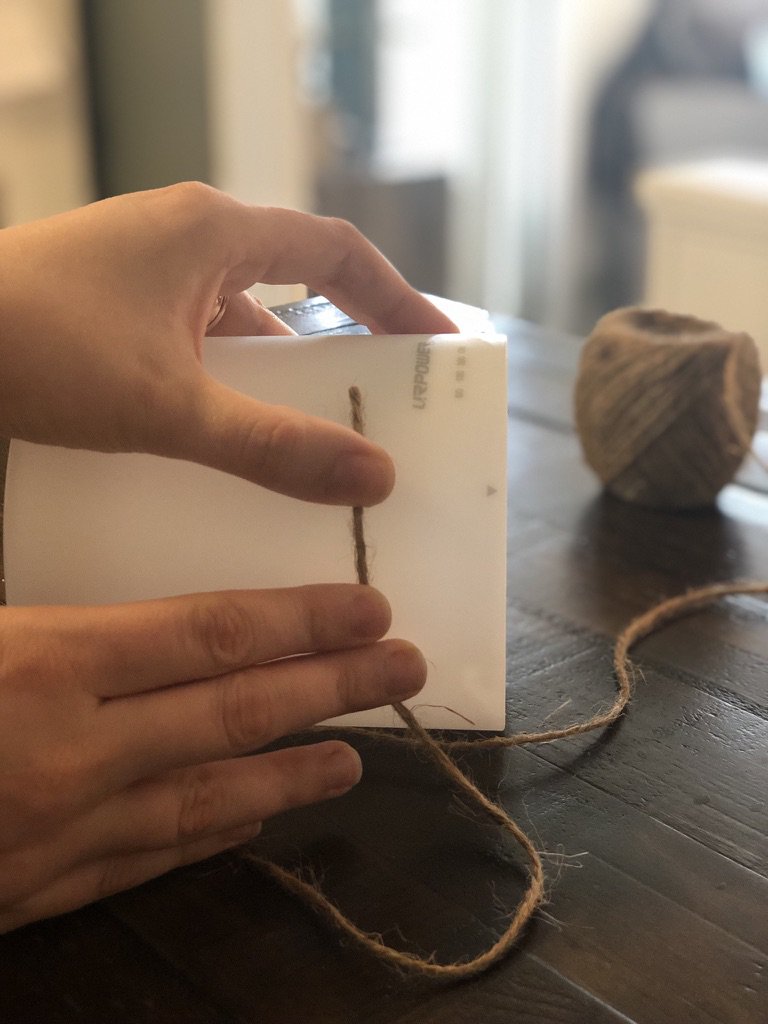
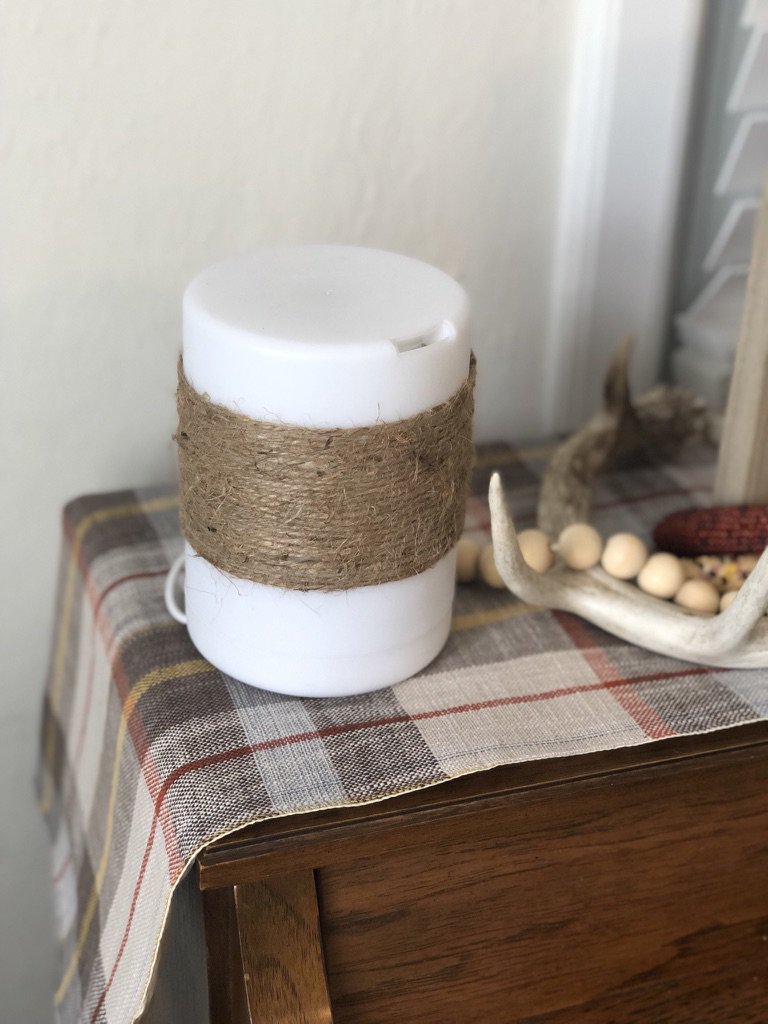
I started gluing the twine at the bottom, above where the printed words are on the diffuser. I didn’t want to cover those up, and I wanted to leave some of the white visible above and below the twine.
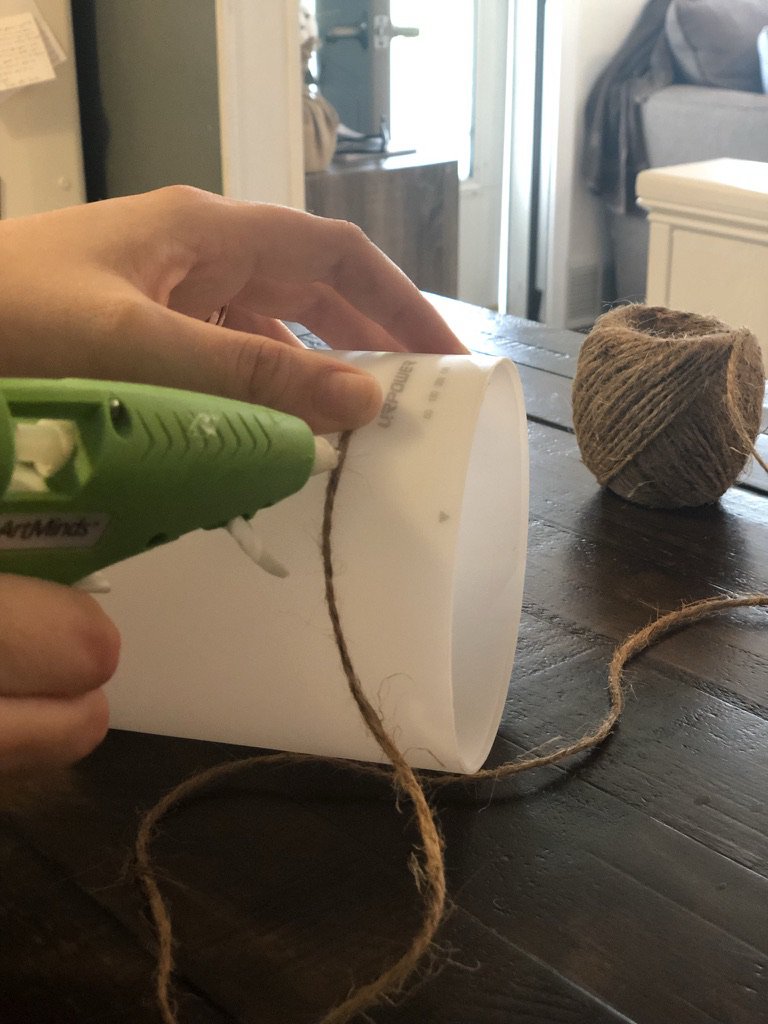
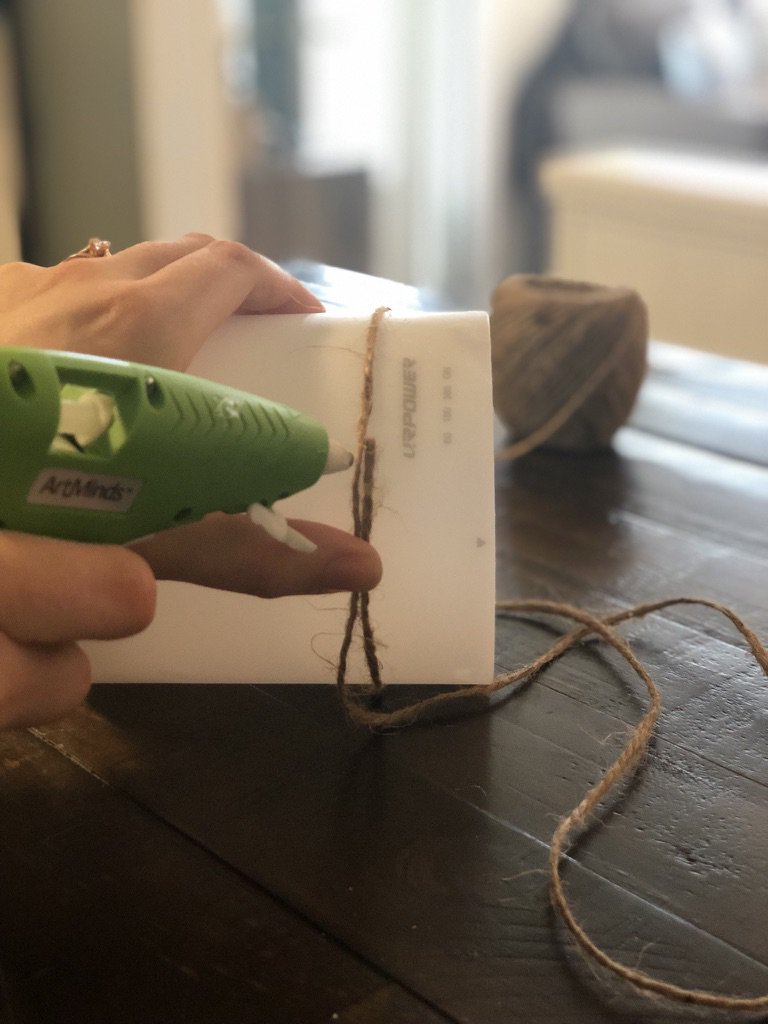
I simply put dots of hot glue around the diffuser as I continued to wrap the twine around it. I didn’t need to put a lot of glue on, since I was tightly wrapping the twine around the diffuser.
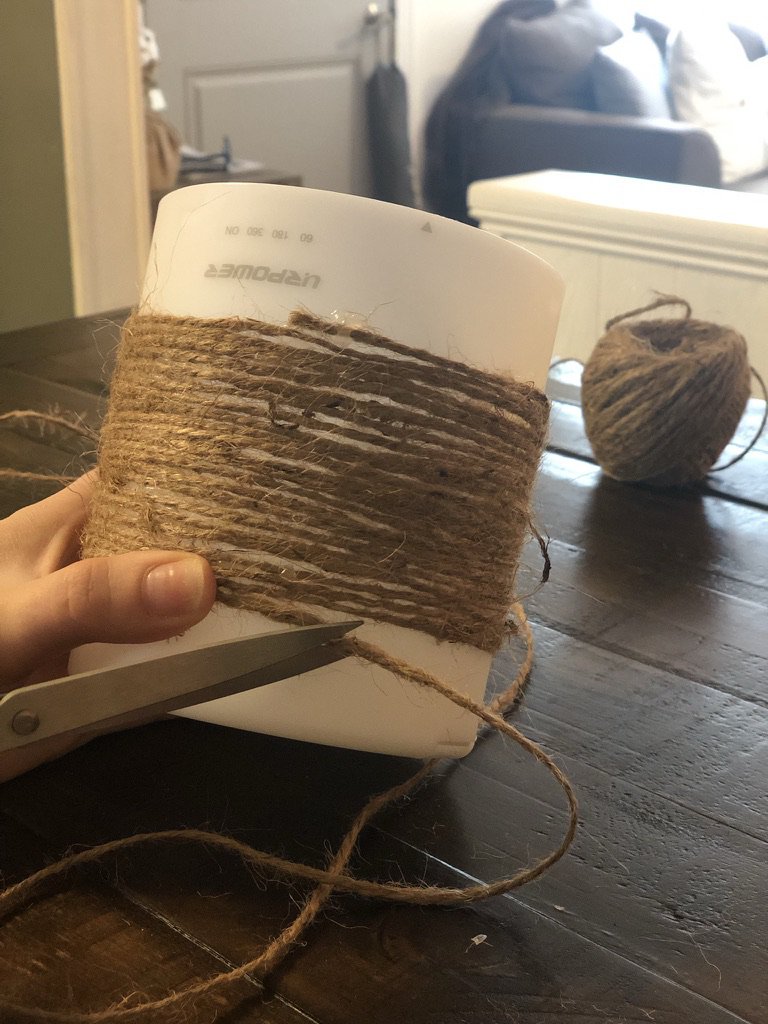
I continued gluing and wrapping until I reached the point where I wanted to stop, leaving the same amount of white on the top as I did on the bottom.
Here’s a quick video showing how I wrapped and glued it –
When I got to the end, I glued the twine and snipped it. (I tucked in the tiny end that was there so it wouldn’t be seen from the front of the diffuser).
I love the way it turned out! I think it looks really great with everything else up on my piano.


 Similar wooden bead garland here.