How to Make Wooden Earrings with Cricut Veneer (Step-by-Step Tutorial)

How to Make Wooden Earrings with Cricut Veneer (Step-by-Step Tutorial)
Level: Beginner
If you love Cricut crafts and are ready to try something new, you’ll be obsessed with making wooden earrings. These beautiful earrings are lightweight, stylish, and completely customizable—and with the right tips and tricks, they’re surprisingly easy to make at home.
In this tutorial, I’ll show you exactly how to use balsa wood, Cricut wood veneers, and Cricut Design Space to create amazing earrings with professional results. You’ll also find tips for getting the best results, my go-to materials, and a few ways to personalize your design.
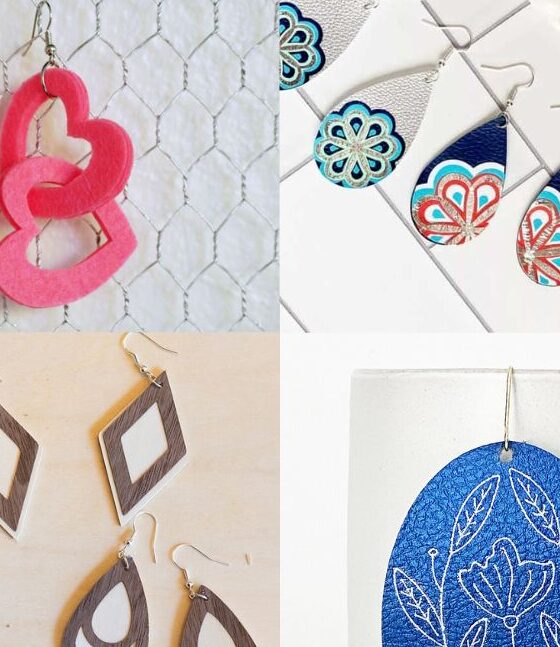
And if you love earring-making in general, don’t miss my popular post on How to Make Faux Leather Earrings with Cricut (Free cut file)—it’s a perfect companion to this wood veneer project.
Why Make Wood Veneer Earrings with Cricut?
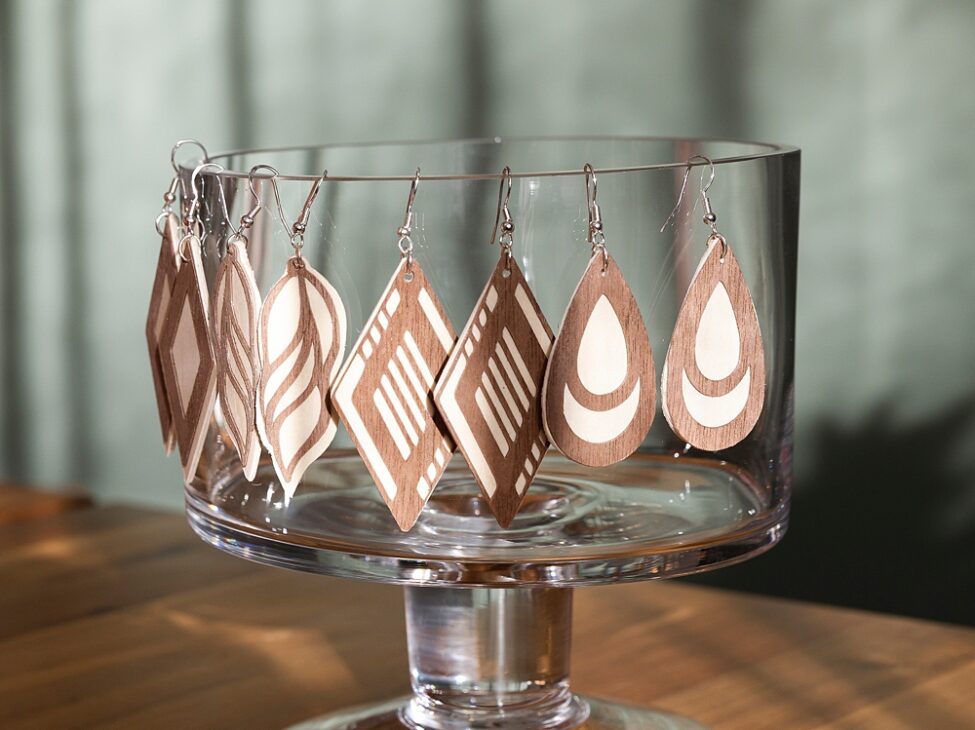
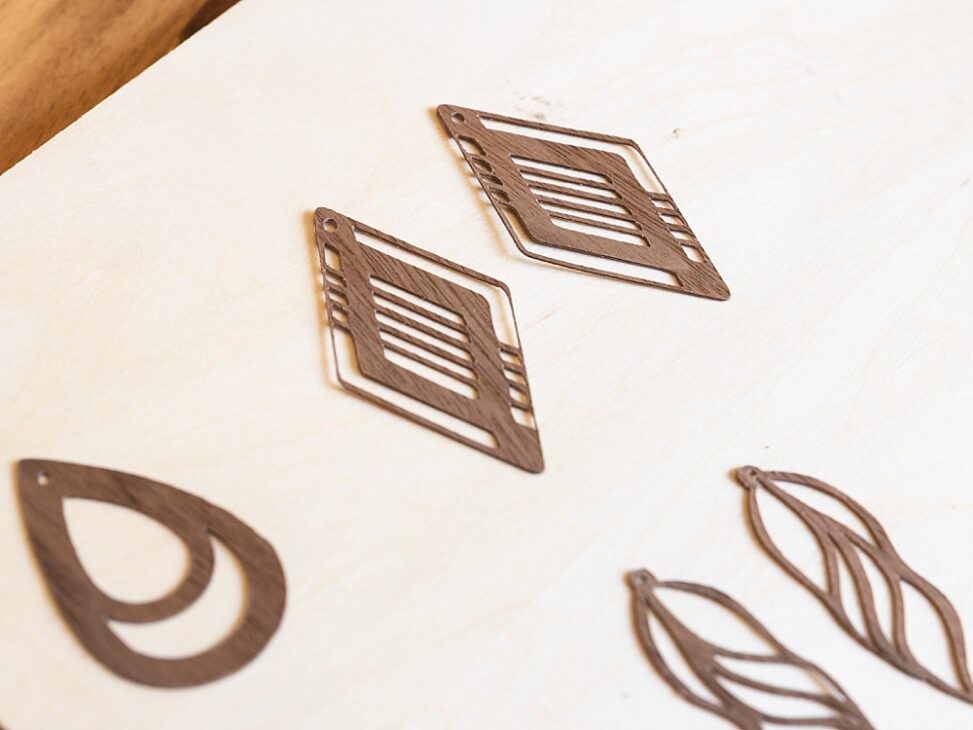
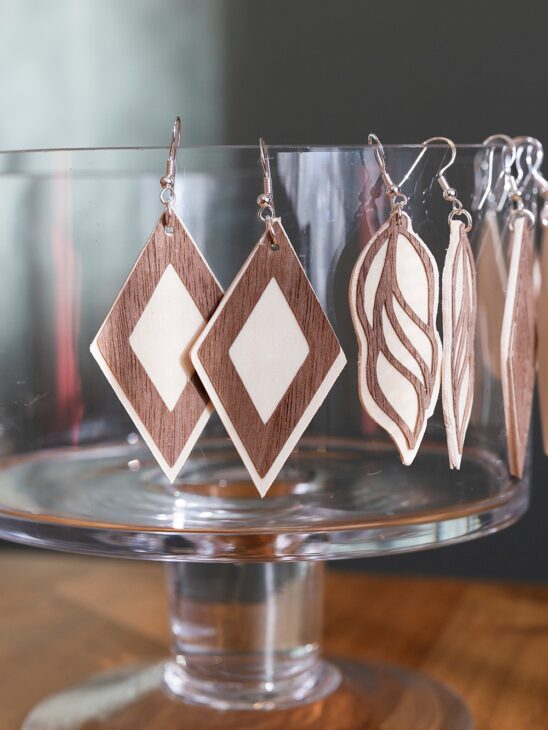
A common complaint with wood earrings on the Cricut is that you can’t cut very detailed designs on something as thick as balsa wood. It just doesn’t usually work too well. However — you can have a solid balsa backing as your base, then cut an intricate design with Cricut’s wood veneer to place OVER the balsa wood. I choose contrasting finishes so it looks amazing. Unfinished balsa wood paired with walnut veneer looks INCREDIBLE. Or you could use Cricut’s darker chipboard as the backing, and their natural veneer on top. Either way, the two materials should contrast.
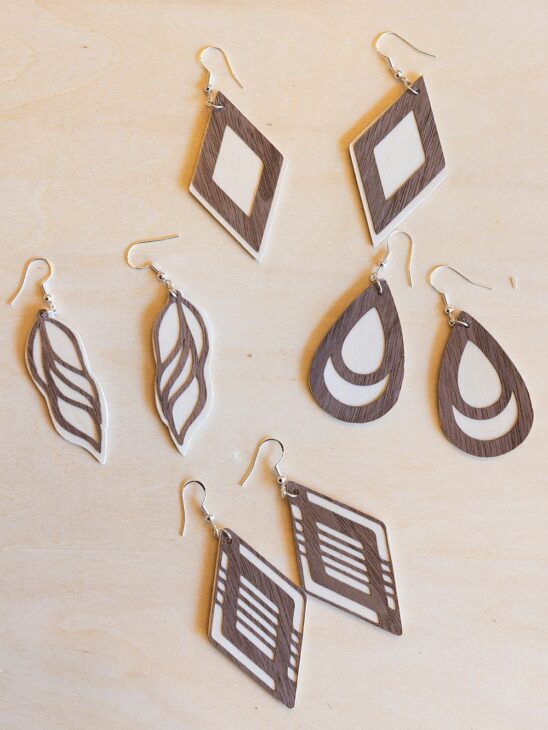
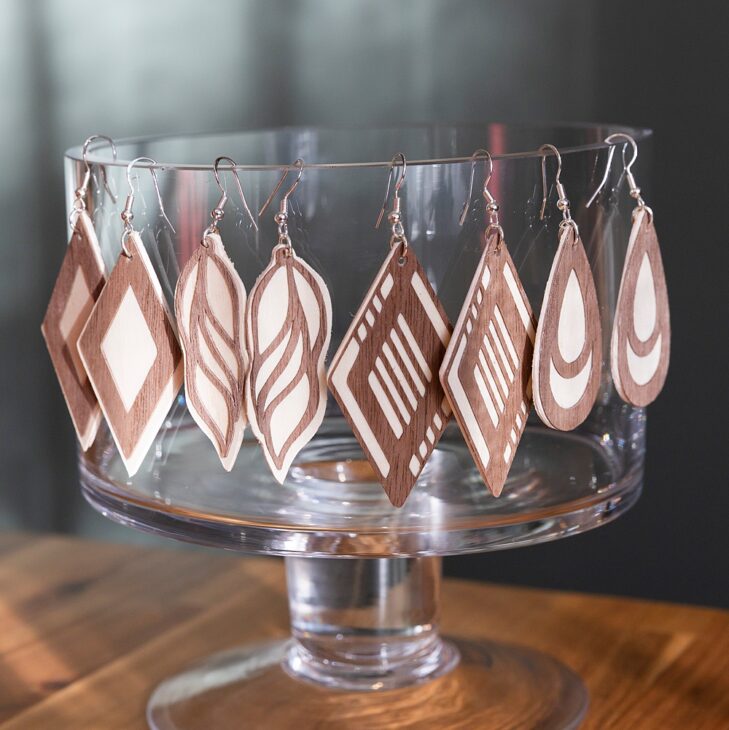
Wood earrings add a warm, natural look to any outfit, and balsa wood paired with Cricut wood veneer sheets make it possible to cut beautiful designs that look like they came straight from a boutique. Whether you’re making them for yourself or as great gifts, these earrings are a fun way to explore new Cricut project ideas.
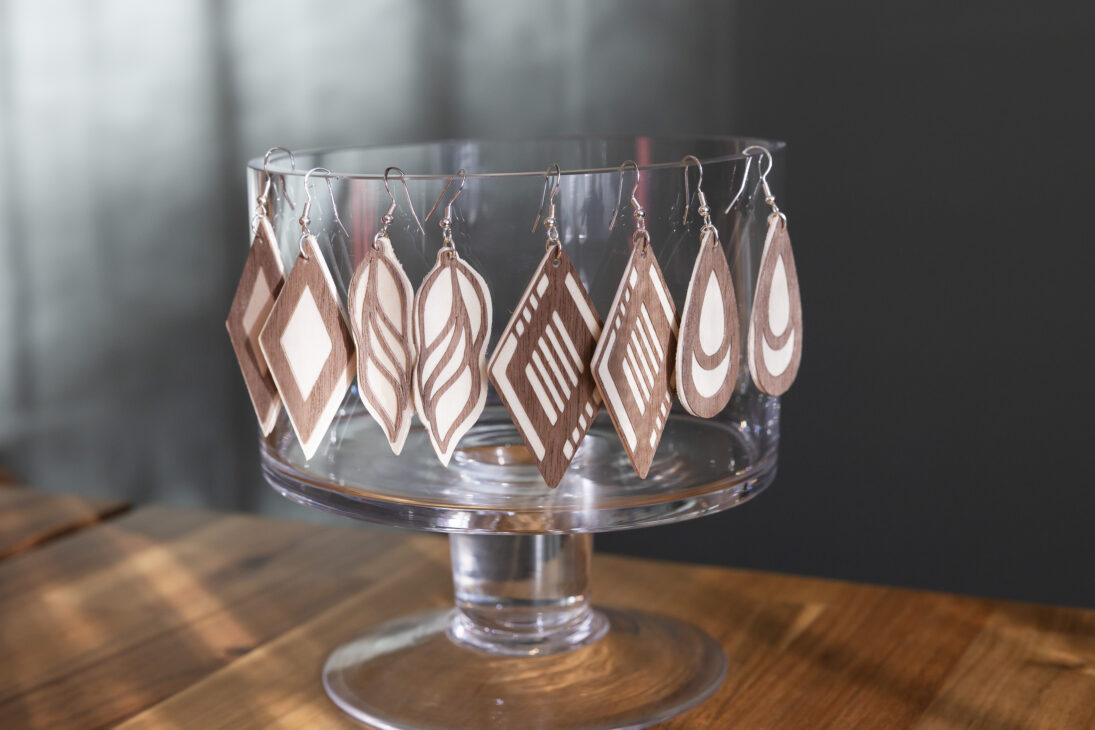
Unlike heavier wooden jewelry, these Cricut wooden earrings are thin and lightweight, making them comfortable for all-day wear. Plus, with your Cricut machine, you can cut shapes and patterns you’d never be able to do by hand.
To start, you’ll need to get the cut files by putting your email in the box at the beginning of this post so we can send them to you!
Just upload those into Design Space and size them the way you like, and you will be able to cut these earrings.
:: PIN FOR LATER! ::

Supplies You’ll Need
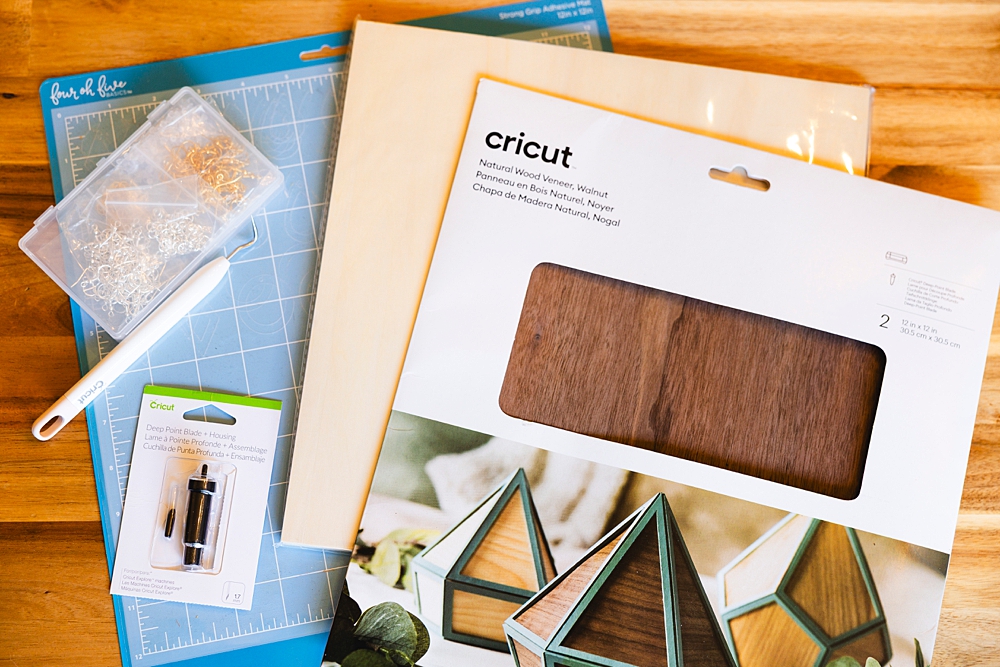
To make wood veneer earrings, gather the following materials:
- Cricut machine – Maker, Maker 3, or Cricut Explore models (I have the Explore 3 and *love* it!)
- Cricut wood veneer sheets – maple, cherry, or walnut
- Cricut Design Space – to upload the files and make the cut
- Earrings Files (scroll down to our subscribe box for the freebies)
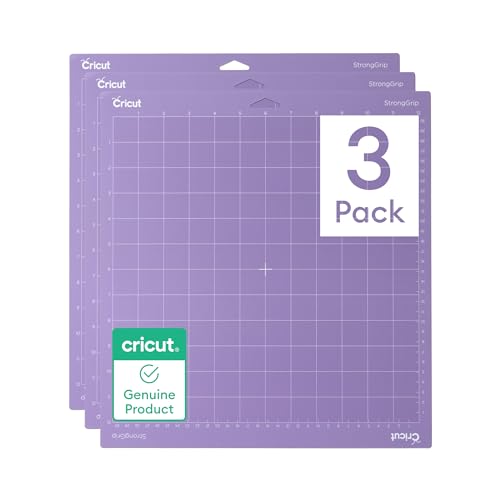
- StrongGrip mat (Cricut’s is purple)
- Deep-Point Blade
- Painter’s tape or masking tape – to secure veneer to the mat
- Balsa wood sheets – for backing and added stability
- Optional: iron-on vinyl for decorative overlays if you feel creative!
- Adhesive – tacky glue or spray adhesive
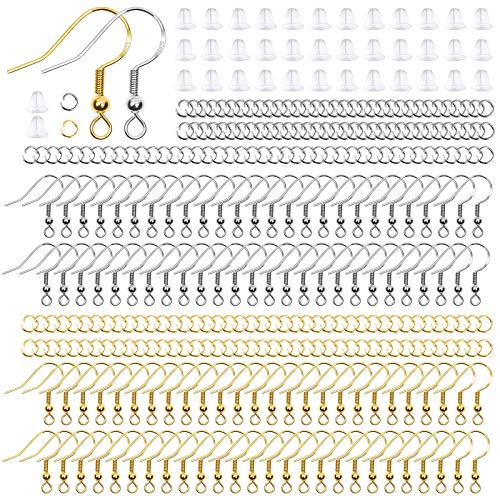
- Jewelry findings – jump rings and earring hooks
- Needle-nose pliers – for attaching findings
- Detail Craft Knife


As an Amazon Associate I earn from qualifying purchases. Thanks! / Affiliate links / Images from Amazon Product Advertising API


As an Amazon Associate I earn from qualifying purchases. Thanks! / Affiliate links / Images from Amazon Product Advertising API
How to Make Wooden Cricut Earrings
Step 1: Grab our cut files and upload them into Design Space. Size them to the size you prefer. See the below screenshot for the approximate size I used for the earrings pictured in my photos.
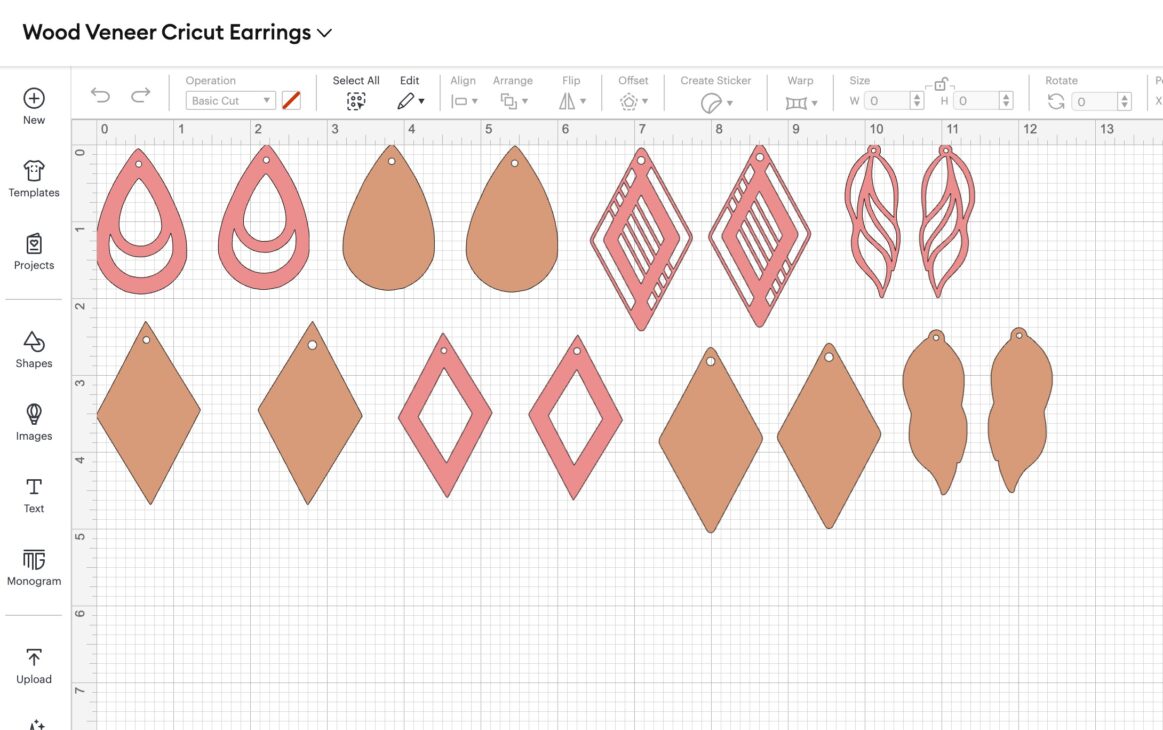
You’ll need the Cricut Design Space app to start, but if you’ve used your Cricut before, you’re probably all set up with this! Start by uploading our earring files into Design Space. Or – you can find tons of free SVG files online or create your own in Cricut Design Space. Popular shapes include teardrops and geometric styles. Just keep in mind that intricate shapes may not cut easily, so avoid anything with too much detail.
If you need inspiration, my faux leather earrings tutorial includes a free file you can adapt for wood veneer.
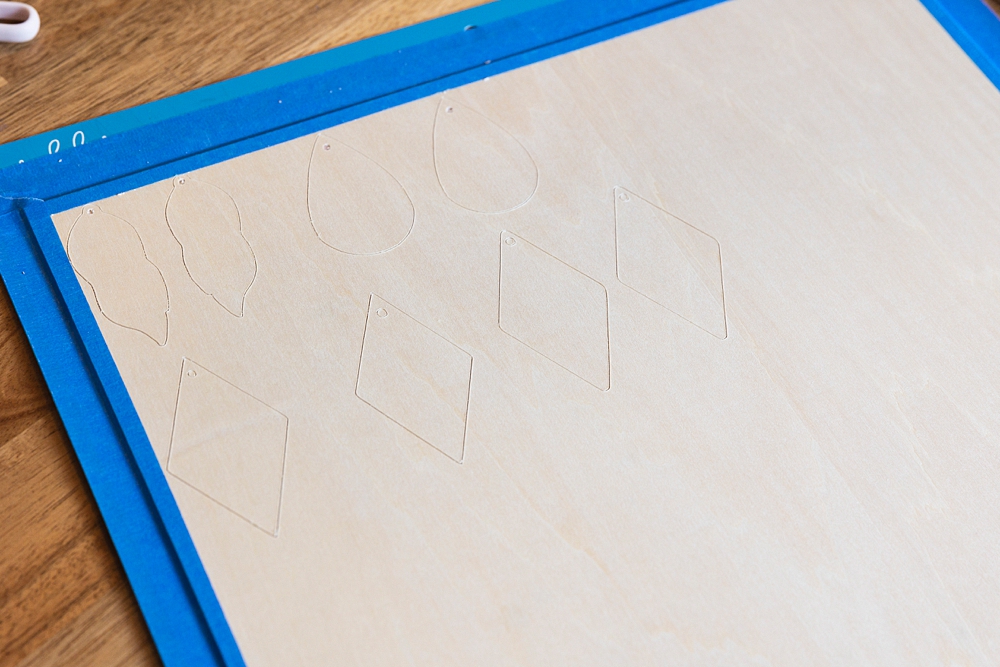
Step 2: Prepare Your Mat and Veneer
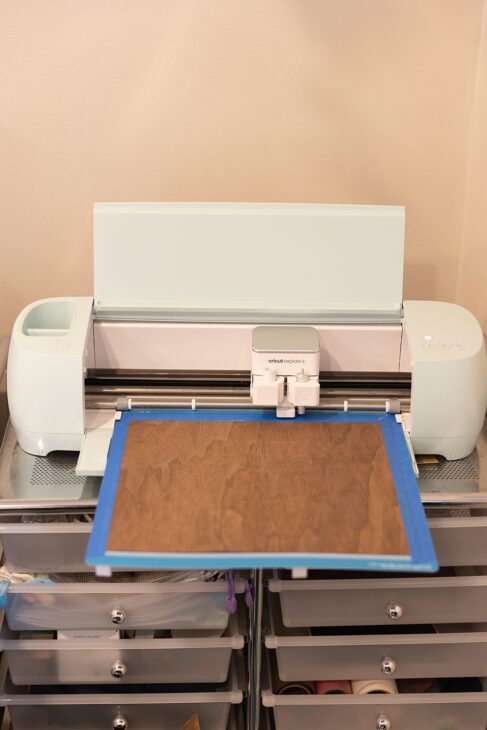
For best results, use a StrongGrip mat. (Cricut’s is the purple strong grip mat, but other brands use other colors – always read which type it is to make sure it’s strong grip.) Place your wood veneer sheet on the mat and secure all edges with painter’s tape or masking tape. This prevents shifting and keeps your veneer flat during cutting.
Pro Tip: Place the veneer with the grain running in the direction of the cut for cleaner edges.
Step 3: Adjust Material Settings and Select Your Blade
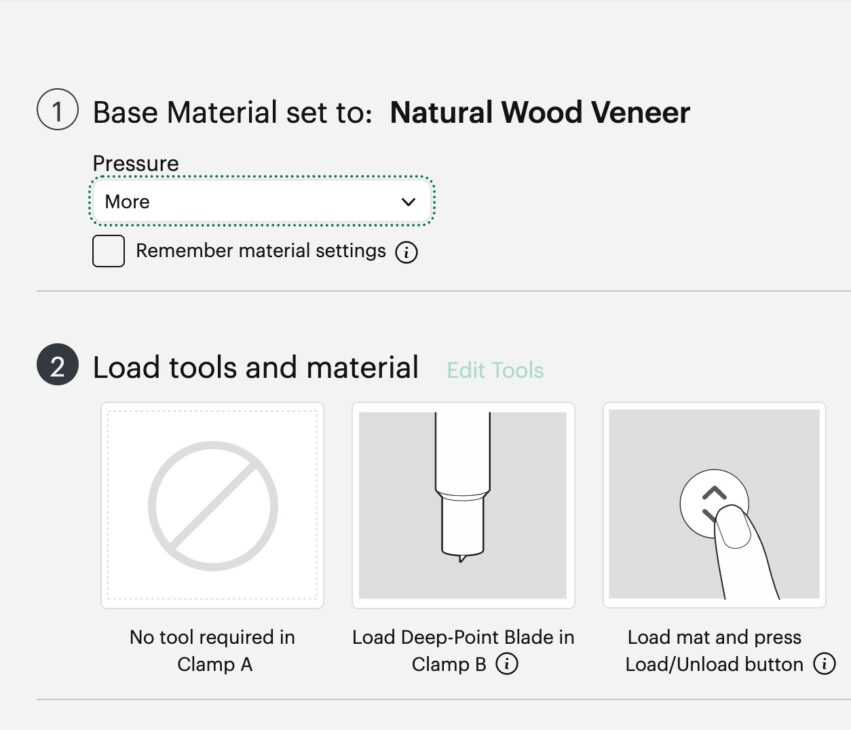
In Cricut Design Space, set your material to Cricut wood veneer for the veneer tops.
Use the Deep-Point Blade and set the pressure to “more.”
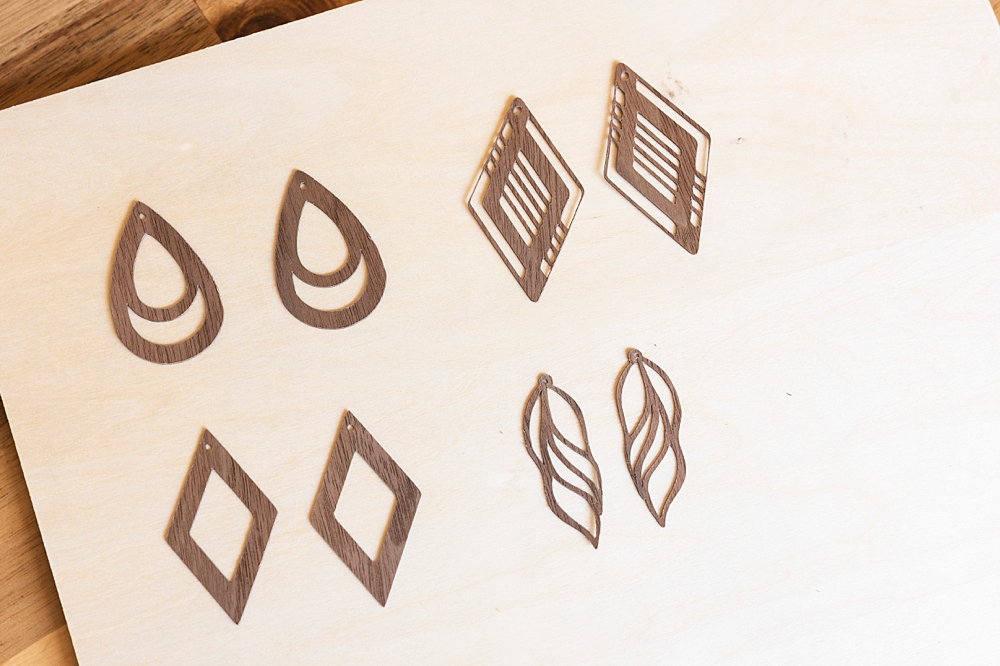
Step 4: Cut Your Earring Pieces
Load your mat into the Cricut machine and let it cut your shapes. Don’t rush—Cricut wood veneers cut best at a slower pace for precision.
I have a handy little extension tray that holds the mat up for better stability! Before I bought that, I would stand there supporting it to make sure my cuts came out right, but this does it for me! You can find it HERE.
Step 5: Repeat choosing your layers and cutting, but now for the backing pieces.
Move the star rollers off to the right side so they don’t leave marks on the wood. You’ll need to set a custom material to cut through this – here’s how: Go to “Browse Materials,” go to “All Materials” on the top left, then all the way down to “Material Settings.”
Then allll the way down in that list, Add New Material. Name it whatever you like (& will remember!) Choose Deep-Point Blade, slide that slider all the way up to 350, then choose 8x for passes.

Up that pressure to “more” again.
(You will probably still need to use a detail craft knife to get the wood piece completely cut, because it doesn’t usually cut all the way through, not matter how many passes, but setting the pressure to “more” will help eliminate that possibility.)
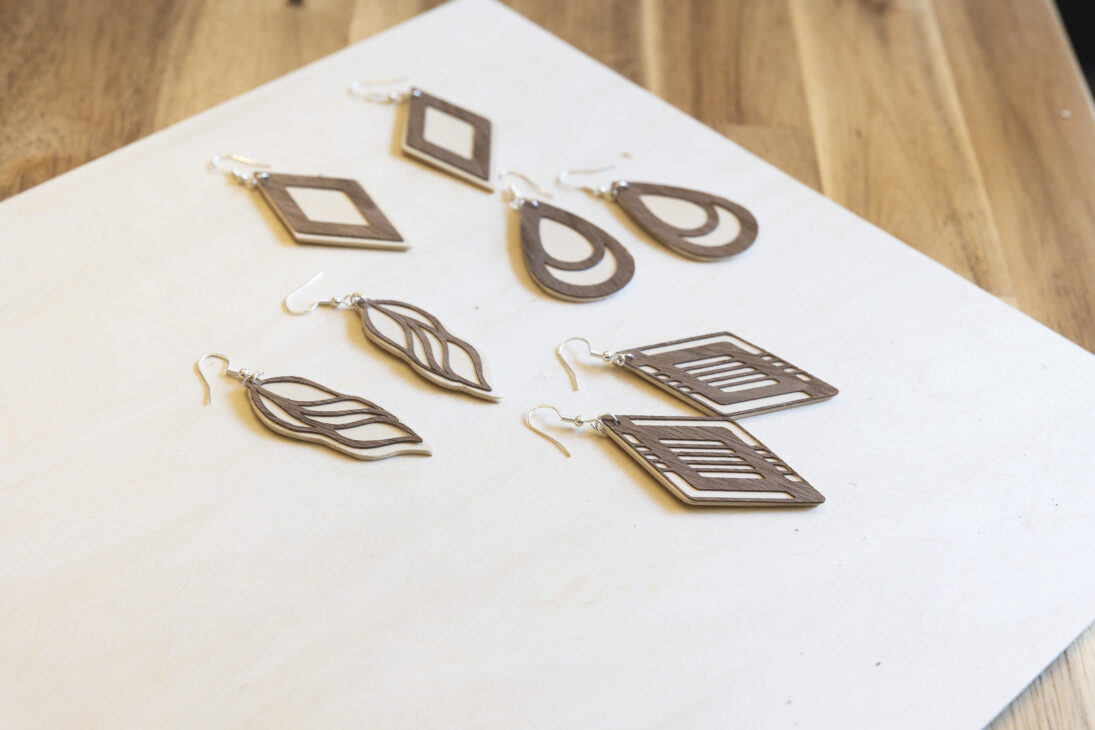
Step 6: Assemble Your Earrings
- Use tacky glue or spray adhesive to attach the backing layers to your veneer piece. (I used a toothpick to spread a little glue on the back of each veneer piece.)
- If you’re adding any iron-on vinyl accents, press it onto the veneer with low heat before gluing the backing.
- Let everything dry completely for a strong hold.
Step 7: Sand, Seal and Finish (optional)
Gently sand any rough edges smooth. To protect your beautiful earrings and enhance the wood grain, apply a clear sealant. You can choose between a glossy finish for extra shine or matte for a natural look.
Step 8: Add Jewelry Findings
Attach a jump ring and earring hook with needle-nose pliers, and your wood veneer earrings are ready to wear! Psst – I’ve got all the tricks and tips for attaching these to hang straight in my other post on Cricut Earrings HERE! Check it out for photo instructions.
Tips for Best Results
- Always secure veneer with painter’s tape or masking tape on the mat.
- Cut with the grain to avoid splintering.
- Experiment with layering veneer and iron-on vinyl for unique styles.
- Keep your designs simple if you’re new—intricate cuts are easier once you’re comfortable with the process.
More Cricut Earring Project Ideas
Once you master wood earrings, try other materials like faux leather or glitter sheets! Check out my tutorial on How to Make Faux Leather Earrings with Cricut (Free SVG) for another fun way to make amazing earrings that are lightweight and customizable. I’ve got all the details in that post to help even a newbie succeed first time!

Making your own wooden earrings with Cricut veneer is easier than you think—and once you start, you’ll have endless designs for yourself, gifts, or even to sell. With Cricut Design Space, the right blades, and a little creativity, you can create beautiful earrings that rival store-bought styles.