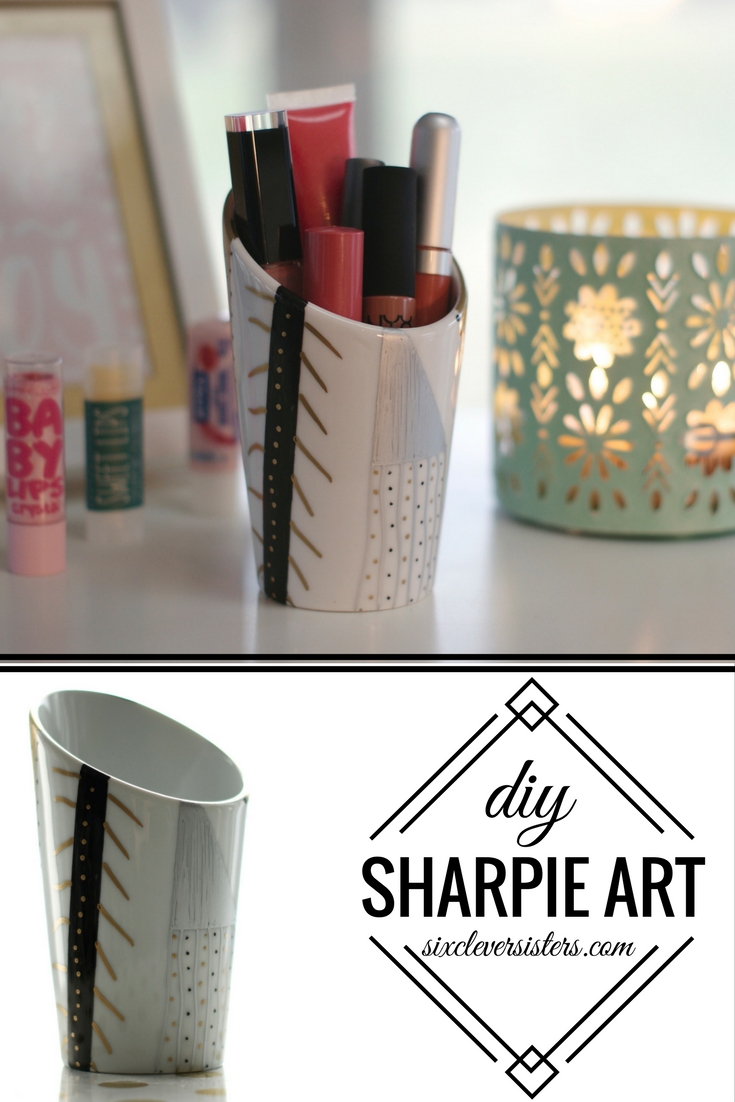
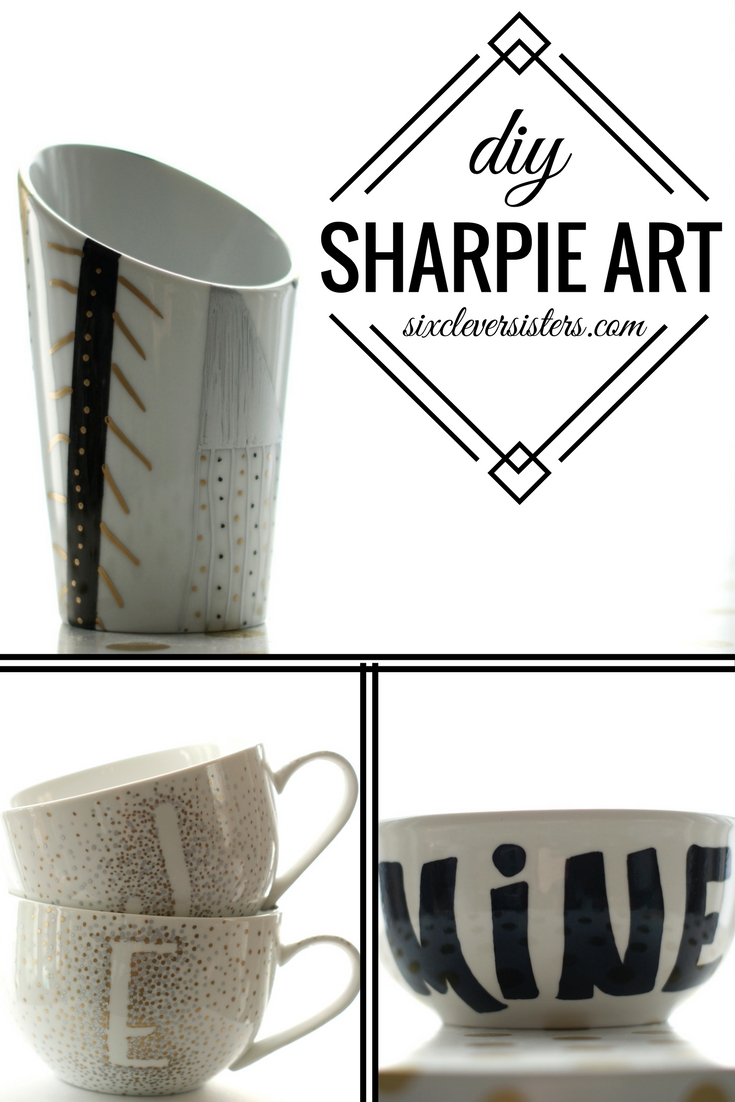
Easy DIY Sharpie Art
I love Sharpie art and this is the perfect way to make yourself a cute and chic holder for pens, pencils, brushes, lip balms!
Just grab some Sharpies and let’s get started!
Easy DIY Sharpie Art
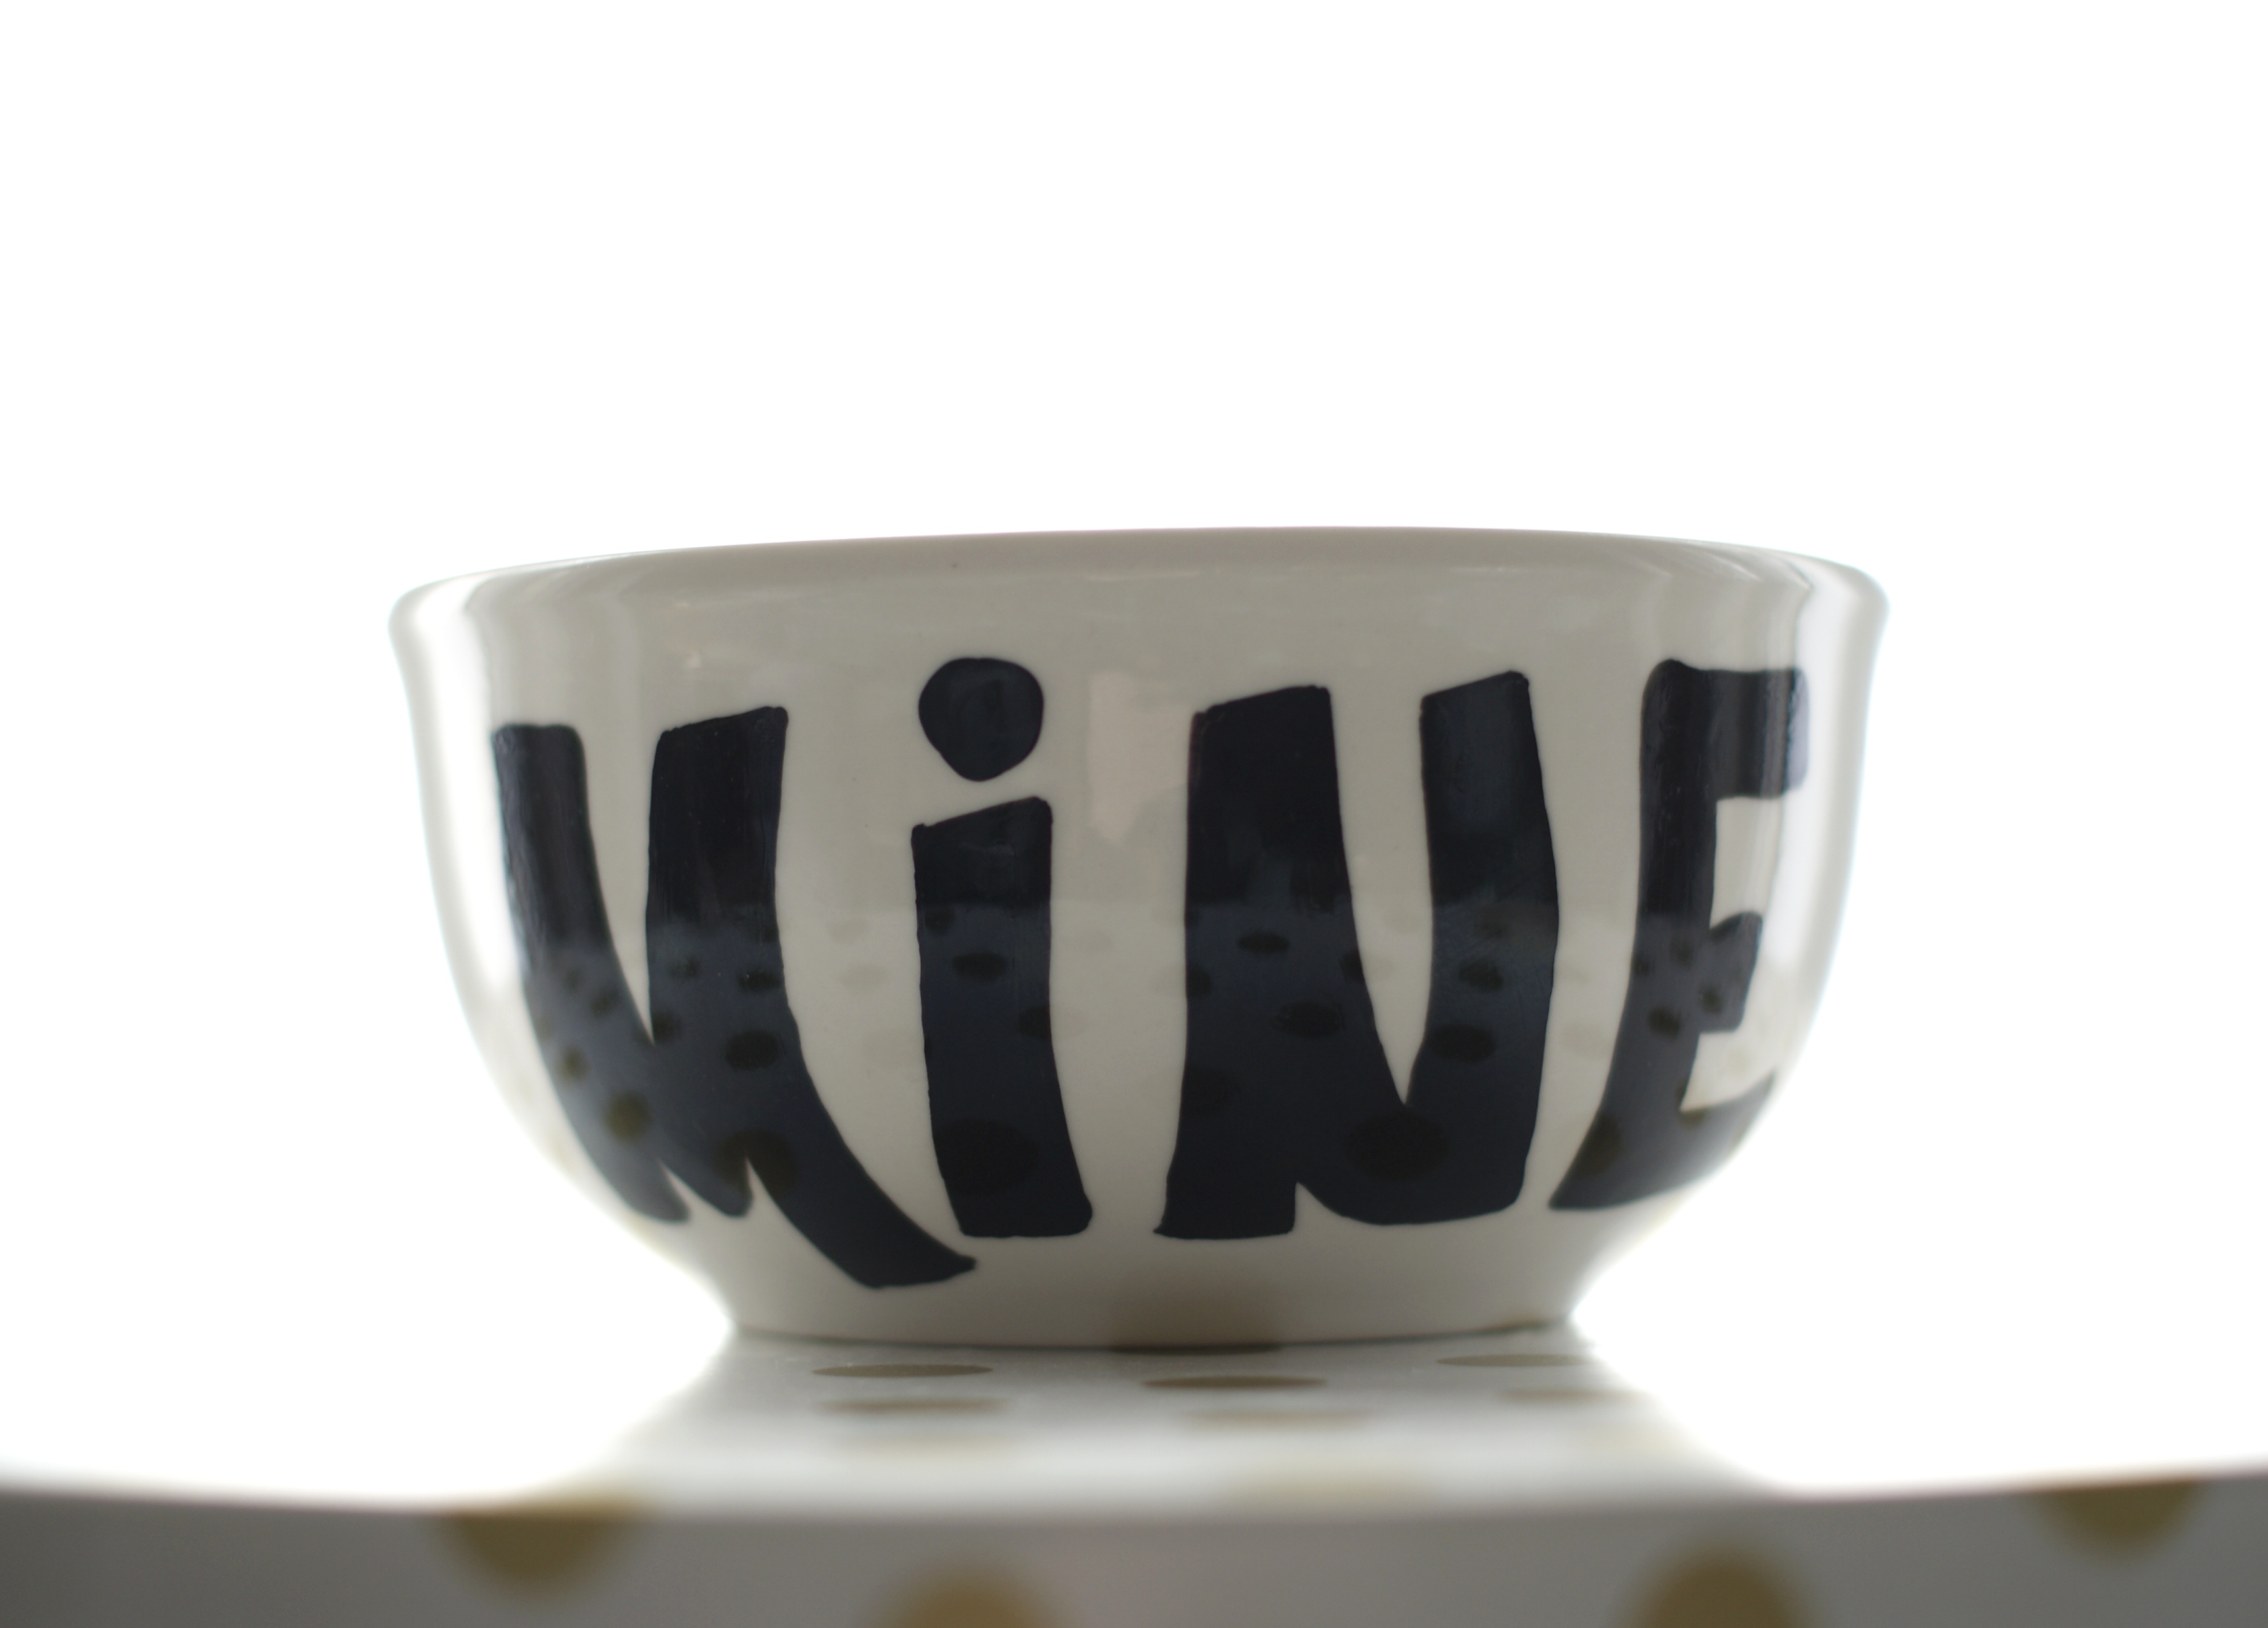
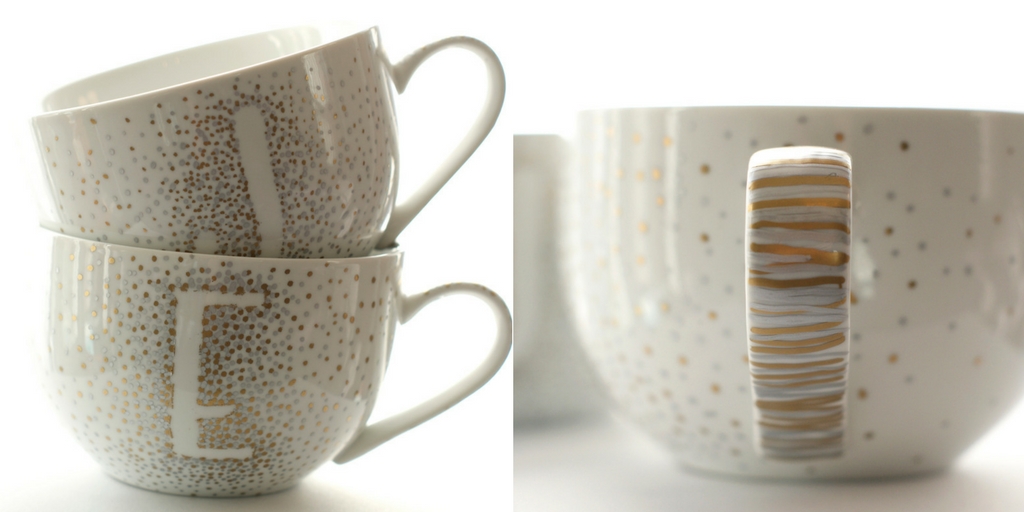
I have seen Sharpie art mug tutorials all over Pinterest and last fall I tried my hand at some Sharpie art soup mugs . . . I made a matching set for one of my sisters and her husband with their name initials. It was so much fun and so easy to do! Then, for Christmas I made my brother a Sharpie art bowl that says ‘MINE’ {he likes to keep his dishes separate from everyone else’s 🙂 } Last August, I did a tutorial for a Washi tape utensil holder. I decided I should try Sharpie art on that same ceramic utensil holder {since I didn’t coat mine in Mod Podge, the Washi tape came off without any effort}. To see what I did to make this Sharpie art pen holder, keep reading . . .
For this project I used:
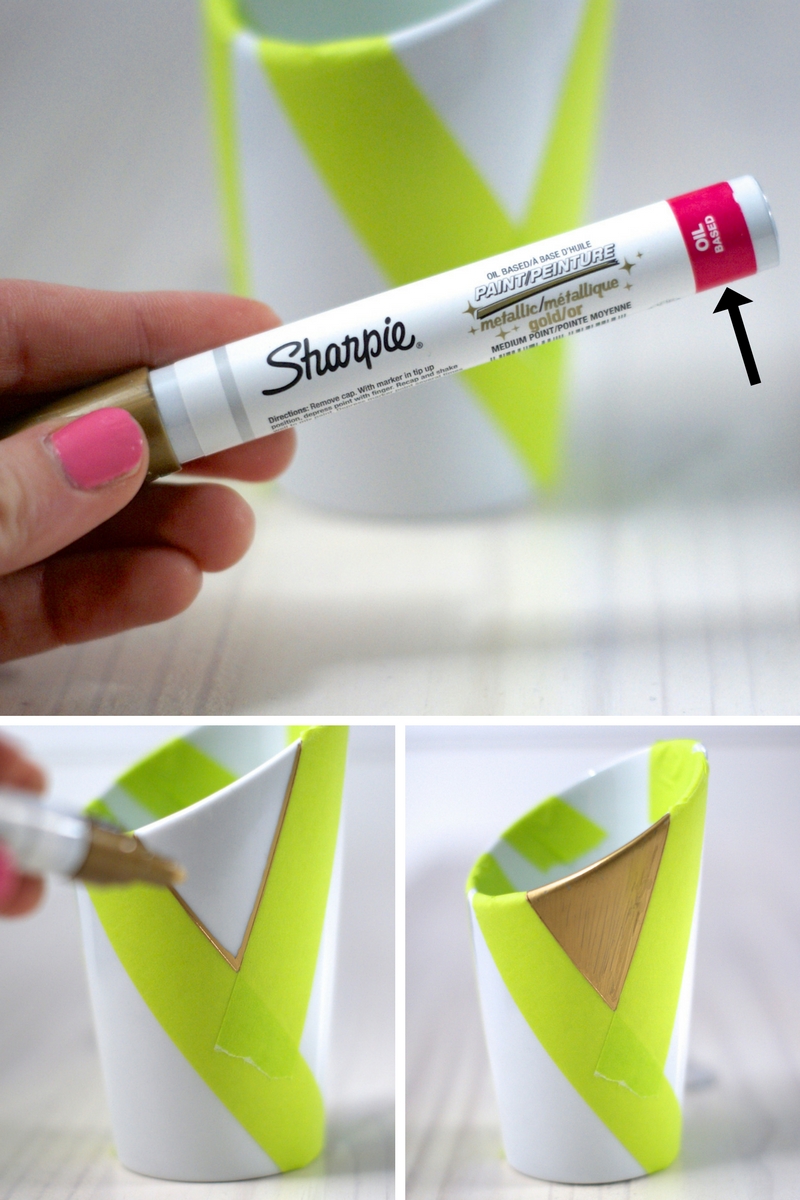
- oil-based sharpies (black, gold, and silver)
- masking tape
- a ceramic container (you can use a mug, bowl, plate, toothbrush holder, etc.)
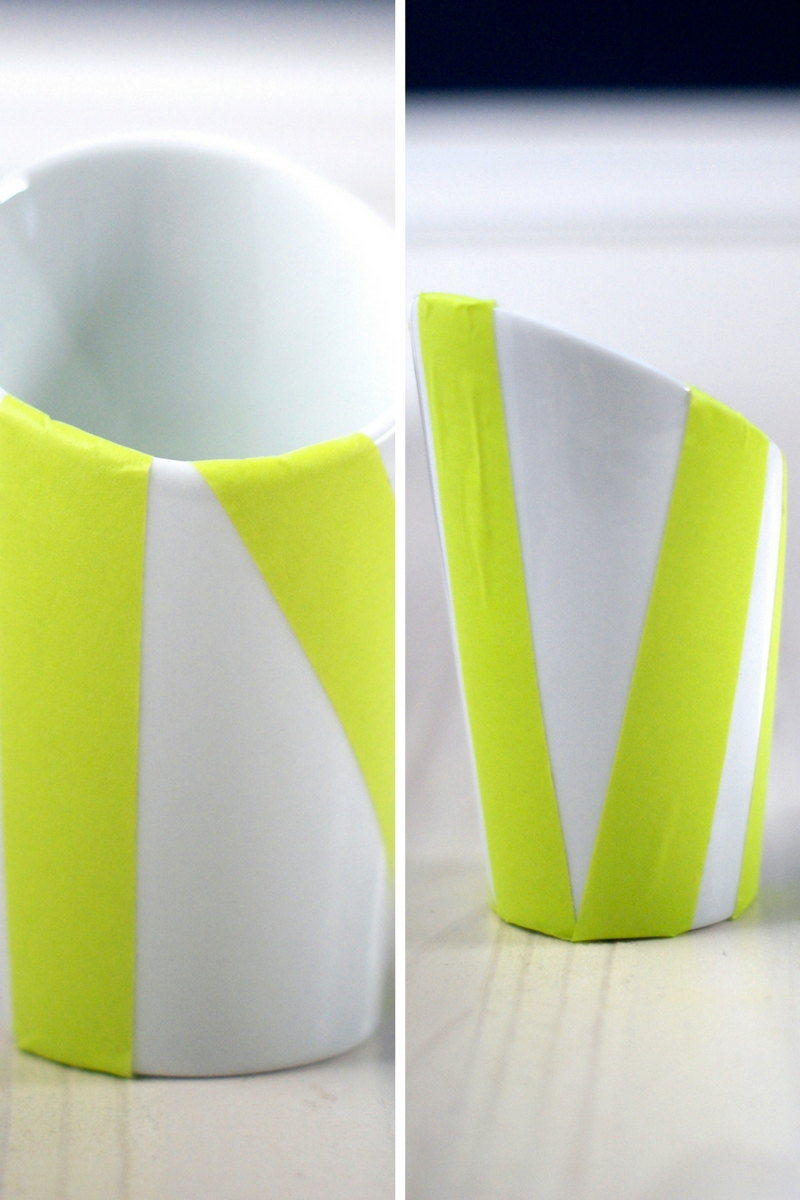
Start by wiping off the exterior of your ceramic dish to get rid of any debris and making sure it is completely dry.
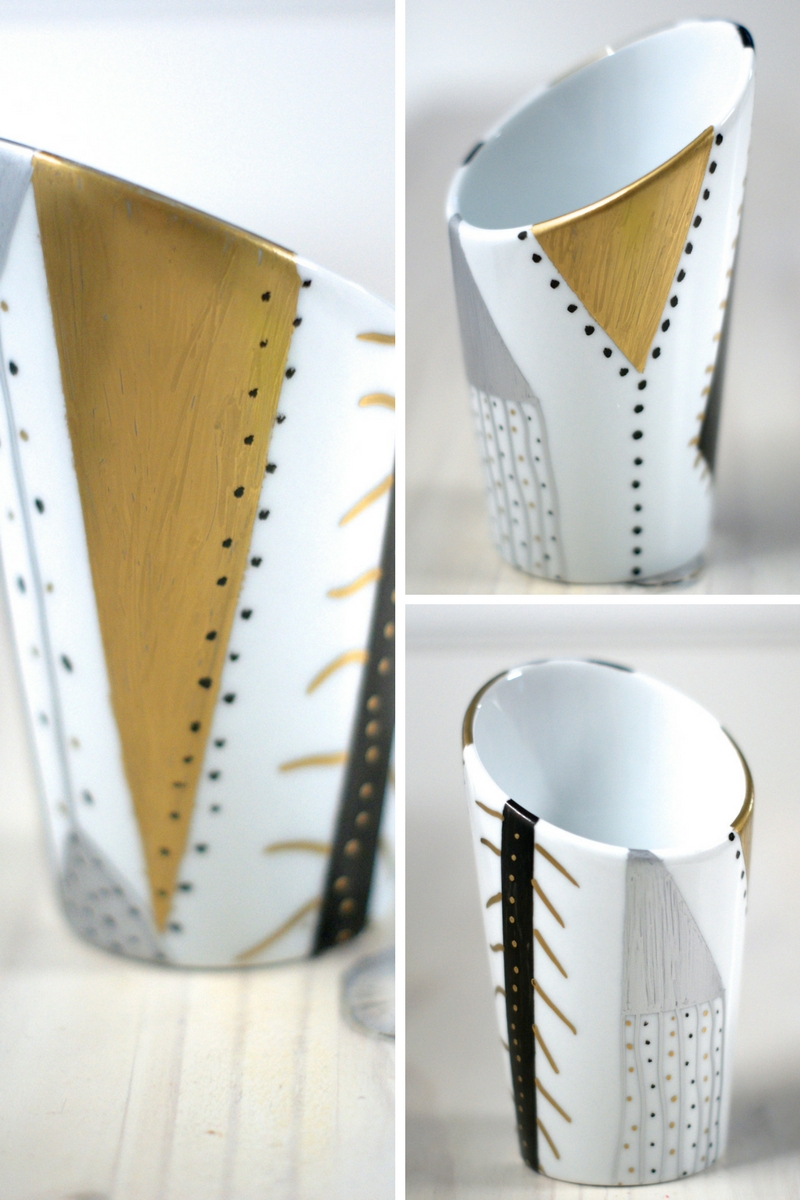
Now, start taping off the sections you want to stay white. I thought about doing just stripes but then I decided to be random and do all kinds of shapes 🙂
After you’ve taped off some sections, start filling them in with your oil-based Sharpies. When you fill in the shape, try not to go back and forth over your design too much or it will start to look streaky. When you get to the edge of the tape, press lightly so the ink doesn’t seep through the tape.
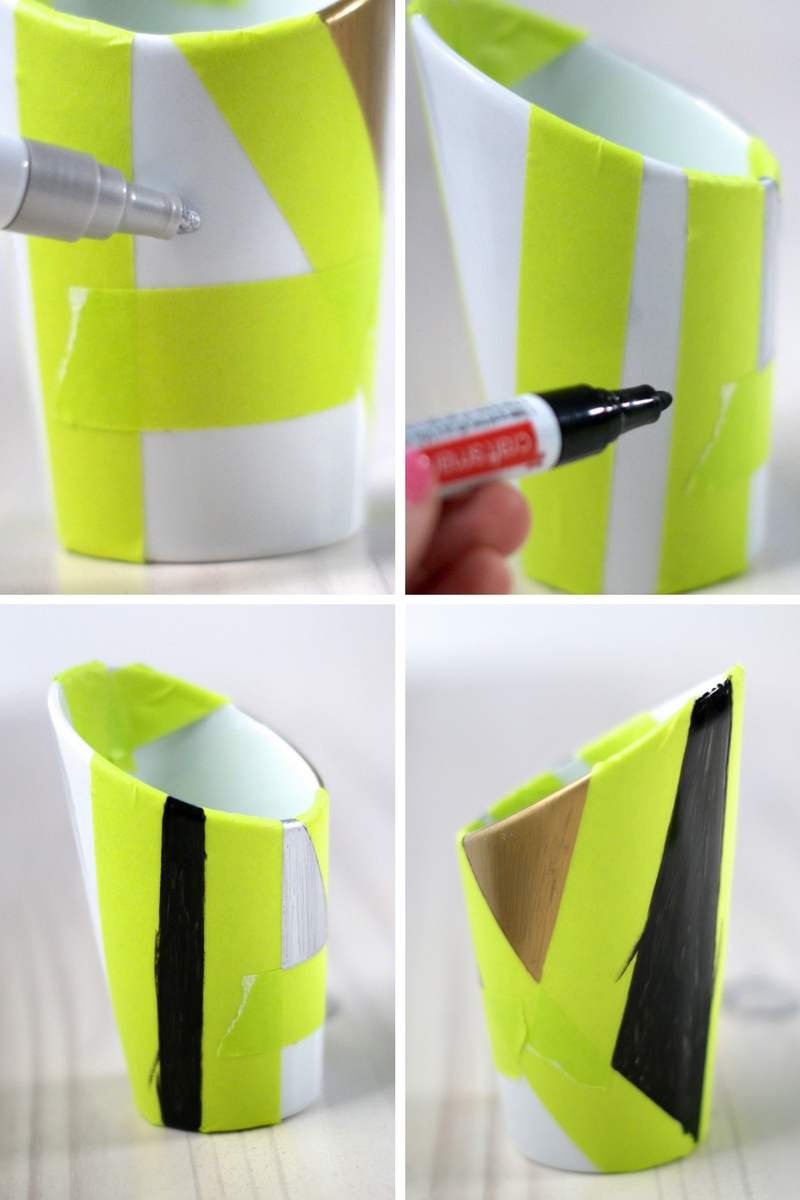
After you’ve filled in the shapes, let the Sharpie dry for about 15 minutes. Then, slowly and carefully, remove the tape.
Now comes the best part . . . I had so much fun drawing random lines and dots and squiggles 🙂 Just do whatever you want . . . you can’t go wrong here . . . be creative and start doodling!
When you’re done doodling, let your masterpiece dry for 24-48 hours.
Now, pop it in the oven (on a cookie sheet) and turn the oven on to 325 degrees {*make sure you put it in the oven and THEN turn the oven on so the ceramic doesn’t crack going from cool air to hot}.
Leave it in the oven for about 30-40 minutes.
Turn the oven off leaving it in the oven for another hour.
When the oven has cooled off, remove your artwork from the oven. Now fill it up with pens, pencils, brushes, etc. – I filled mine with all my lip products 🙂
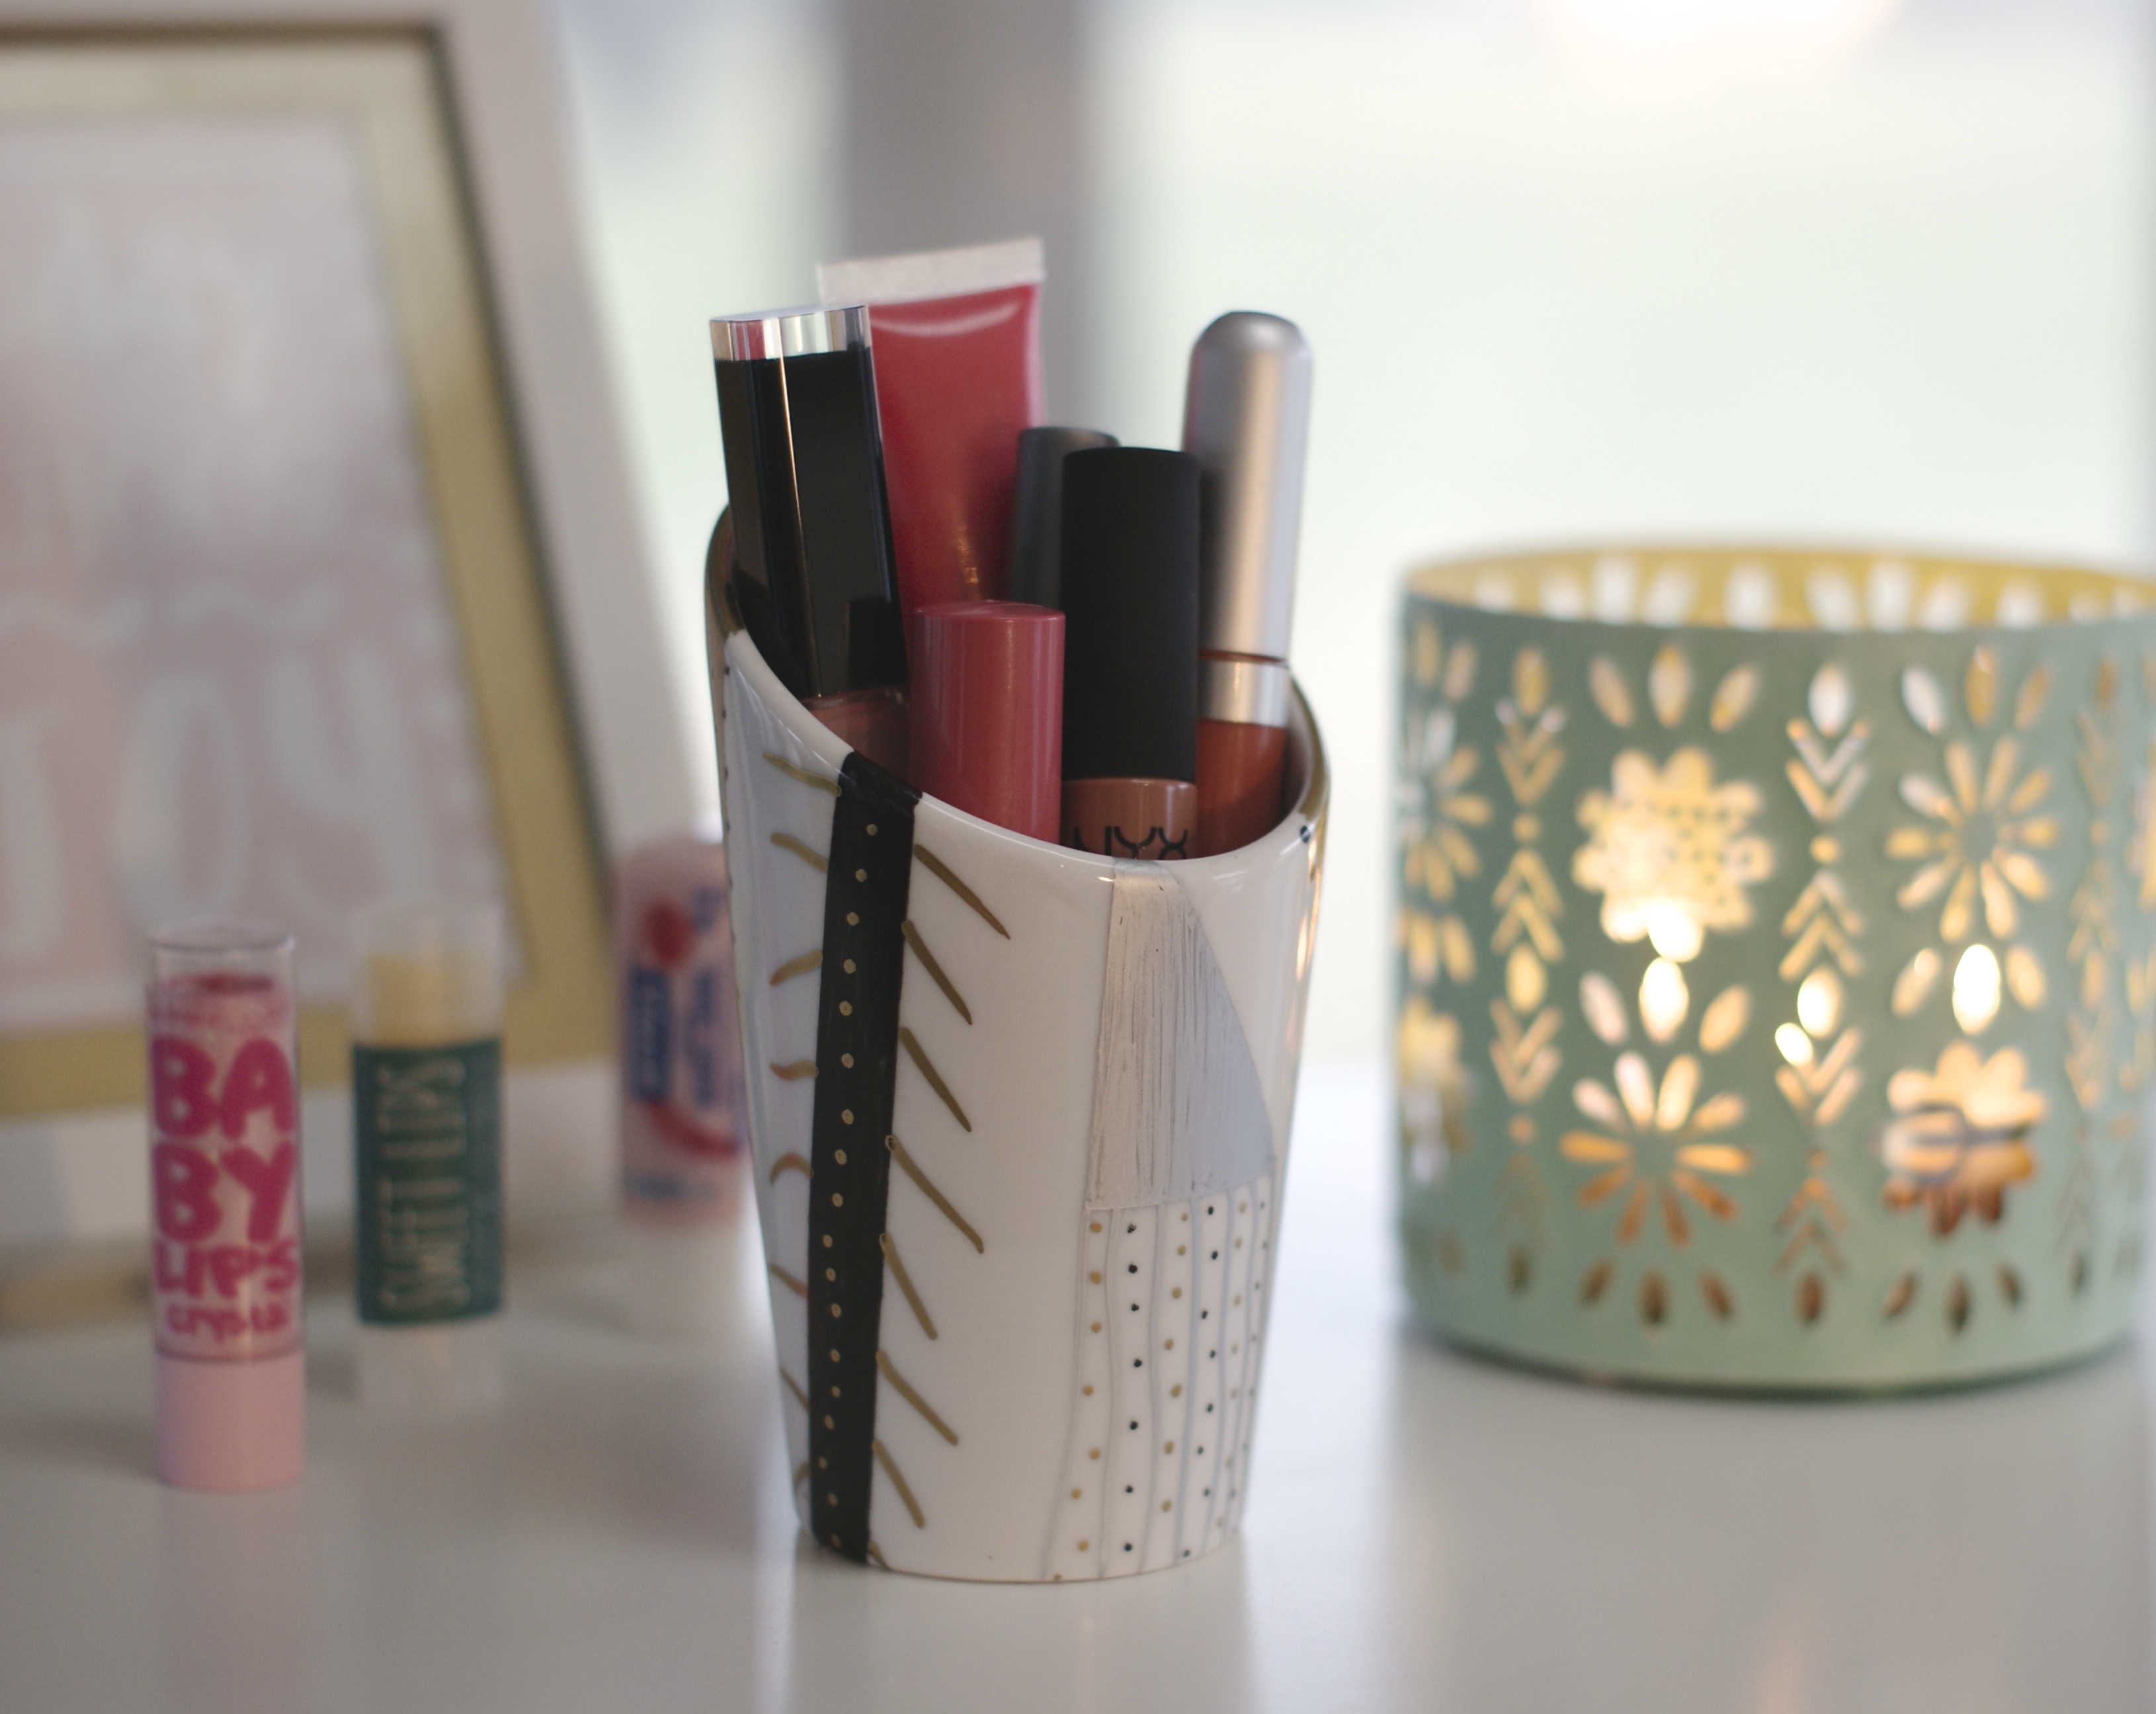
If you’re interested in printing the free “Today I Choose Joy” printable featured in the frame below, click here.


Elianna
January 11, 2017I love it!!! Especially the bowl. ????
Emily Walker
January 12, 2017🙂